RDP for on-prem VMs in the Azure Portal with Azure Arc

Now you can establish an RDP connection to your onprem-Server directly in the Azure Portal with Azure Arc and Windows Admin Center. Connect from everywhere and say goodbye to VPN.


Introduction

Maybe you’ve already heard these news: If you are using Azure Arc for your servers (wherever they are), there’s an option to activate Windows Admin Center.

So far so good, but that is opening up a whole new world of capabilities. In the following article I’ll show you how it works.


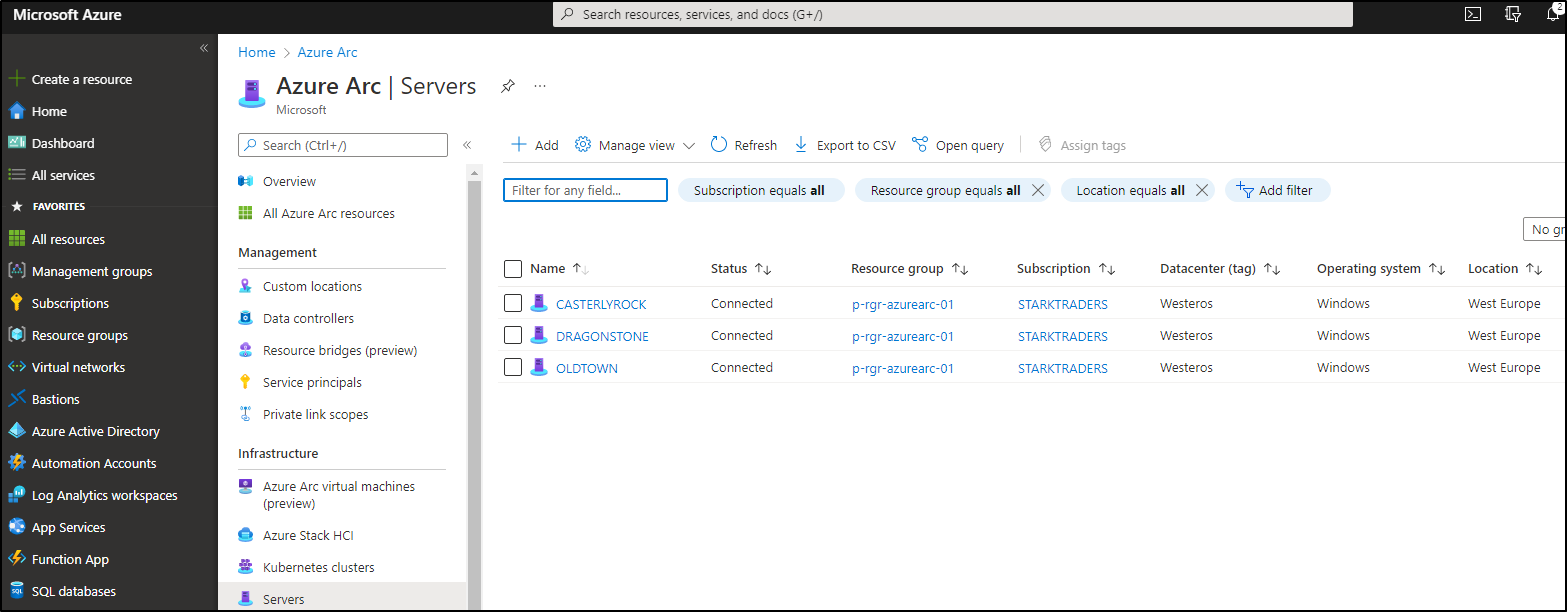
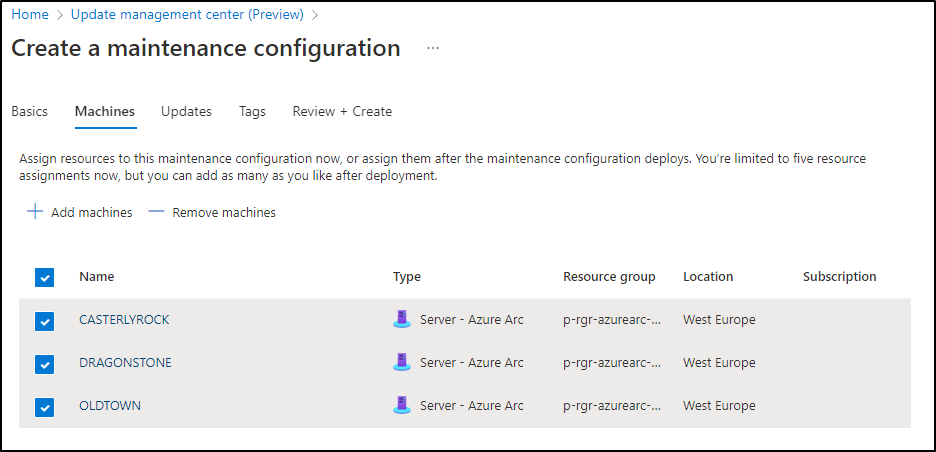
Step 1: Arc-enable your servers

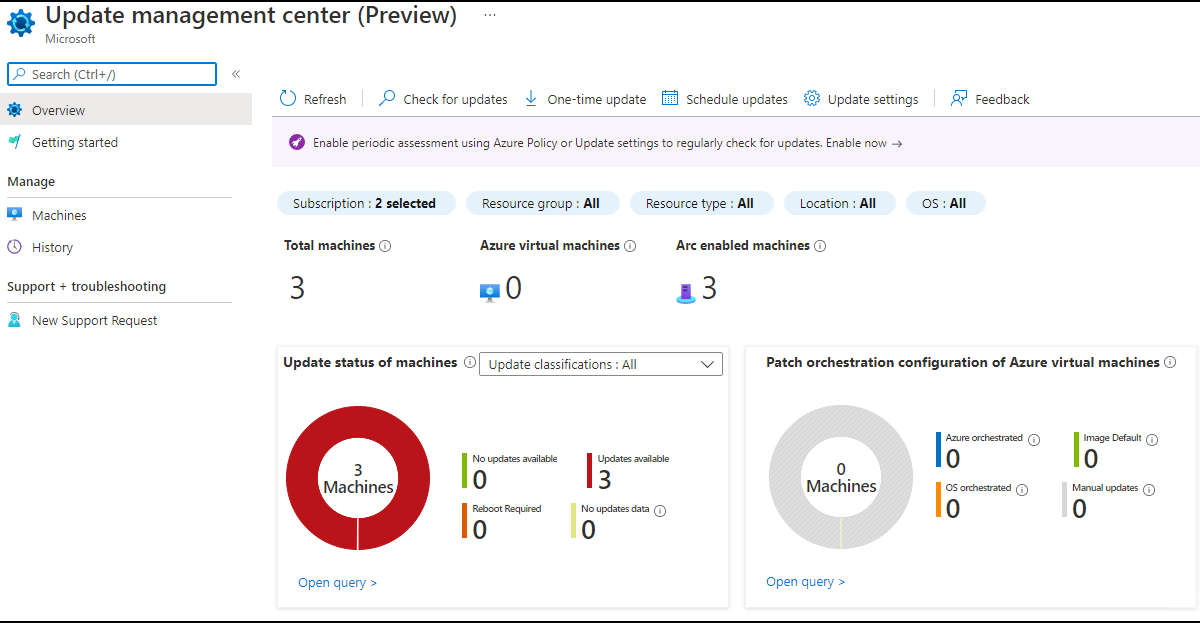
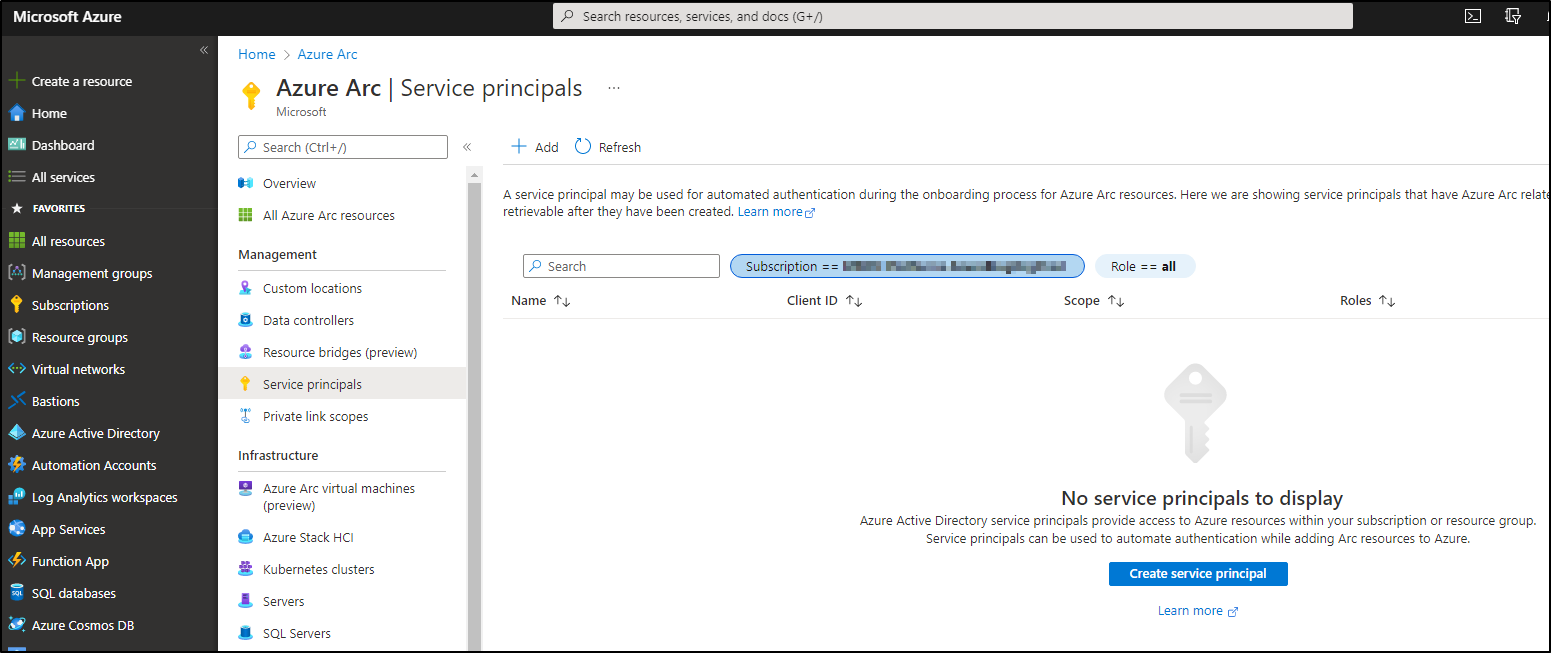
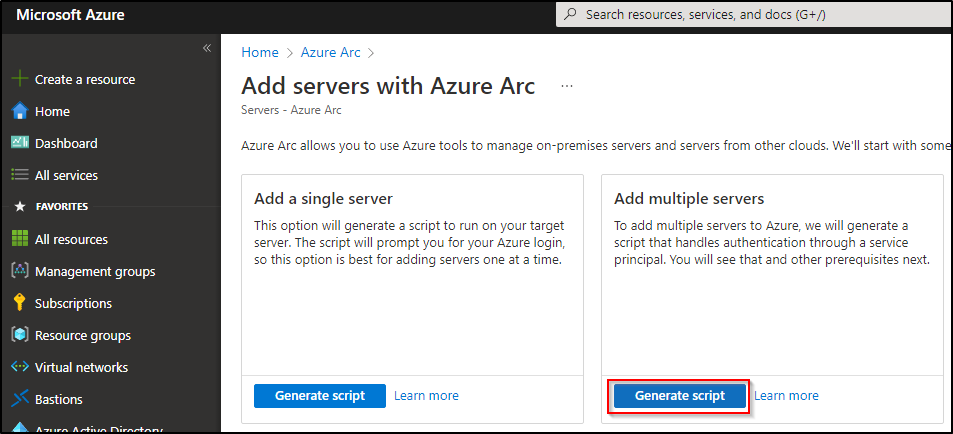
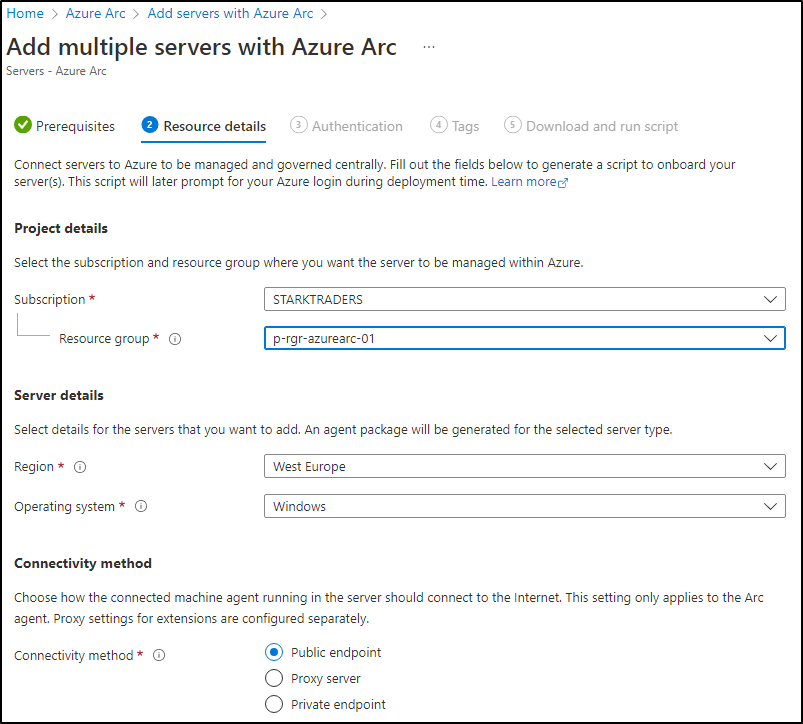
To start, you’ll need to install the Azure Connected Machine Agent on your VMs. Follow the guidance in my last blogpost, Step 1-4:

https://azureblog.org/update-management-center/


Step 2: Activate Windows Admin Center

If you followed the steps correctly, you should now see your servers in the Azure Arc console:


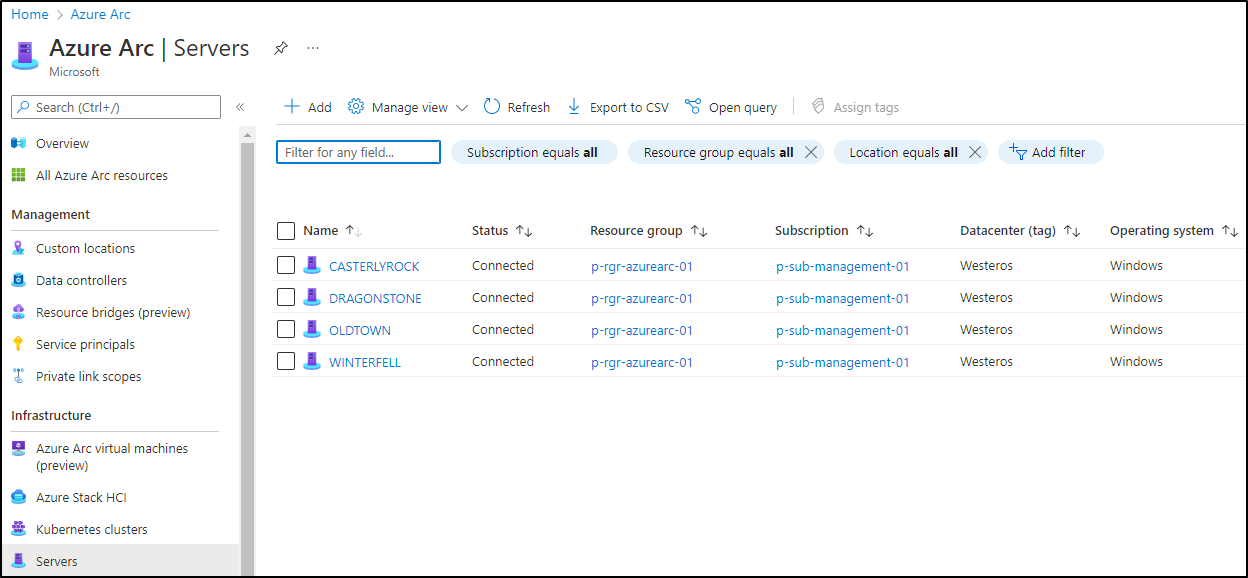
Now click on a server of your choice and look for the Windows Admin Center option:

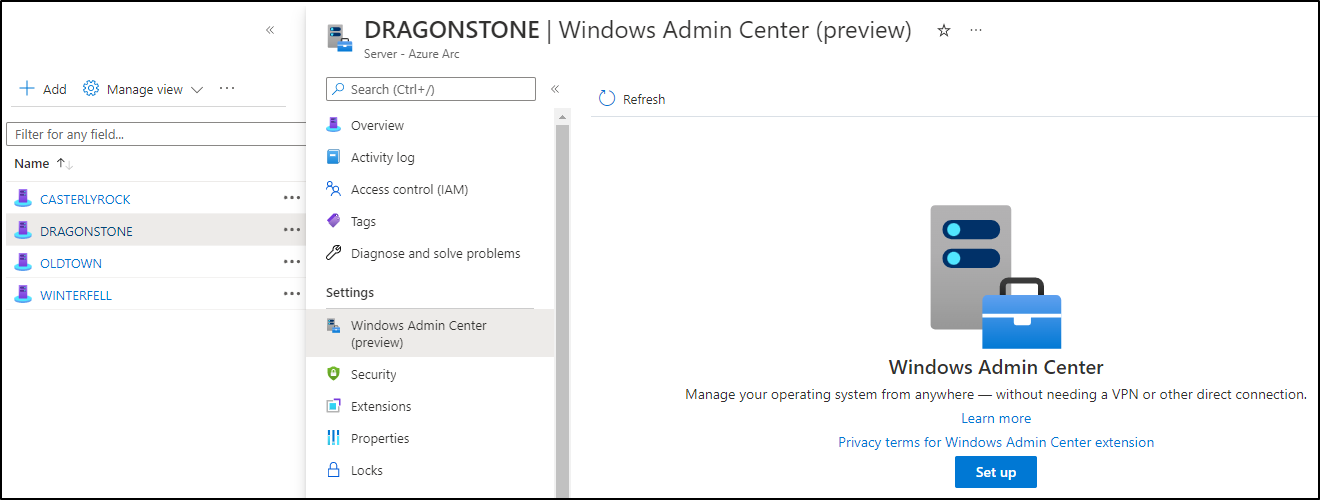
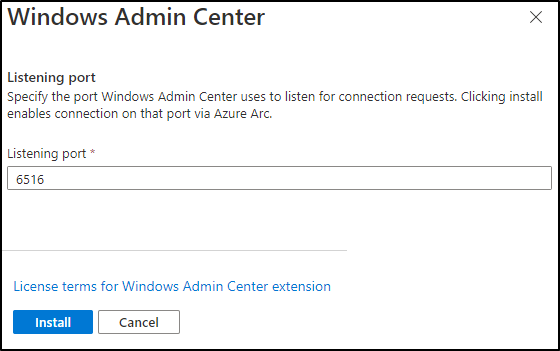
Click on Set Up to activate Windows Admin Center. The standard port is 6516, click on install. This will install the Windows Admin Center extension.


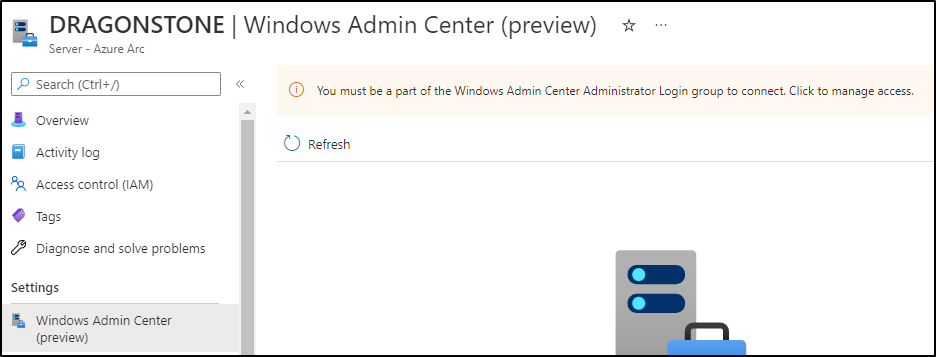
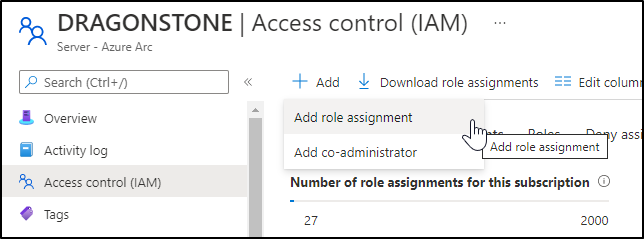
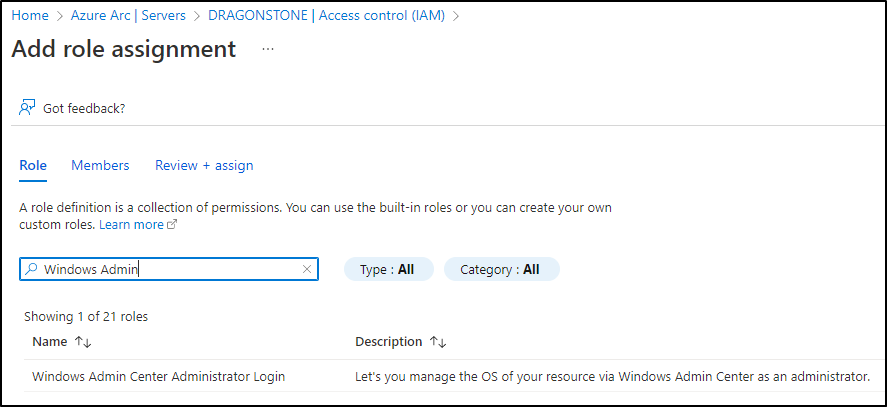
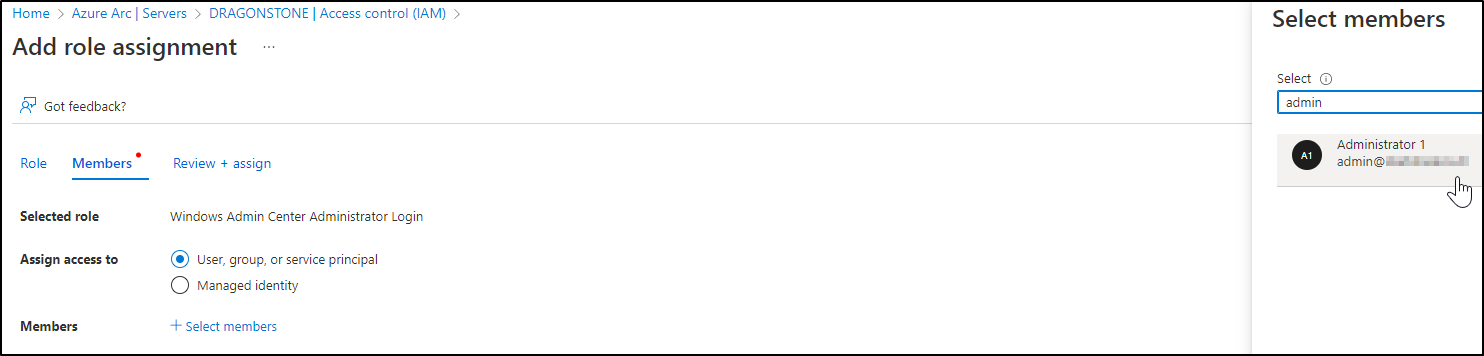
Step 3: Set RBAC permission for WAC

After a couple of minutes, you’ll see a message, that you need to set the RBAC permission for your WAC machine:
 
Click on the banner. That will redirect you into the IAM blade of your Arc server. Click on Role Assignments and Add role assignment:
 
Search for Windows Admin Center and choose “Windows Admin Center Administrator Login”:
 
Click on Next. Now click on Select members and add the member of your choice:
 
Click on Review + Assign two times. Now the user has been added at the bottom of your IAM screen.
 

Step 4: Connect to Windows Admin Center

Click on the Windows Admin Center button again. Now you should see a connect button coming up:

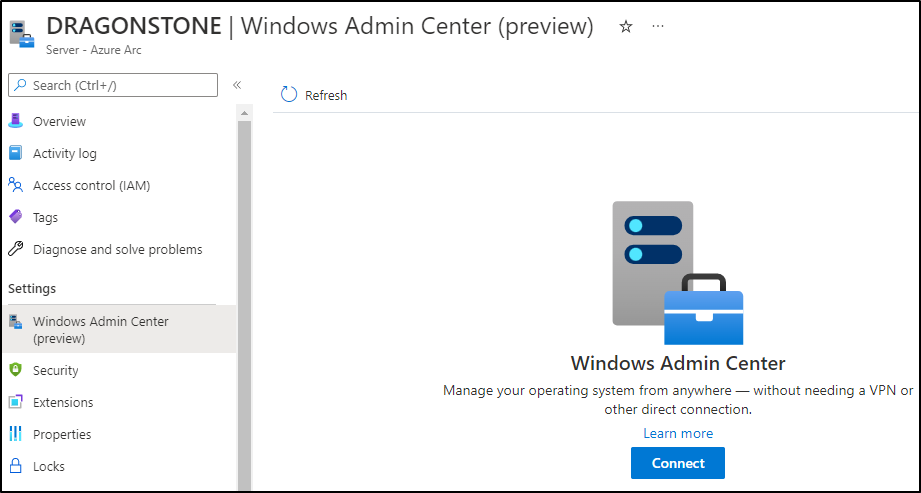
Click on Connect. The WAC console will start and now you’ll need to enter the local admin credentials of that VM:

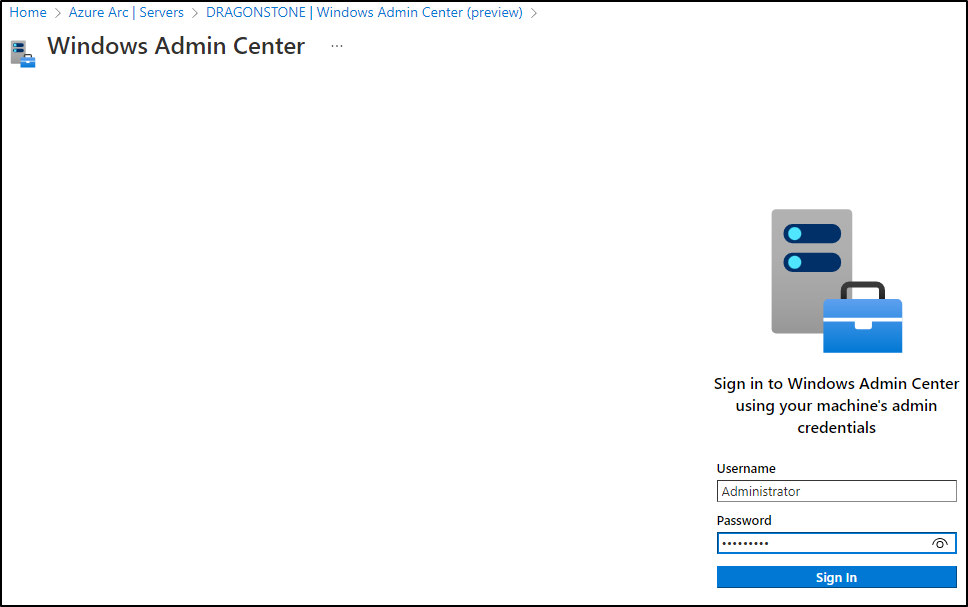
Click on Sign in. Now you’ll see the Windows Admin Center console appearing right in your browser!


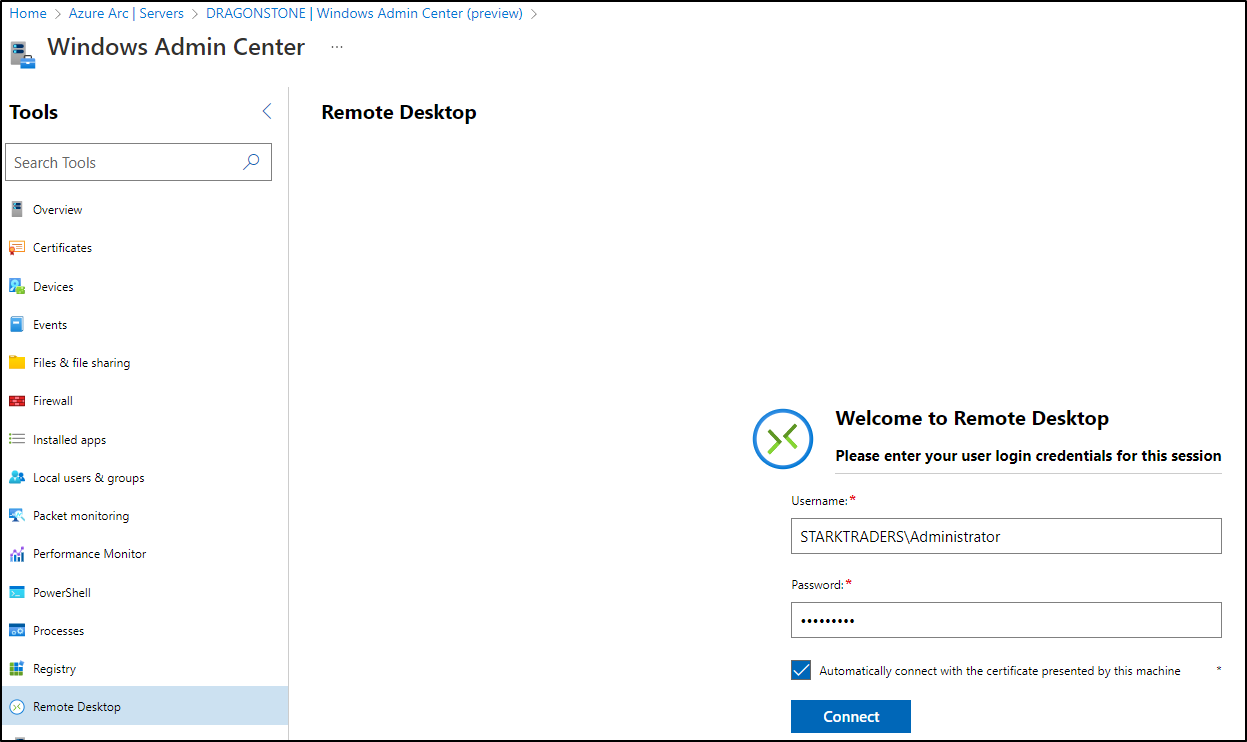
Step 5: Establish an RDP session

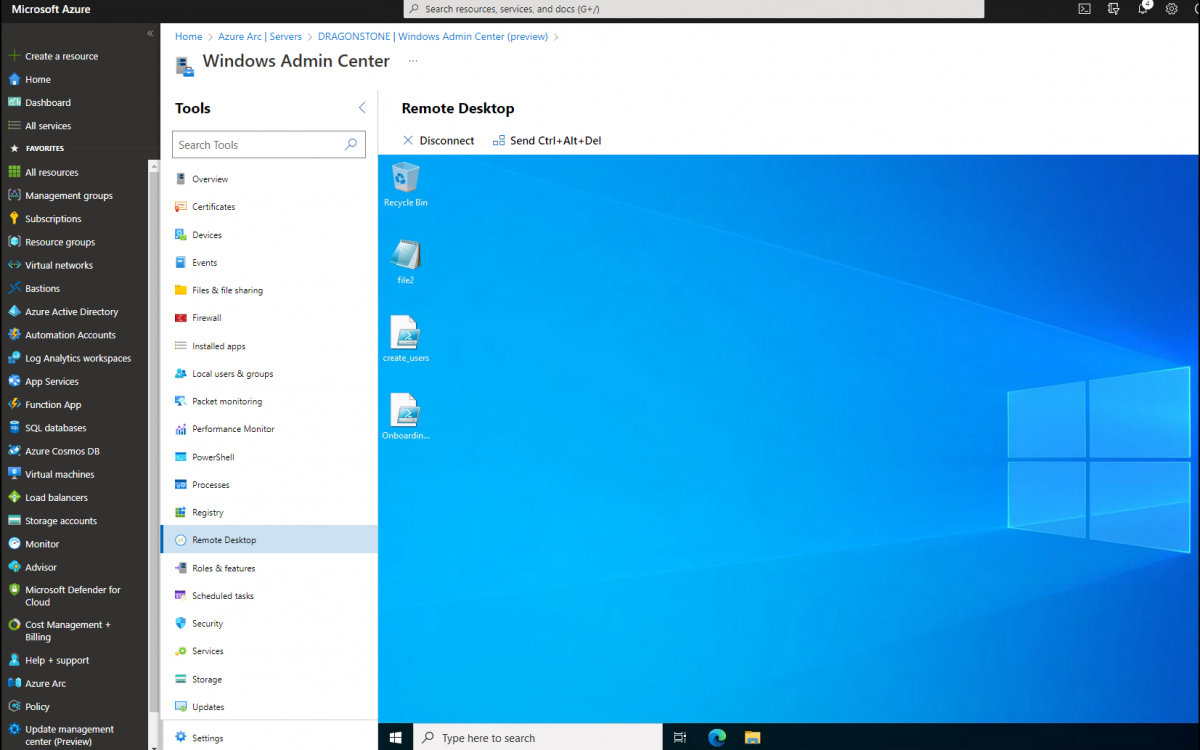
Now you’ll see all your favourite management tools for your servers. In my case, I’m trying out RDP. Click on Remote Desktop. Enter the localadmin credentials again:

Click on connect. Now you’ll see the RDP session in your browser! How awesome is this:

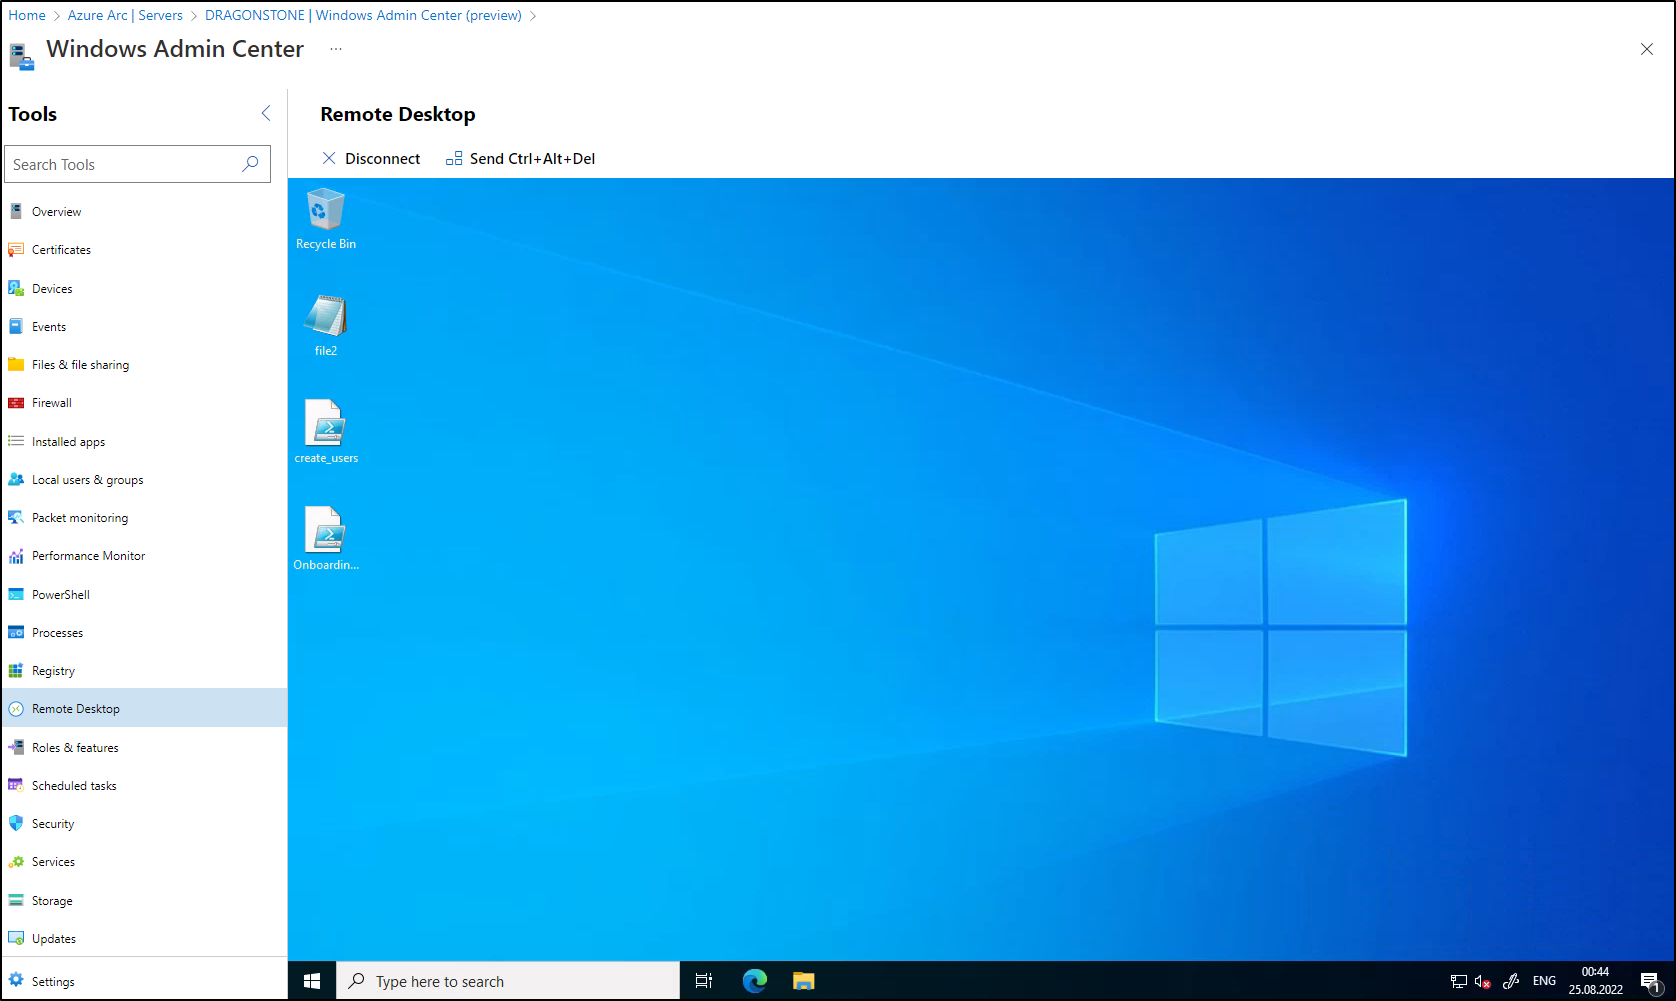
Now you’re ready to work on your server. Don’t forget: You can use all the other Windows Admin Center Management tools, like:

  • PowerShell (shoot a script from the Azure Portal right into your server)
  • Check performance and monitoring
  • Manage your certificates
  • and so on…

Conclusion (and notes from the field)

Maybe you’re thinking of the same as me in this moment: Does it make sense to activate it for all my VMs? Especially if I have a lot of them? Not really.

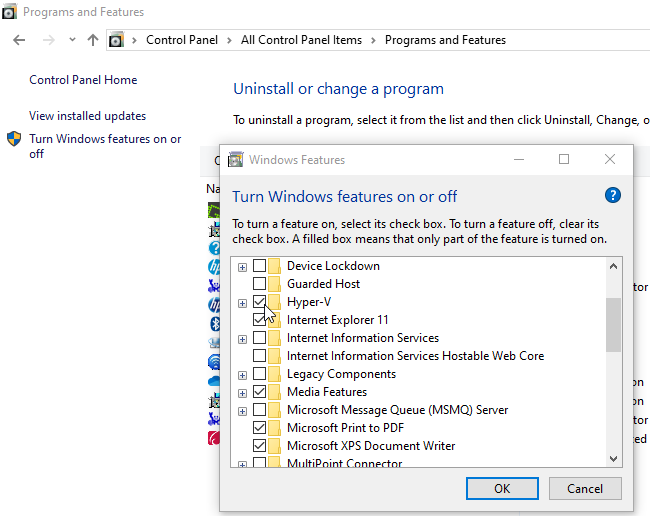
In my case, I decided to install the Azure Connected Machine Agent on my Hyper-V host machine. This allows me to RDP into my host and start the Hyper-V console. In Hyper-V, I can start RDP session into my VMs from there.

Either way, I would recommend that you install the Azure Connected Machine Agent on all your VMs to get a complete view of your environment. Then activate Windows Admin Center only on your host machine. That should do it.

Happy remote-administering from everywhere!

Update Management Center (UMC)

Long awaited: On July 18th, Microsoft announced the Public Preview of Update Management Center in Azure:
Announcing Public Preview of Update management center – Microsoft Tech Community


Introduction

UMC is a native Azure service for patching your servers, wherever they are. As mentioned, the service is in public preview and it looks like, there’s a lot more to come. But, my first impression shows already some really nice benefits:

  • No more Log Analytics Workspace and Azure Automation Account (native Update console in Azure)
  • Azure Arc Connected Machine Agent only: No more messing around with different agents. Simply install the Azure Arc Agent (you’ll get the other Azure Arc benefits)
  • Use of Azure Arc Private Link: Now you can patch your servers through the S2S VPN tunnel
  • More Options for your update deployments

Step 1: Create an Azure Arc Resource Group

If you follow the Azure landing zone concept, I would suggest, you should create a new resource group for Azure Arc in the management subscription. Name like: p-rgr-azurearc-01


Step 2: Create a Service Principal in Azure Arc

Enter Azure Arc in the Azure Portal search bar and click on Service Principal. Now click create a new service Principal:

On the following page, you can choose the resource group you create in Step 1. Please copy/paste the ID and the secret to a safe please. You’ll need it later.


Step 2: Create Azure Arc Connected Machine Agent Powershell Script

In the Azure Arc console, click on servers:
 
The assistant will guide through a few simple questions (Please note: UMC isn’t available in Switzerland north, you would have to choose West Europe).
Now you can make use of Azure Private Link and patch your servers through your S2S VPN tunnel. Check the documentation here:
For the demo, we’ll leave it on public endpoint. At the end, you’ll get a ready to use Powershell-Script. You only have to insert your secret.
 

Step 3: Run script on your VMs

There are multiple ways to run your script on your onprem VMs. A central scripting server, software deployment tools and so on. To get a complete view of all your VMs, I would install the agent on as many servers as possible (Windows and Linux).


Step 4: Check your servers in Azure Arc

After you run the script on your VMs, it takes just a really short time, until they appear in the Azure Arc server console:


Step 5: Asses servers in UMC

Head over to the UMC console by typing Update Management Center in the Azure Portal searchbar. Click on machines, select your machines and click on Check for updates.

Coffee time! This will take some minutes to complete. If you just onboarded the servers, it could be that you see some error messages. Just wait a little bit longer and start the update assessment again.

If you see error messages during the assessment: I noticed, if you just installed the agent it could take some hours until the assessment goes through. In my case, on the next morning everything was fine.


Step 6: Schedule your first maintenance configuration or do a One-time update

Now you’re ready to start patching! After the assessment went through, you should see your missing updates:

Patch deployments are now called “maintenance configuration”. Click on Deploy Updates in the UMC console. You’ll see tons of options for your deployment, that you can explore/configure on your own. In my case, I decided to patch my 3 servers every Wednesday on 8 pm:

It seems that the maximum patch window duration is (for now) 3h55min. Hit next and choose the VMs you want to patch:

At this moment, unfortunately, there seems to be no option for groups. Let’s hope that will be coming soon. On the next screen you can decide which patches you want to include or exclude. Don’t forget to include all update categories (if you want to do a complete update deployment).

Now go ahead, set your tags and create the maintenance configuration. After creation is done, you’ll see a new resource showing up in your Azure Arc resource group!


Step 7: Patching time

Like a perfect swiss clock, at 8pm my patch deployment starts.


Step 8: Additional features

Periodic assessment by Azure Policy

In Azure Policy, you’ll see some specific UMC policies. With remediation, you could automize your patching (maybe not your prod, but for dev environments this could be very nice).

Defender for cloud

You’ll see your Azure Arc enabled server and your missing patches in DFC too.


Conclusion (and notes from the field)

UMC seems to work pretty fine and I’m sure, there will be a lot of new features soon. The steps above showed a demo environment. As I started working with UMC in costumer environments, I noticed, that some configs have to be in place:

I’ll continue to work on this and provide more details about that as soon as possible.

Happy Patching folks!

Your Zero Trust Gameplan for 2022

Updated: I’ve presented my session again at the Azure Bootcamp 2022 in Bern today. For that purpose, I “renewed” just some of the slides. Please find them below.

—————————————————————————————————-

Hello everyone and welcome to my blog. I’m happy this year started with a Session at Azure Zurich User Group, all about Zero Trust.

You can download the slideck (the Gameplan) here:

Your Zero Trust Gameplan for 2022 (Updated Bern Version)


If you missed the session, the recording is on Youtube:
https://youtu.be/U0Z2v78Jdaw

Have fun with Zero Trust and better start soon. If you have any questions, don’t hesitate to drop me a message.


JSON View in the Azure Portal

Have your ever noticed that small button called “JSON View” at the top right of the Overview of Azure Resources?

This button becomes quite handy, especially when you are coding, for example with Azure Bicep. Sometimes it can be hard to find the needed parameters.

A hint for this is, deploy your Azure resource through the marketplace and come back here to look at the JSON. It describes all the parameters you have chosen and you can copy them over to your bicep code.

Happy Coding Folks!

Delete Azure Load Balancer in front of VM Scale Set

If you ever have tried to delete an Azure Load Balancer that is configured with an Azure VM Scale Set as the backend pool, you will get an error in the Portal. You could delete all resources and start from fresh, of course. If you need to keep the scale set, here’s the solution:

  1. Run the following command in the Azure Cloudshell:
    az vmss update –resource-group <<RESOURCE_GROUP_NAME>> –name <<VMSS_NAME>> –remove virtualMachineProfile.networkProfile.networkInterfaceConfigurations[0].ipConfigurations[0].loadBalancerBackendAddressPools 0

  2. Upgrade the VM Scale Set instances:
    az vmss update-instances –instance-ids “*” -n <<VMSS_NAME>> -g <<RESOURCE_GROUP_NAME>>

  3. Delete the load balancer:
    az network lb delete -g <<RESOURCE_GROUP_NAME>> -n <<LB_NAME>>


Change the Account Owner of an Azure Subscription

Problem

Every Azure subscription has an Account Owner and a Service Administrator. If you are an Azure Admin and can’t see costs or details of a subscription, you should check if you are the Account Owner, or at least the Service Administrator.

You chan check the Account and Service Administrator in the Azure Portal, Subscriptions, Select your Subscription, Properties:

Read More

Create a Windows Server 2019 Domain

Scenario Description

In this tutorial we’ll create and configure:

  • a Windows Server 2019 Domain Controller
    (using a Hyper-V VM)
  • Install and configure the AD Domain services, DNS and DHCP server roles
  • Set up a new domain
  • Additional: A sample VM to join the new domain
Goals
  1. Creating your virtual machines in Hyper-V
  2. Promote a Domain Controller
  3. Configure the server roles
  4. Additional: Join a server to the domain
Following Tutorials

Azure AD Connect: This domain environment will be used later to sync a couple domain users to Azure with Azure AD Connect.

Windows Admin Center: We’ll use these VMs to connect them to Azure and configure the hybrid cloud services with Windows Admin Center.

Let’s start, Set up your Hyper-V VMs:

Download Windows Server 2019 Evaluation:
https://aka.ms/windowsserver (choose Windows Server on-premises) and download the ISO-file.

On your Windows 10 PC, go to Control Panel,  Turn Windows features on or off and mark the checkbox Hyper-V:

=> Tech Tip: If you encounter any problems during the Hyper-V installation, please check your Computers’ BIOS settings and enable Virtualization.

Read More