Windows365 Cloud PCs seem still much underestimated, but maybe that’s just my opinion. Just a couple of thoughts and options, what you can do with it and what you’ll learn in this article:
- Use it as a PAW (Privileged Access Workstation) for IT-Admins or external users
- Use it as a cloud-only VDI solution (Use Azure AD created users and groups, with Azure Fileshare or Teams-Channels you don’t need a file server)
Content
Step 1: Buy and assign Win365 licenses
Step 2: Mange Win365 Cloud PCs in MEM
Step 3: Create a Win365 Custom Image
Step 4: Configure your Image VM and create the Image
Step 5: Upload custom image to MEM
Step 6: Set up Azure network connection
Step 7: Create a Provisioning Policy
Step 8: Test it
Step 9: Win365 Networking (Azure Firewall)
Introduction
Windows365 is a Microsoft-Managed Cloud PC. Under the hood it may run on a Microsoft-Managed AVD platform, but who knows. Win365 is available in two different options:
- Business: Basic, Standard, Premium (different CPU and RAM options)
- Enterprise: same models, but you’ll get MEM integration, what is essential for a productive use
This article is not about showing price plans or comparing them. Please check the official MS site for more details:
Windows 365 enterprise plans and pricing | Microsoft
Step 1: Buy and assign your Win365 licenses
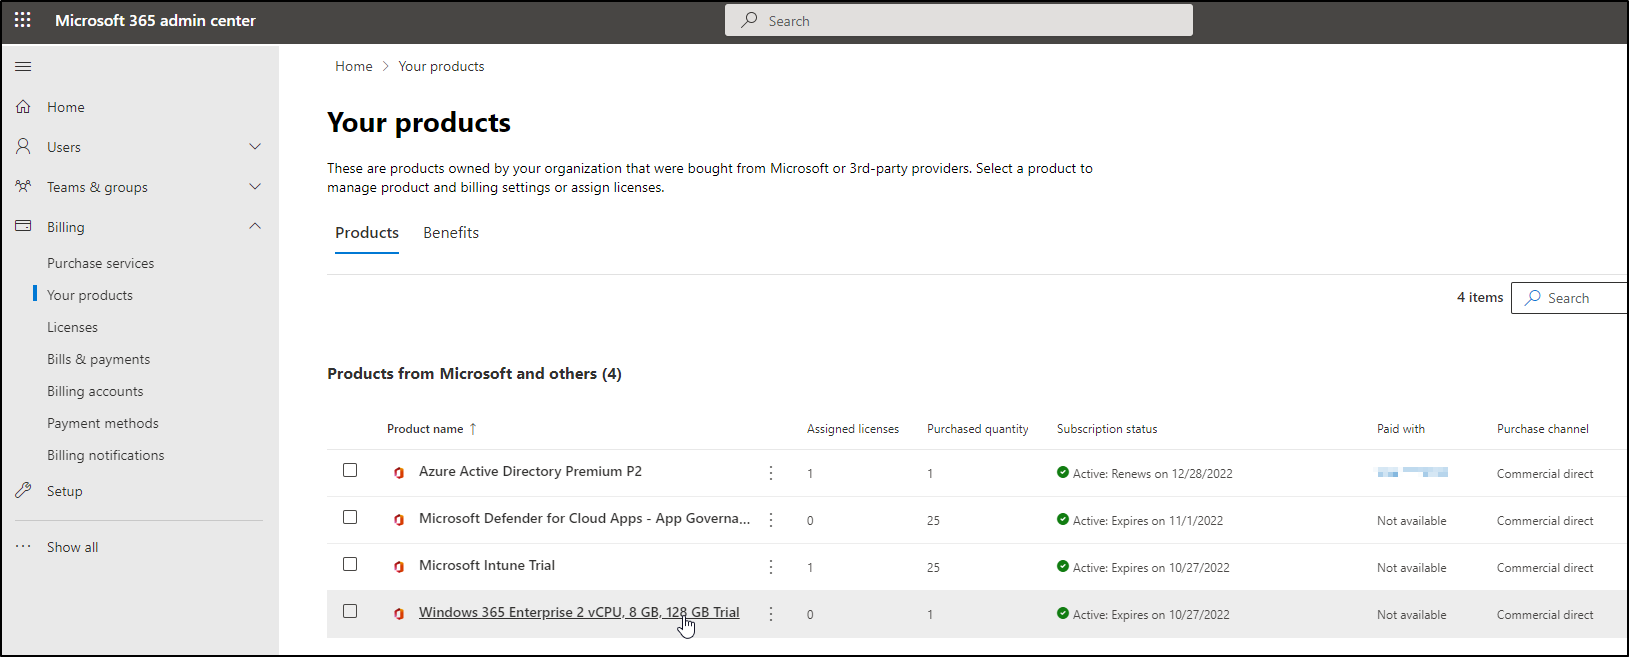
Your Win365-journey starts unspectacular with buying a license 😉 Go to the admin.microsoft.com Portal, Billing, Purchase services. We’re buying and configuring a Win365 Enterprise with 2 vCPUs, 8GB RAM and 128 GB Storage.

(or maybe you’ll need to buy the licenses from your CSP).
After you purchased your Win365 license, it will become available under Licenses:
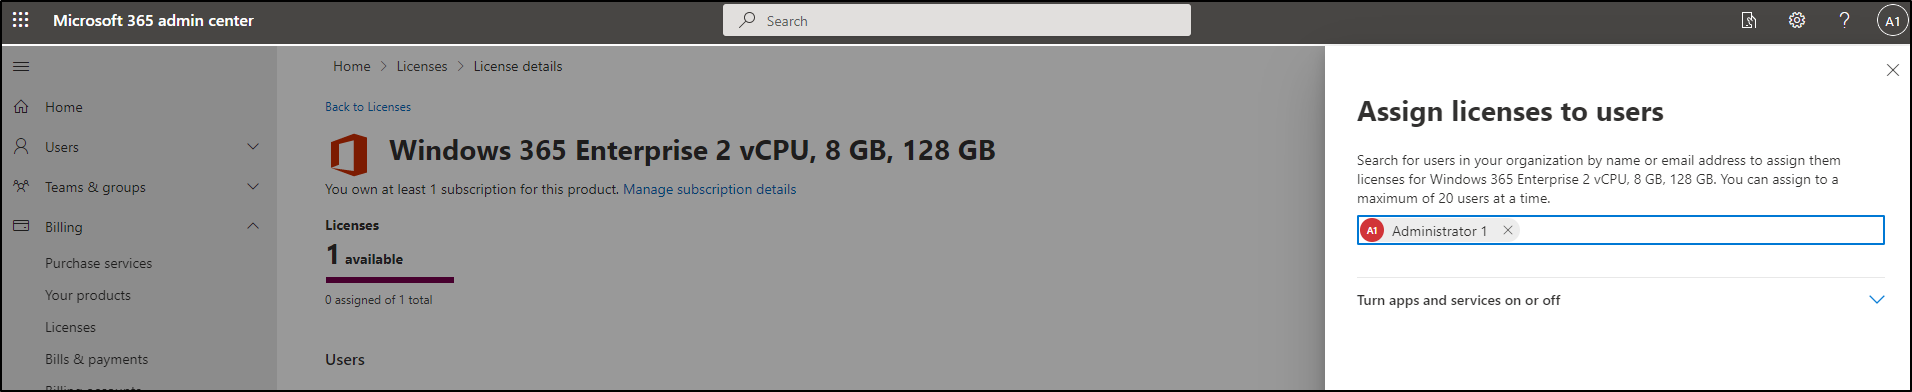
Click on it and assign it to a user or a group:
This will kick off the deployment process of your Win365 Cloud PC in the background. You’ll see it in the next step.
Step 2: Manage Win365 Cloud PCs in MEM
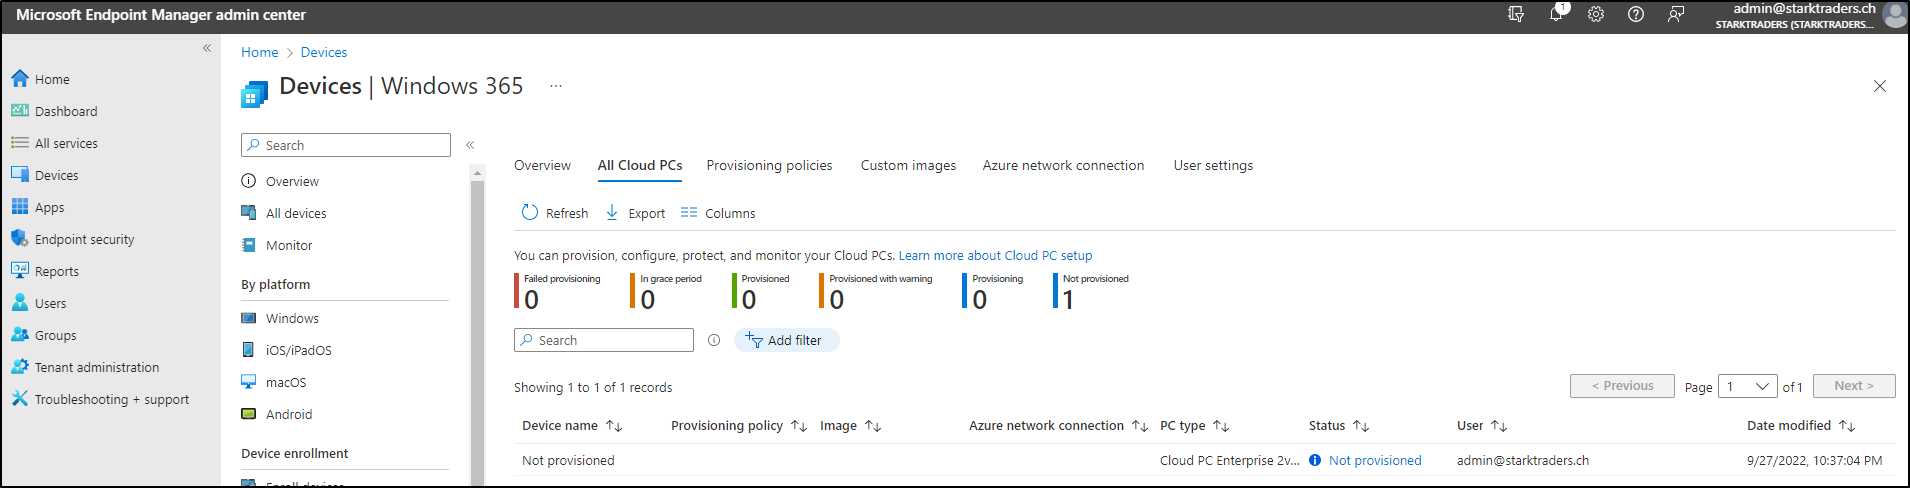
Before we actually deploy it, we would need to create a Provisioning policy. But we’re going to take a step back and have a look, how to create a custom image and an Azure network connection. After we’ve completed that, we’ll continue with creating the provisioning policy.
Step 3: Create a Win365 custom image
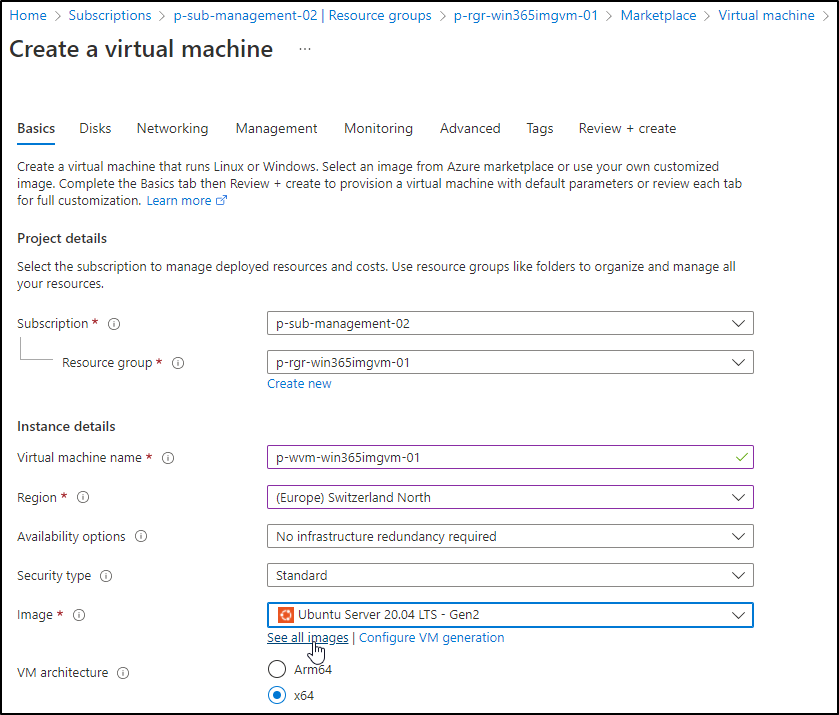
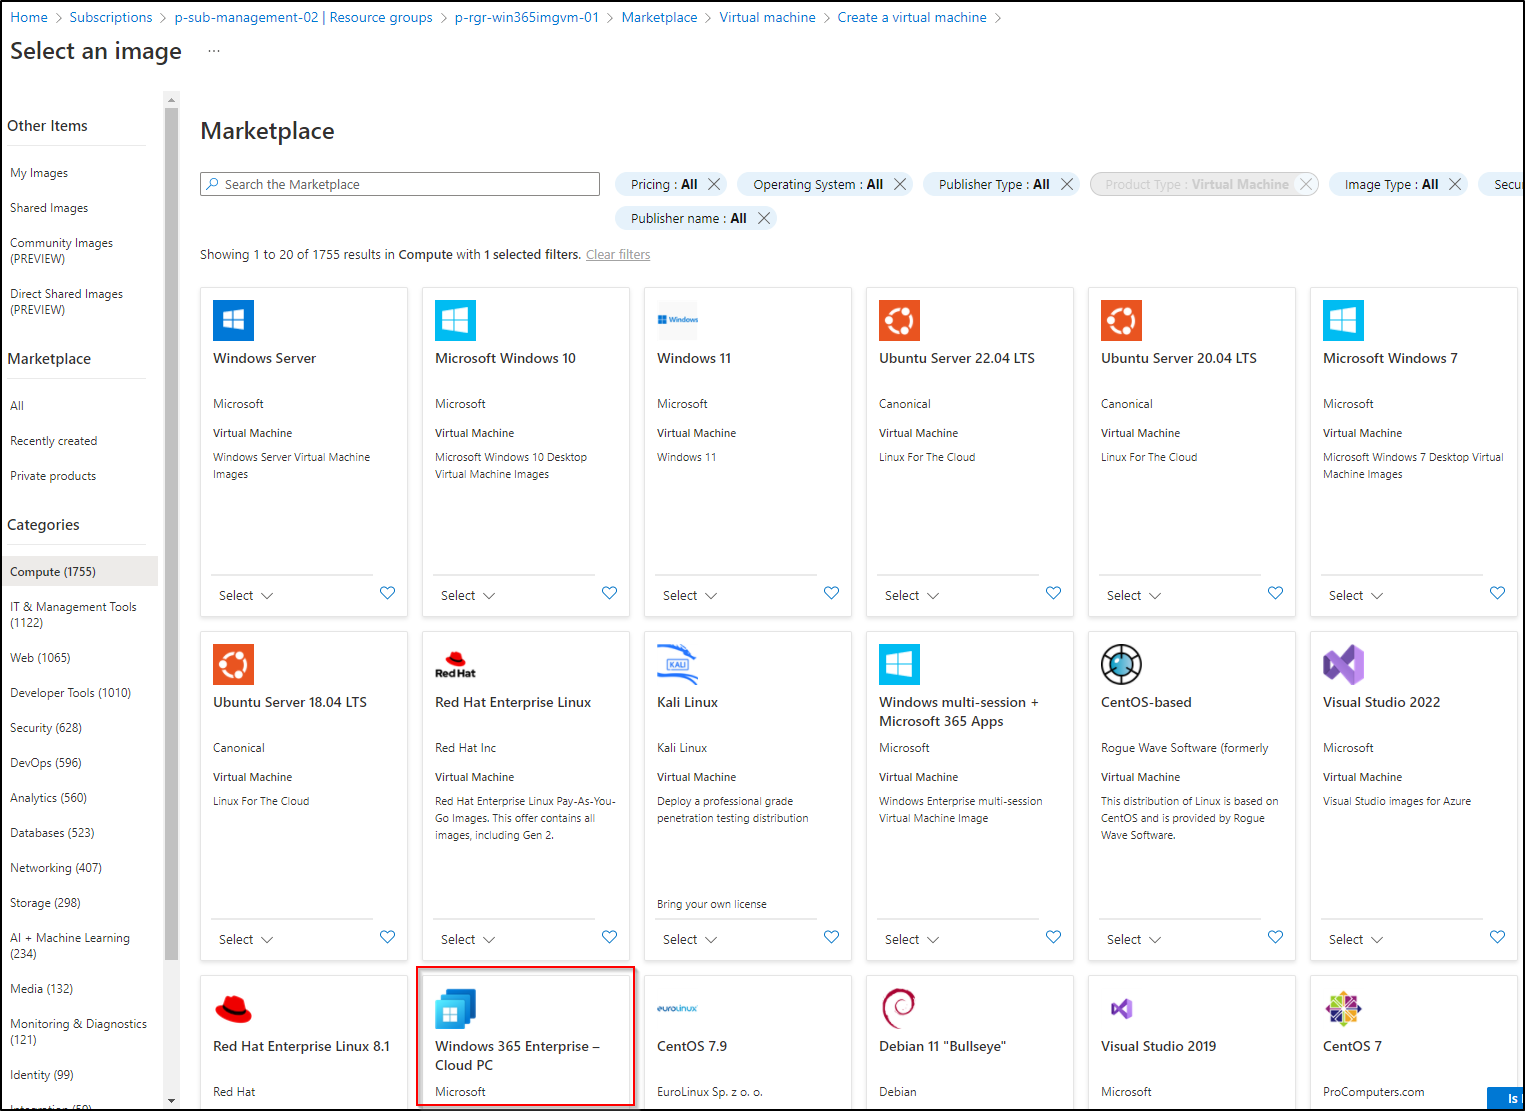
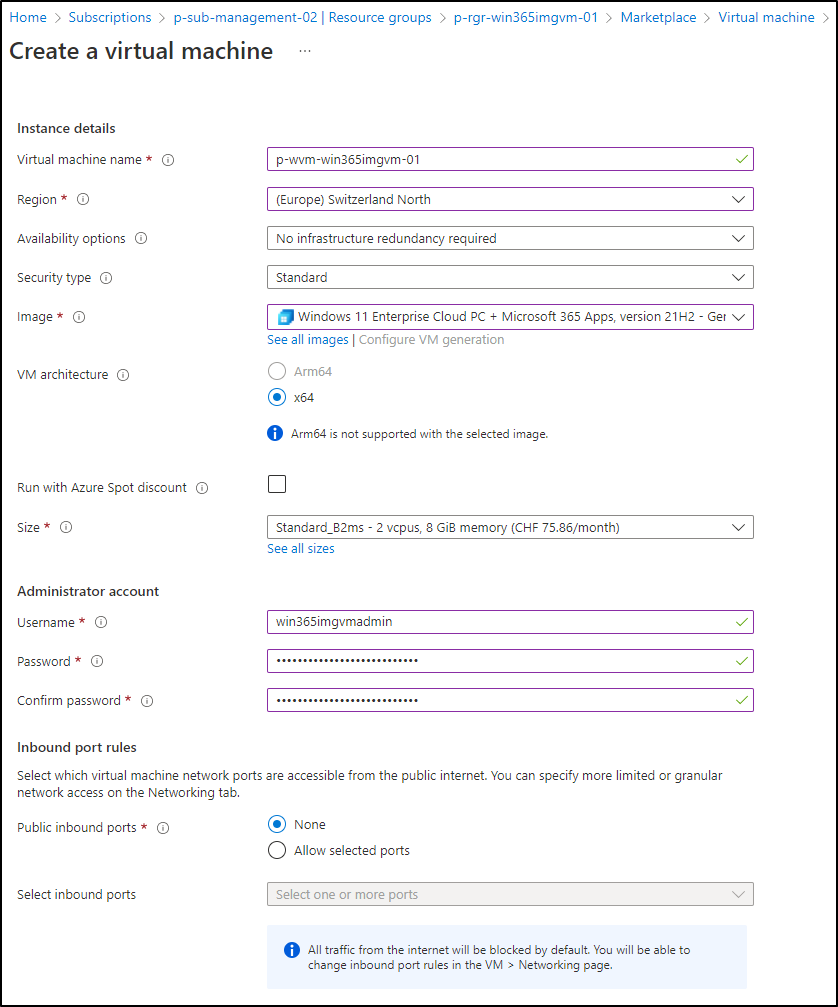
Step 4: Configure your Image VM and create the Image
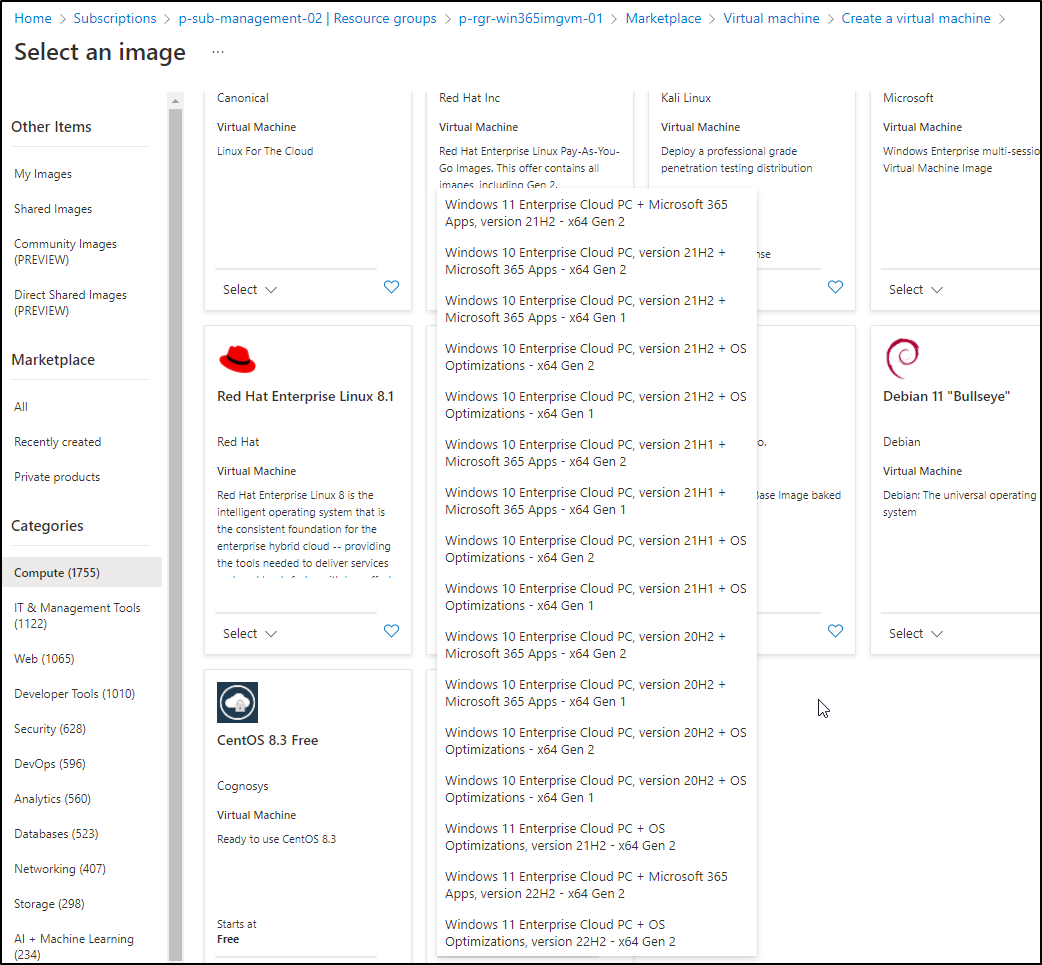
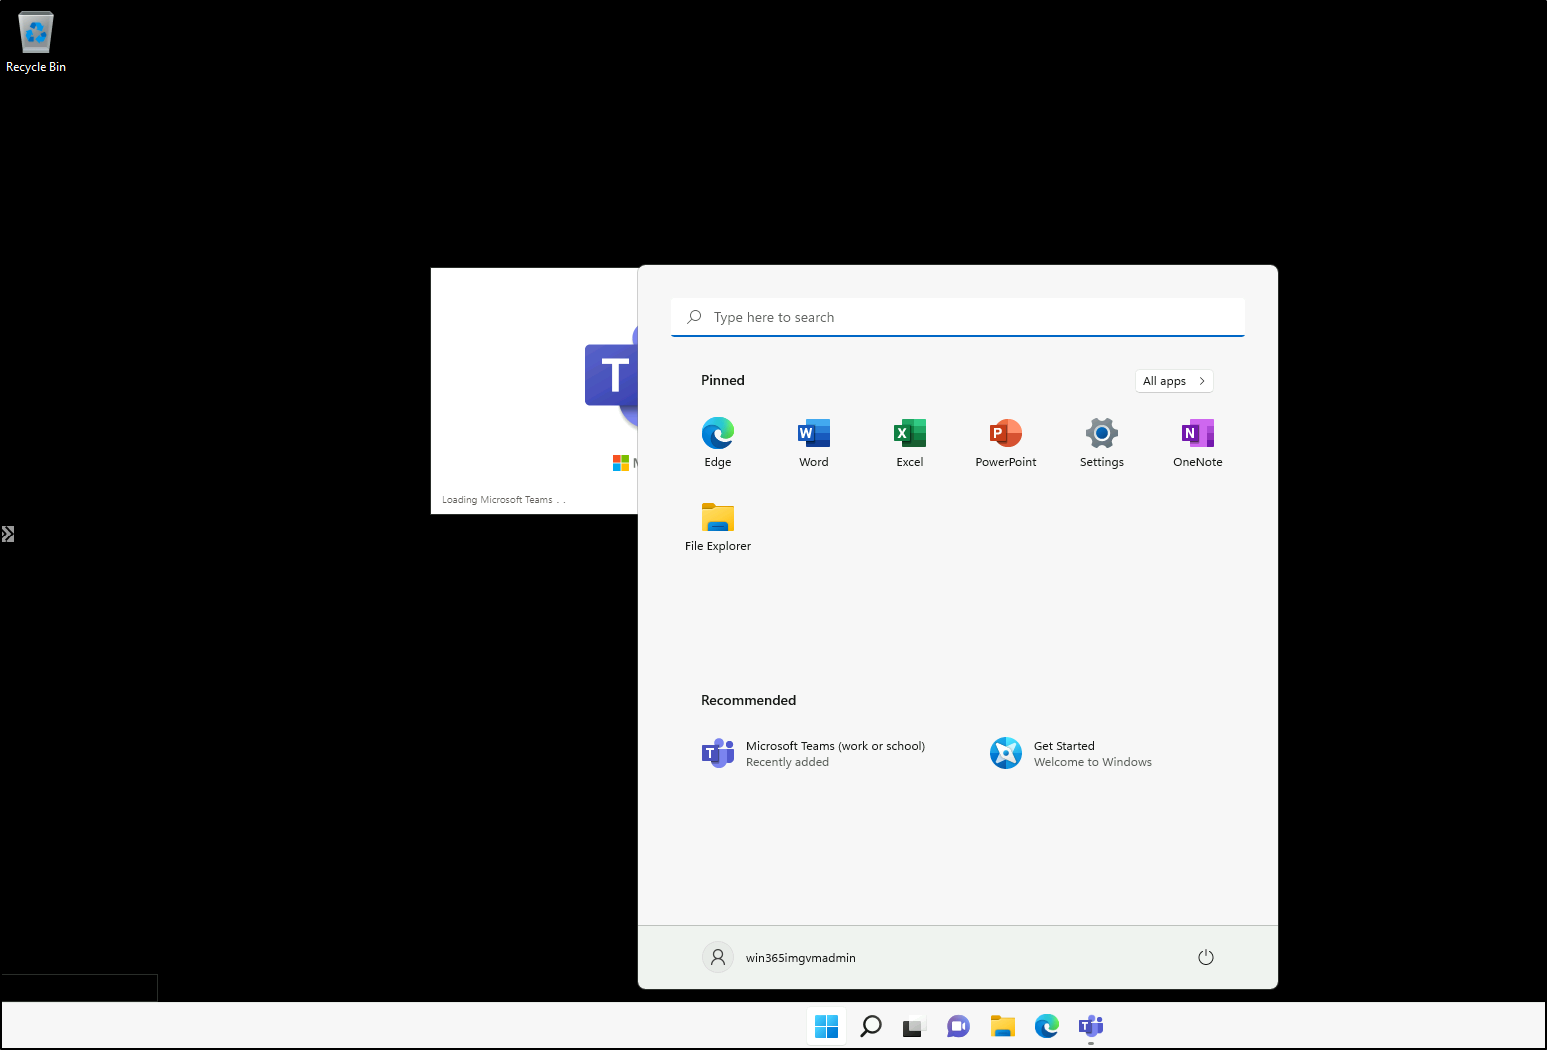
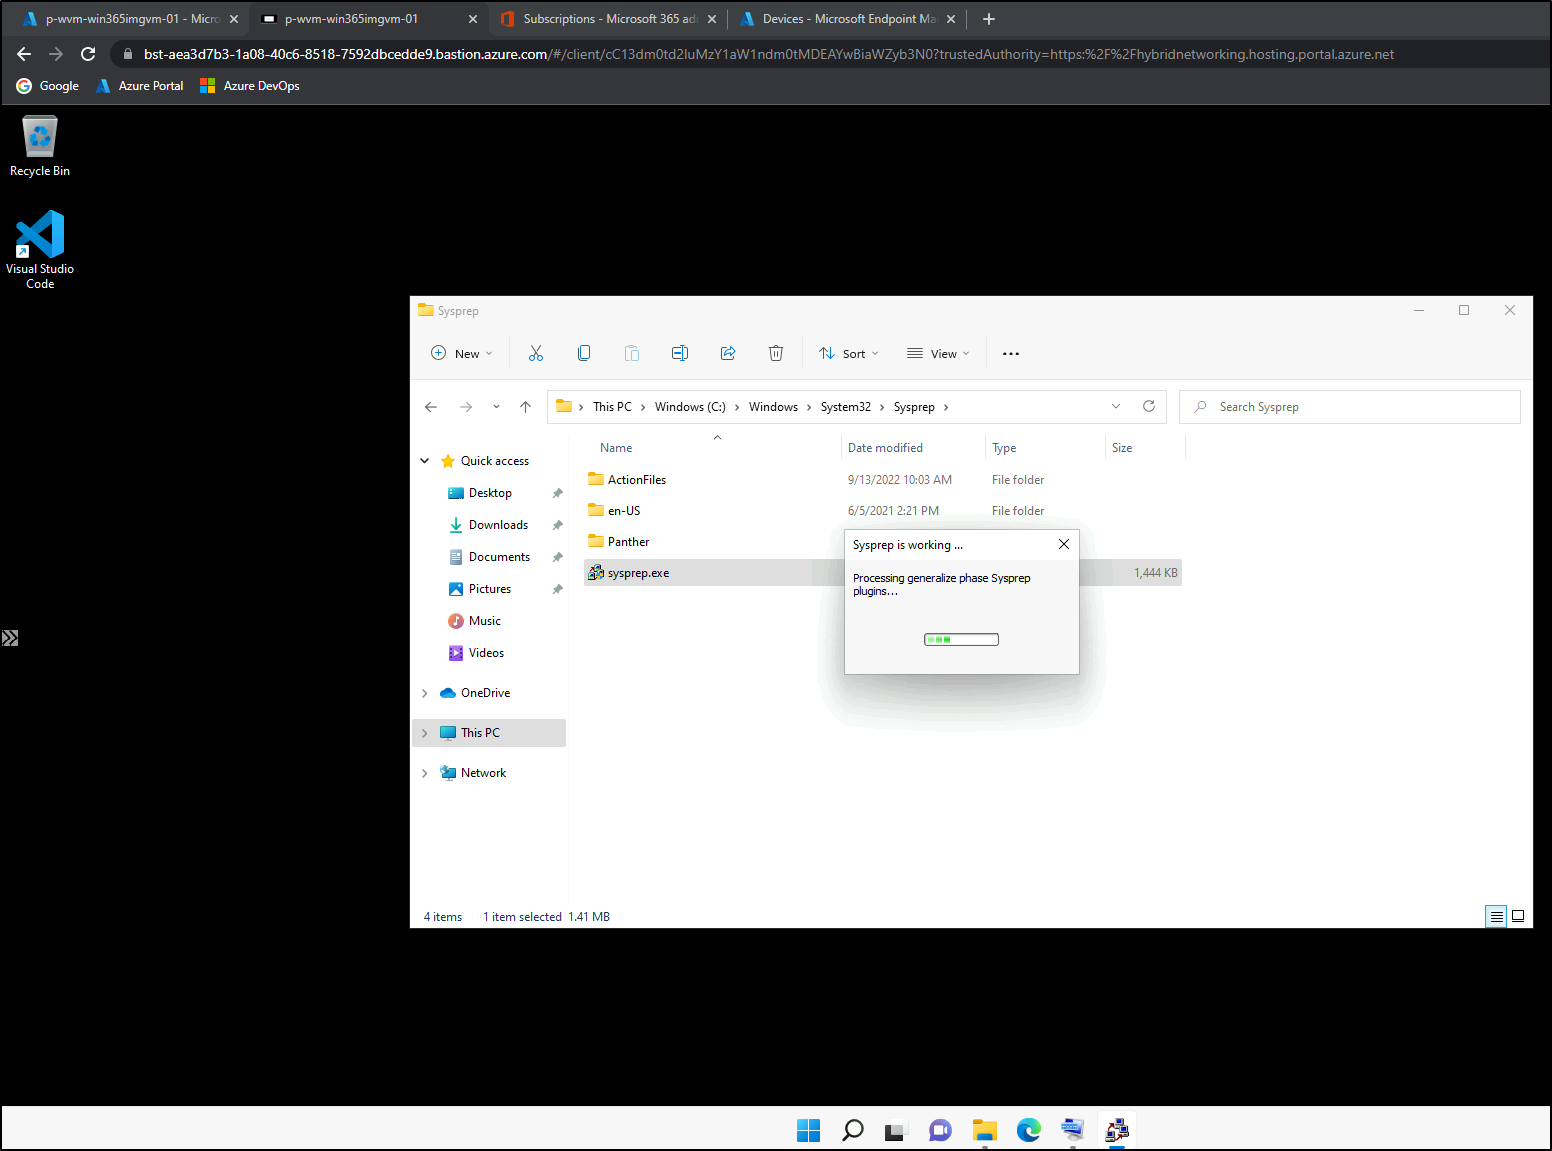
Now it’s time to connect your Image VM. In my case, I’m using Azure Bastion. As you can see the Azure Marketplace includes M365 apps and they’re all preconfigured!
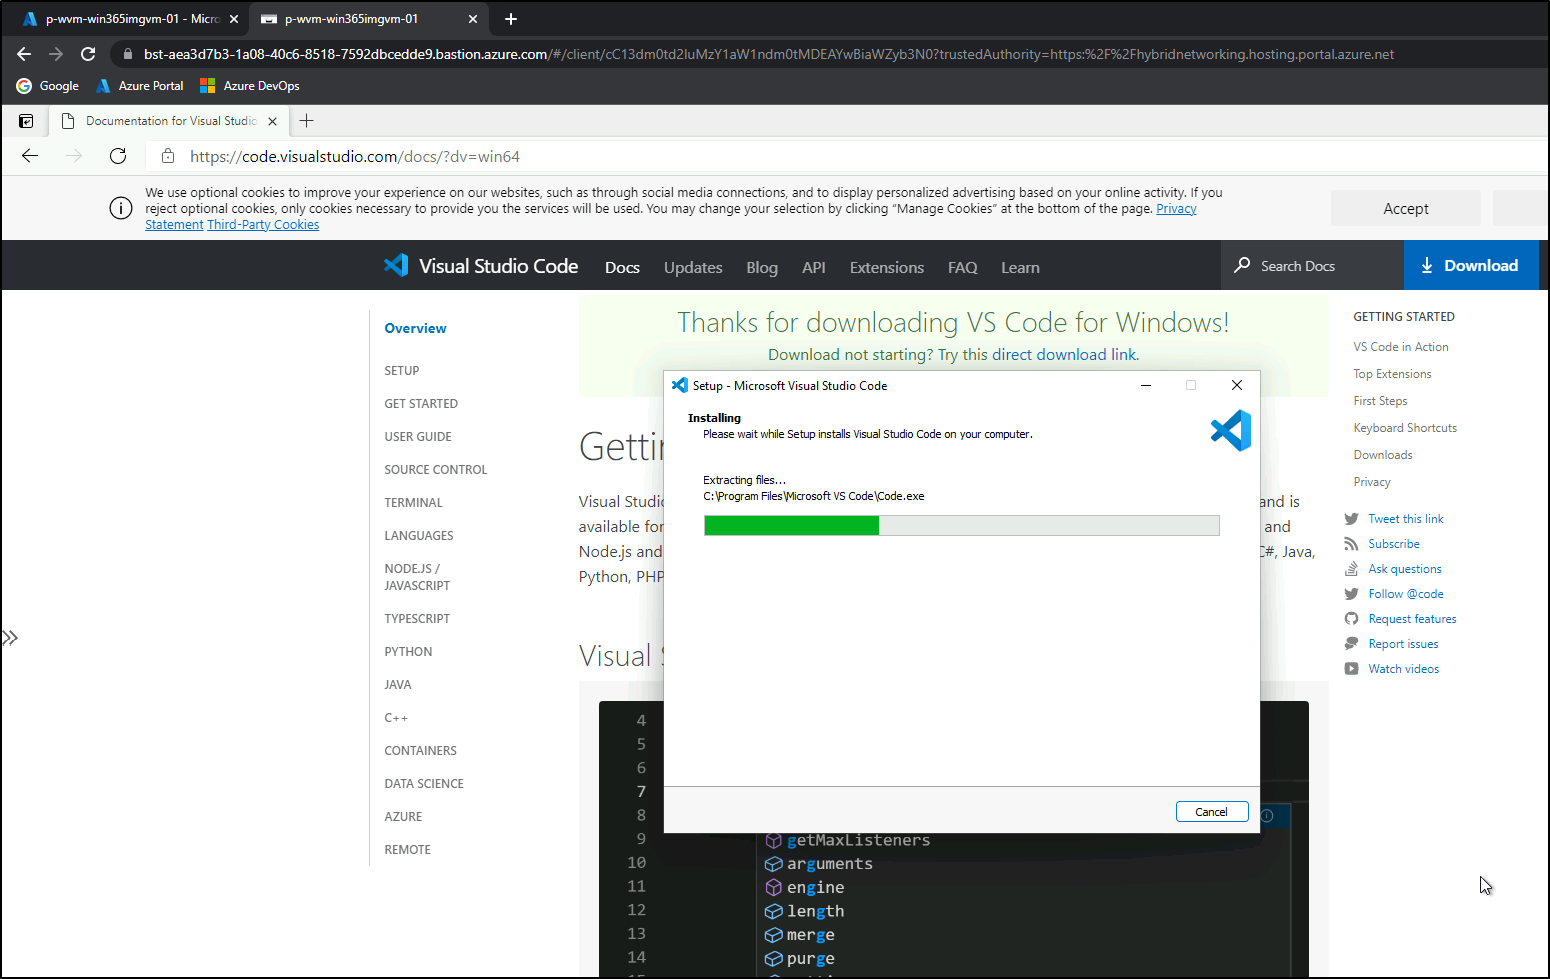
Now it’s time to customize your image. Install apps of your choice, configure the settings you want, until it’s all ready to build the image. In our case, we’re just installing Visual Studio Code (system installer):
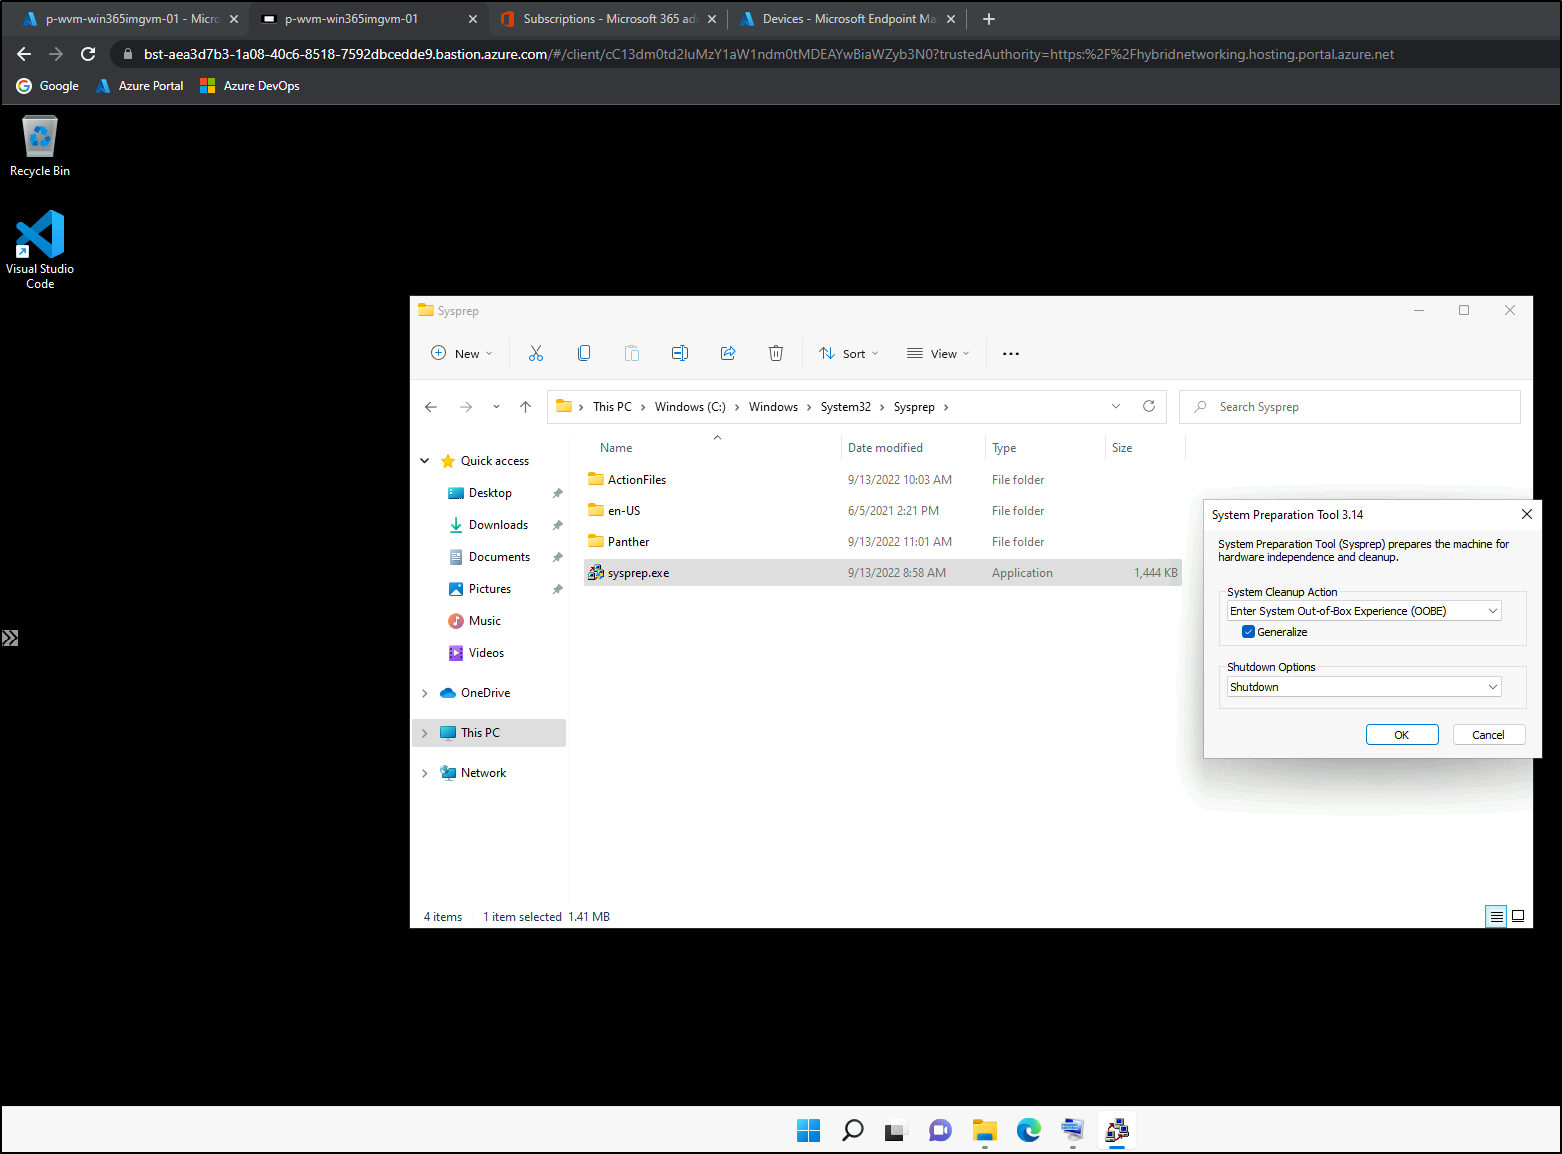
Don’t forget to execute a Sysprep to generalize the VM:
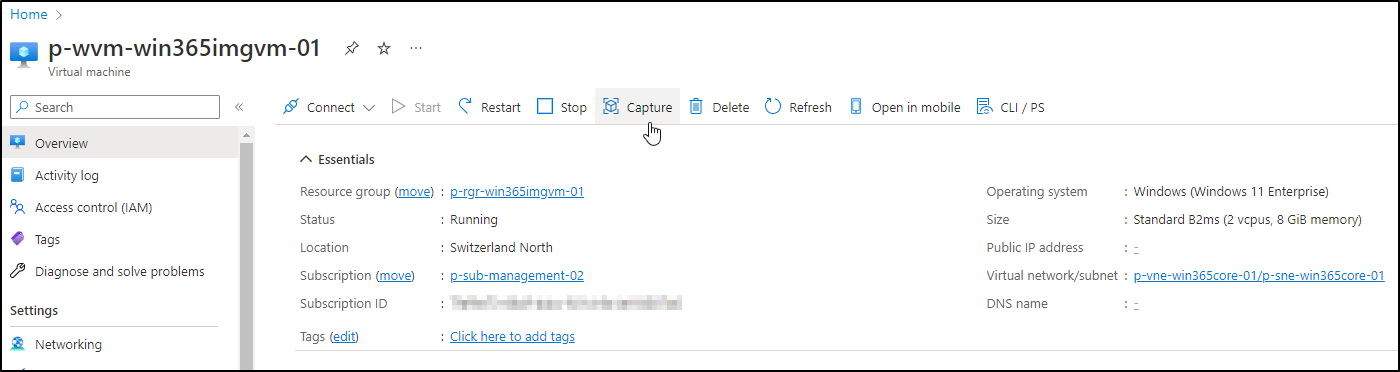
When Syprep is finished, the VM will shut down. Go back to the Azure VM Overview and click on capture:
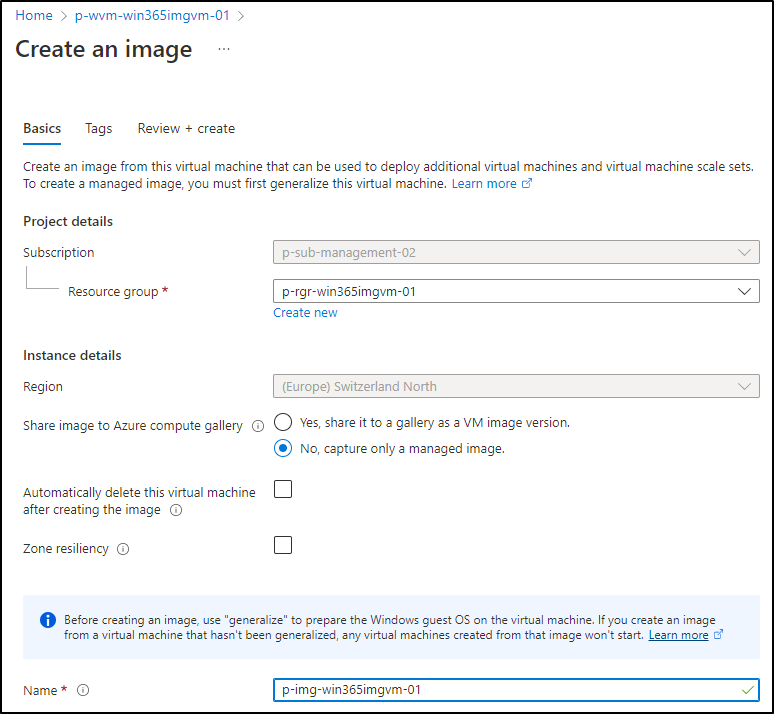
For now, Win365 doesn’t support loading Images from an Azure Compute Gallery. That’s why we’re choosing “No, capture only a managed image” on the next screen. Give it a nice name and create it:
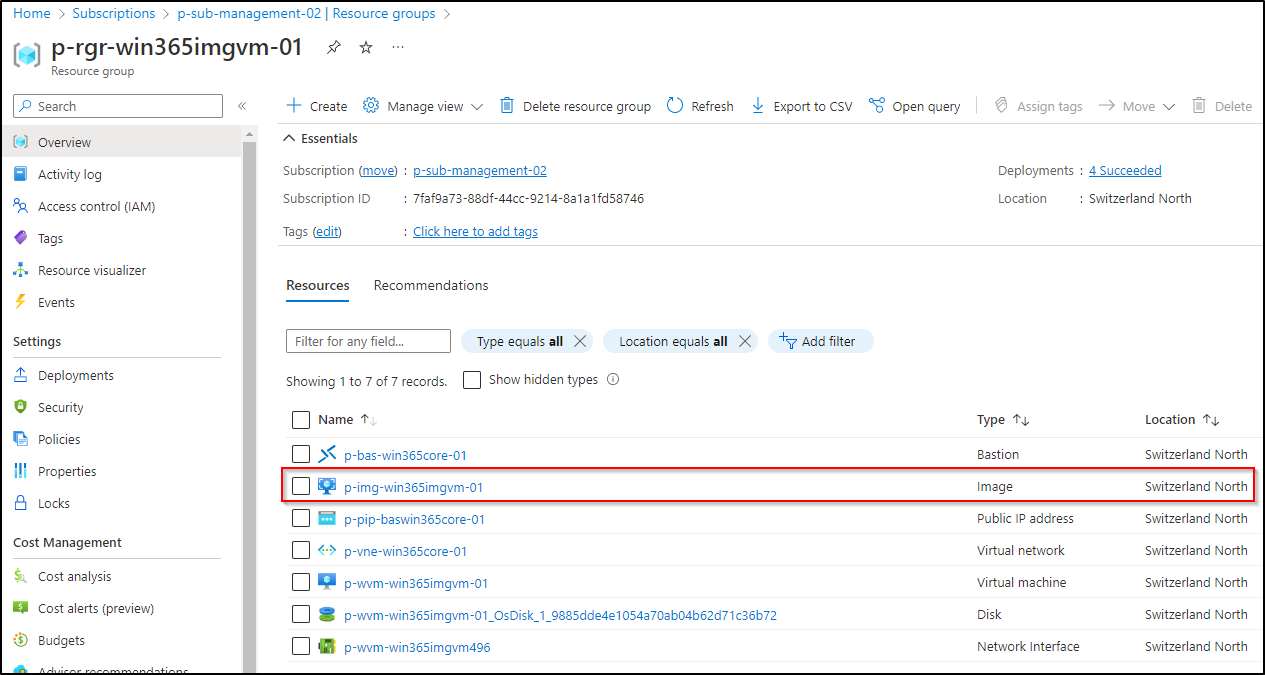
After some time, a image resource will show up in your resource group:
Step 5: Upload custom image to MEM
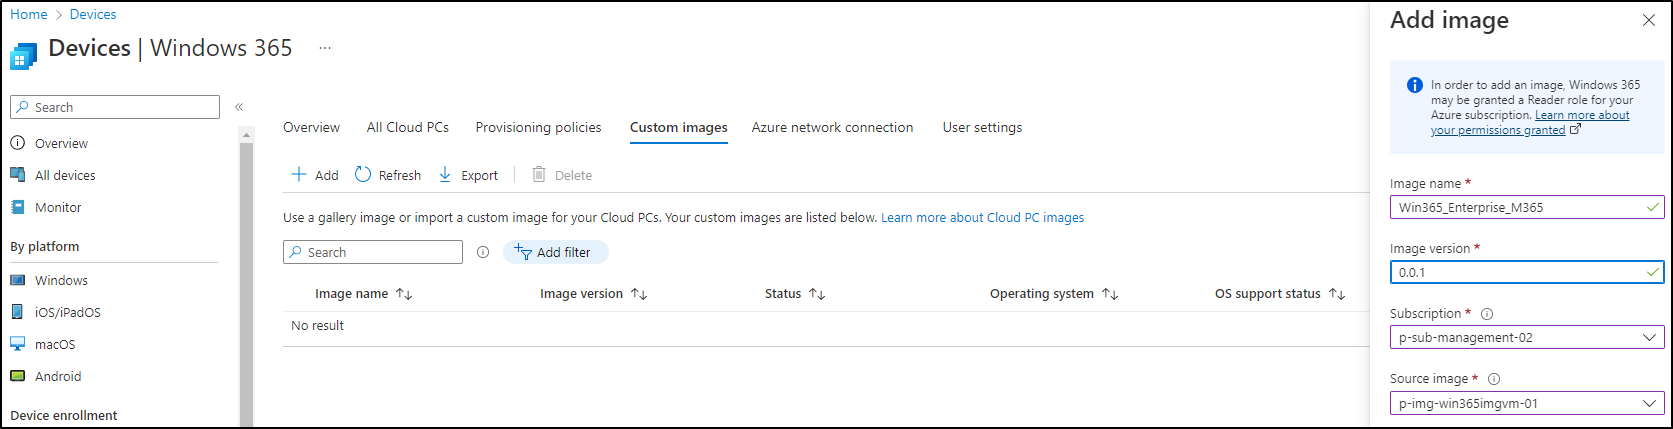
It’s time to go back to the MEM portal, under the Win365 console, choose Custom Image and click on Add:

Enter an Image Name and a Version. Then choose the right Azure Subscription and the Image created before:
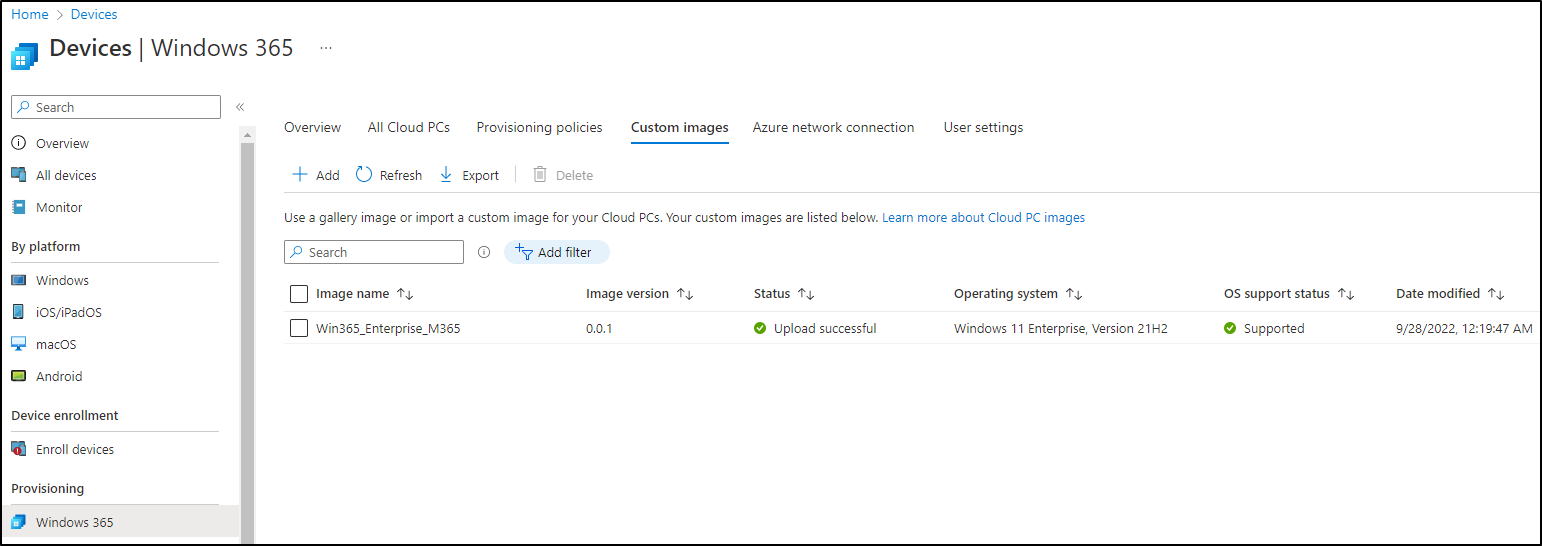
The upload could take over 30 minutes. After it’s completed, the image is ready to use later on:
Step 6: Set up Azure network connection
In most cases, you’ll want to place your Cloud PCs into an Azure VNET, that is peered to the hub and connected to onprem through a S2S VPN. For that, we need to set up an Azure network connection. In MEM, Win365 console, Azure network connection, choose create. Now it’s also time to decide if you want to go with hybrid oder AAD join.

- Hybrid join: A computer object for the Cloud PC will be created in your onprem AD. You can apply GPOs on it.
- AAD join: The cloud PC will show up in Azure AD and MEM. You can deploy configuration profiles on it.
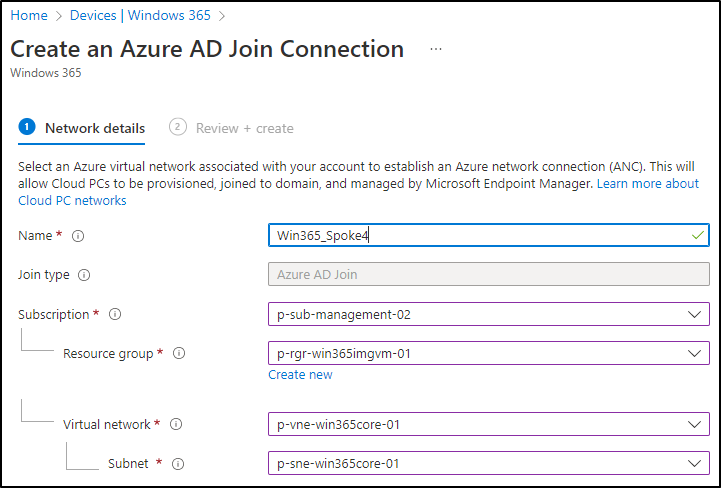
For now, we’re choosing AAD join.
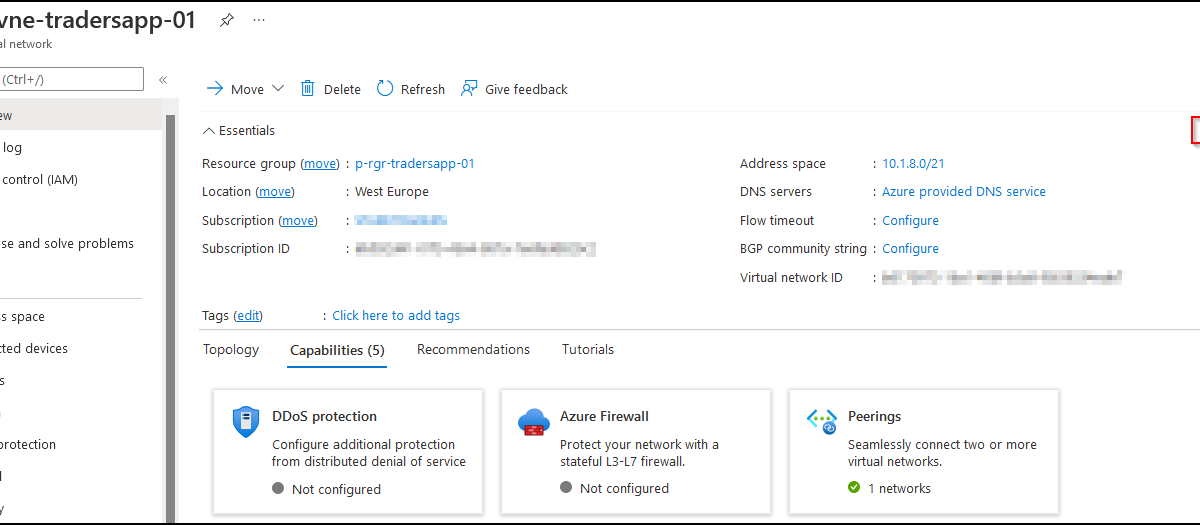
Enter a network connection name, choose the subscription (where your desired VNET is), the VNET and the subnet:
The Win365 service needs a couple of RBAC permissions, that will be set automatically during the deployment:
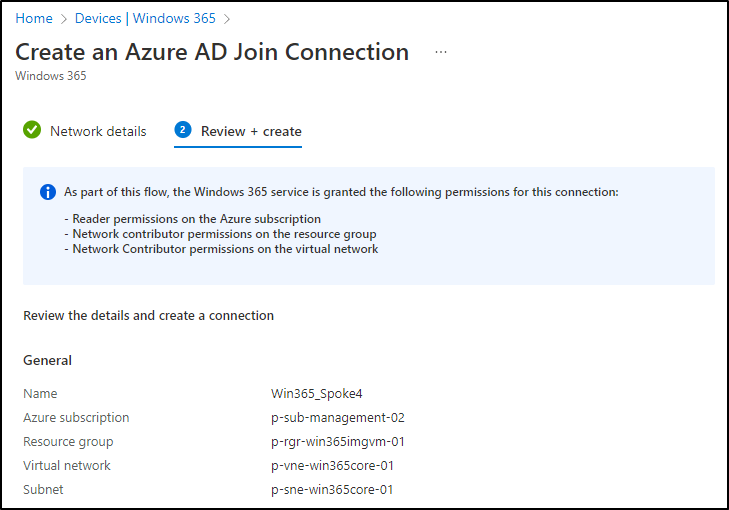
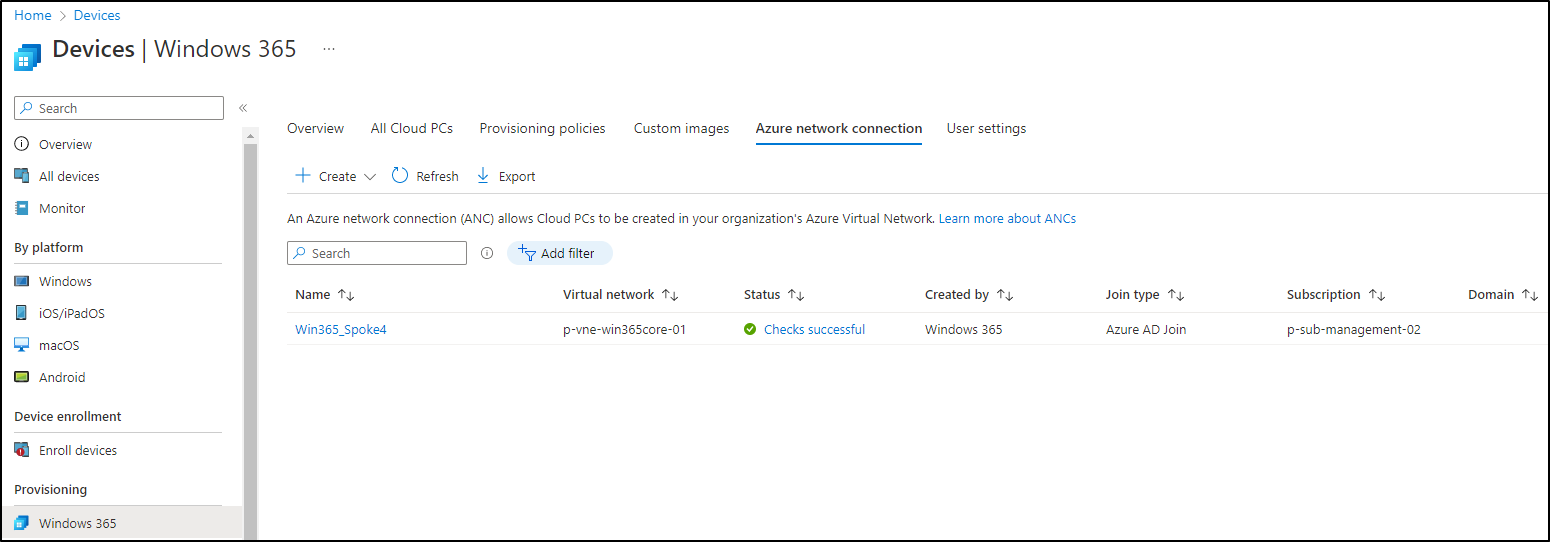
Click Create. After some time, the network connection should appear as ready in the console:
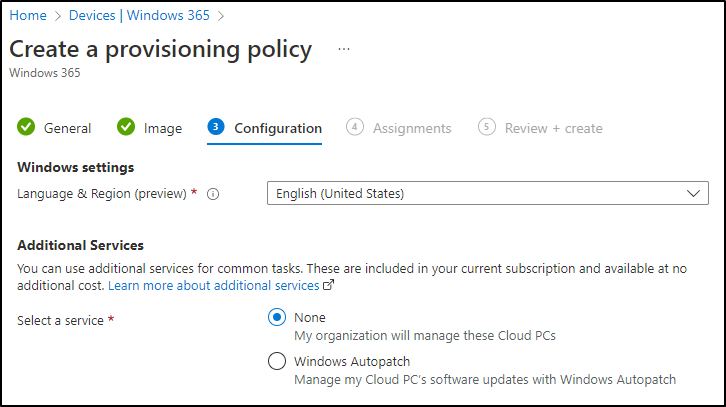
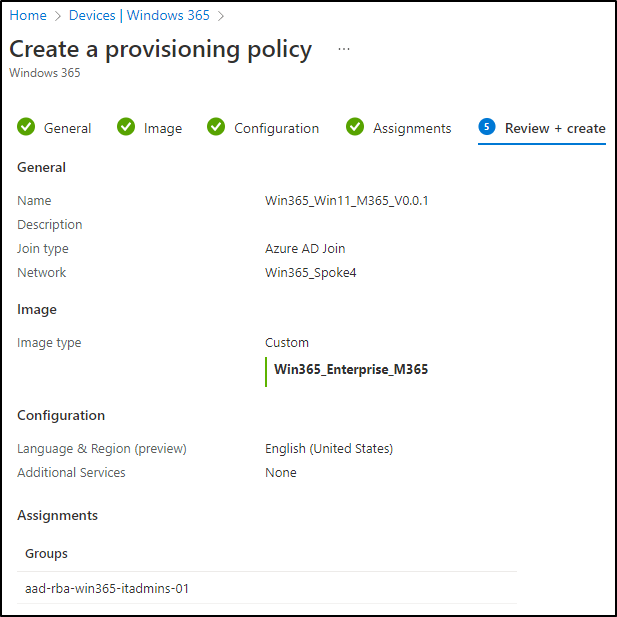
Step 7: Create a Provisioning Policy
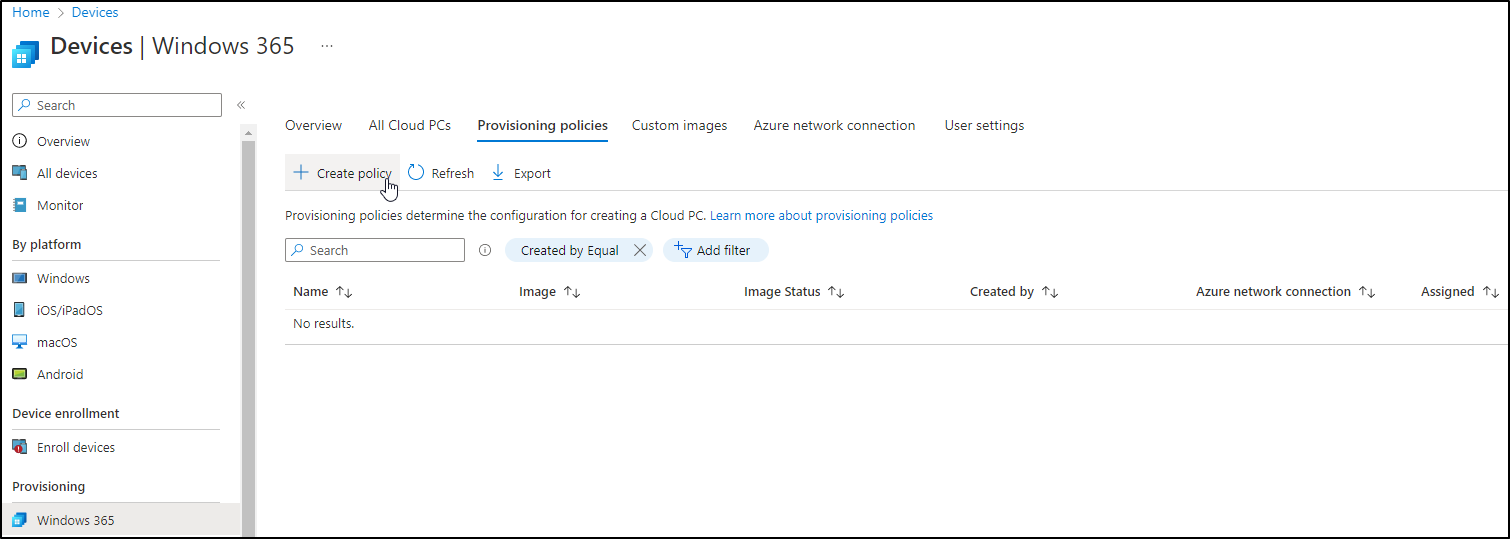
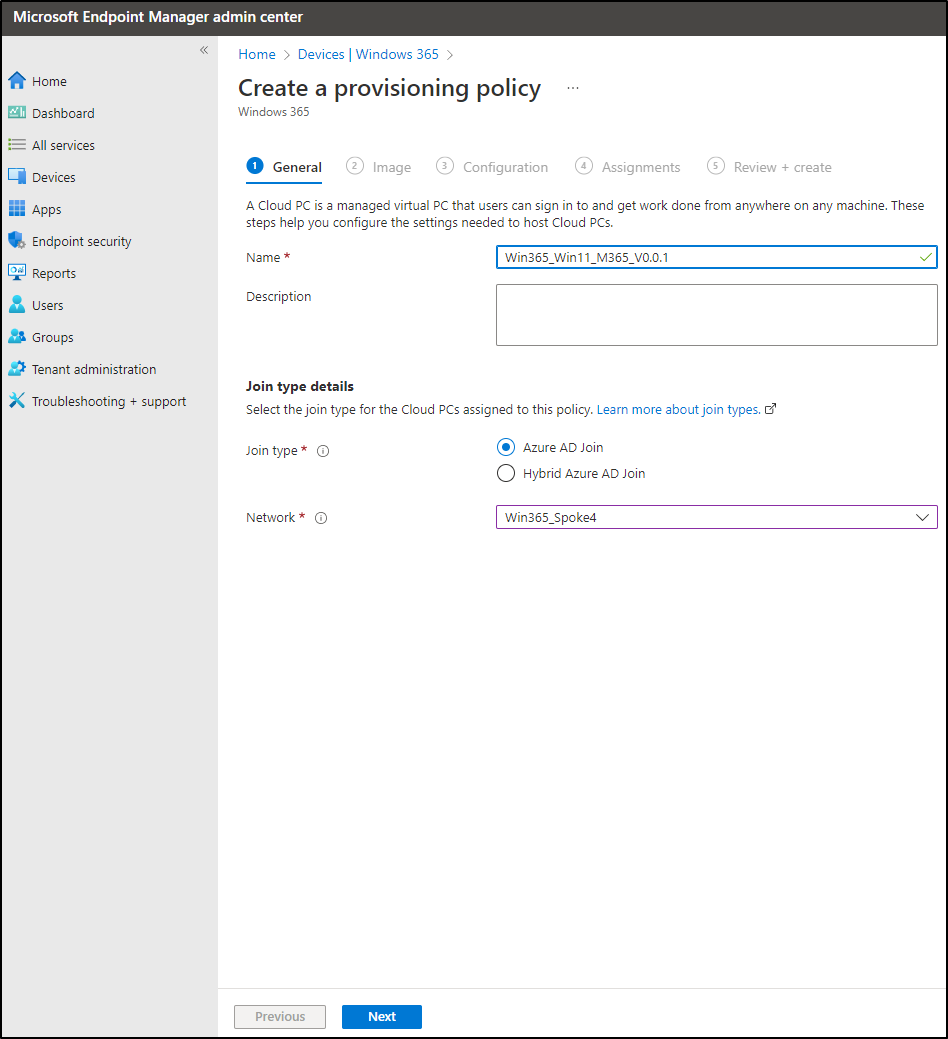
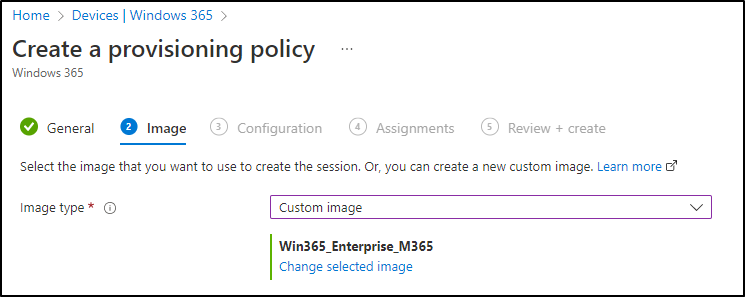
Now, everything’s ready for creating a Provisioning Policy. Click Create Policy:

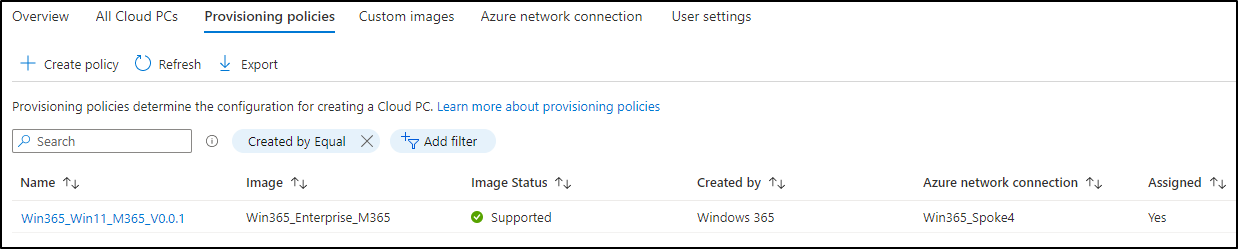
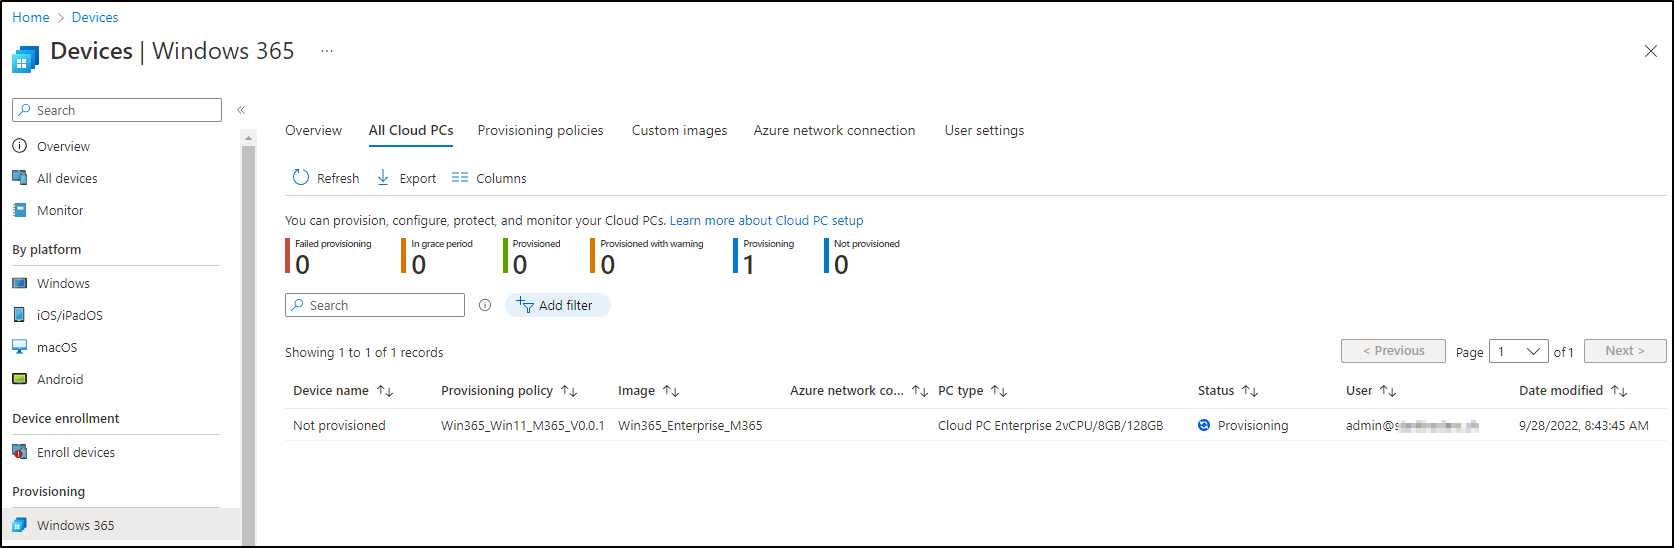
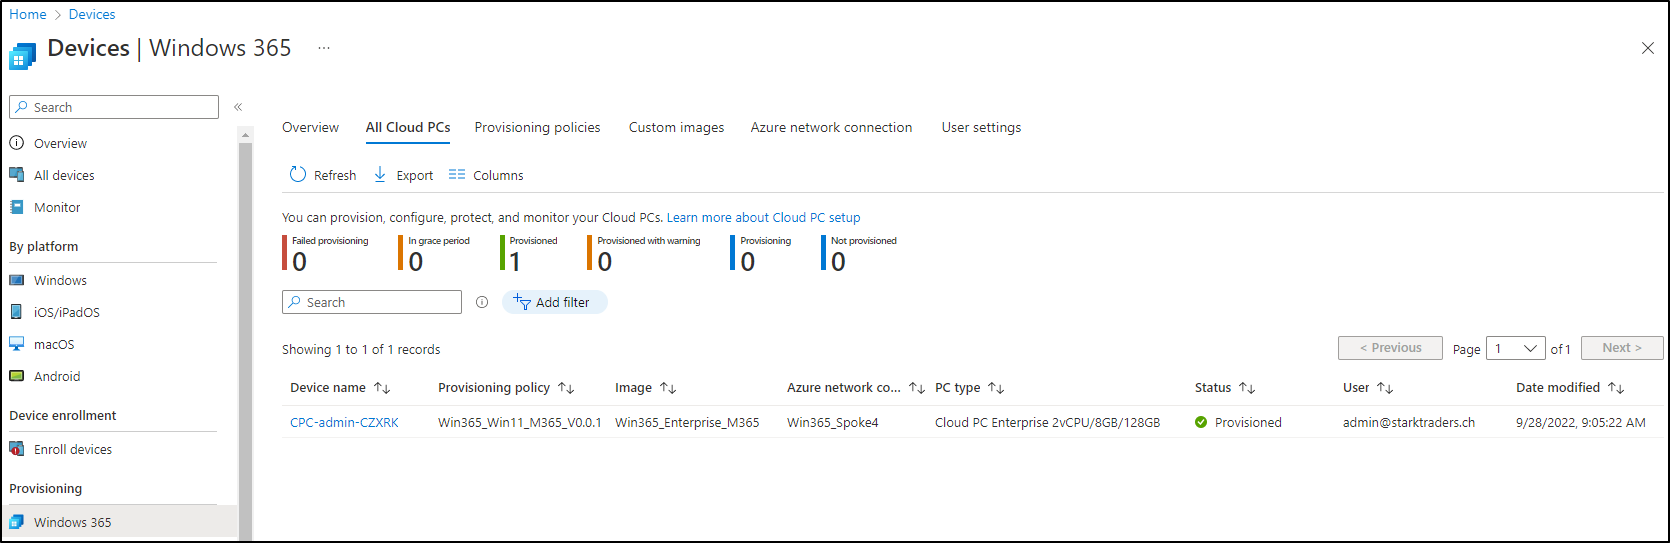
After that, you’ll see the provisioned Cloud PC in your console. I didn’t find a way yet, to rename it. If you have found one, please leave a comment below.
Step 8: Test it
Now it’s finally time to connect to our customized Win365 Cloud PC. You’ve got two options available:
- Web-Portal: https://windows365.microsoft.com
- Windows Desktop Client: What’s new in the Windows Desktop client | Microsoft Learn
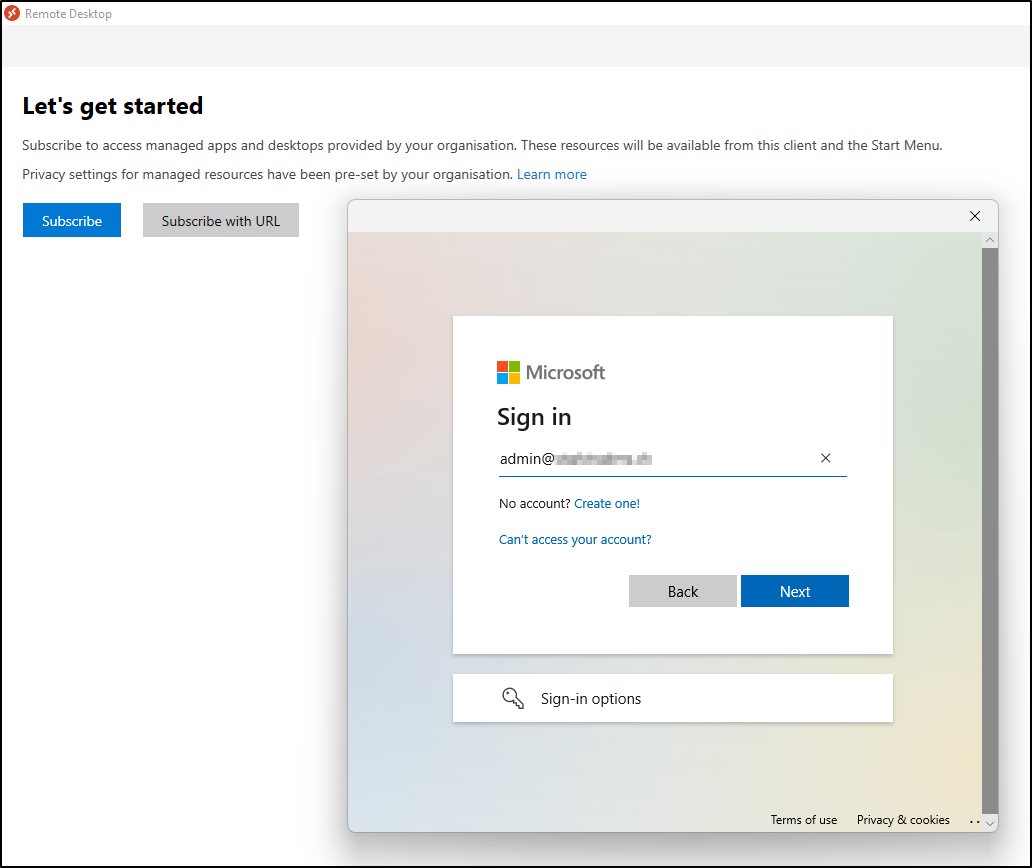
I would recommend you download the client and install it. After you’ve done that, open it up and Click Subscribe. Enter your Azure AD credentials:
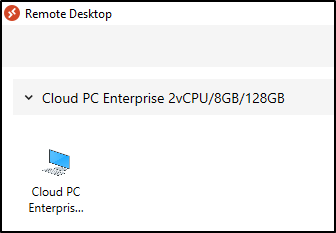
After that, you should see your Cloud PC ready to connect:
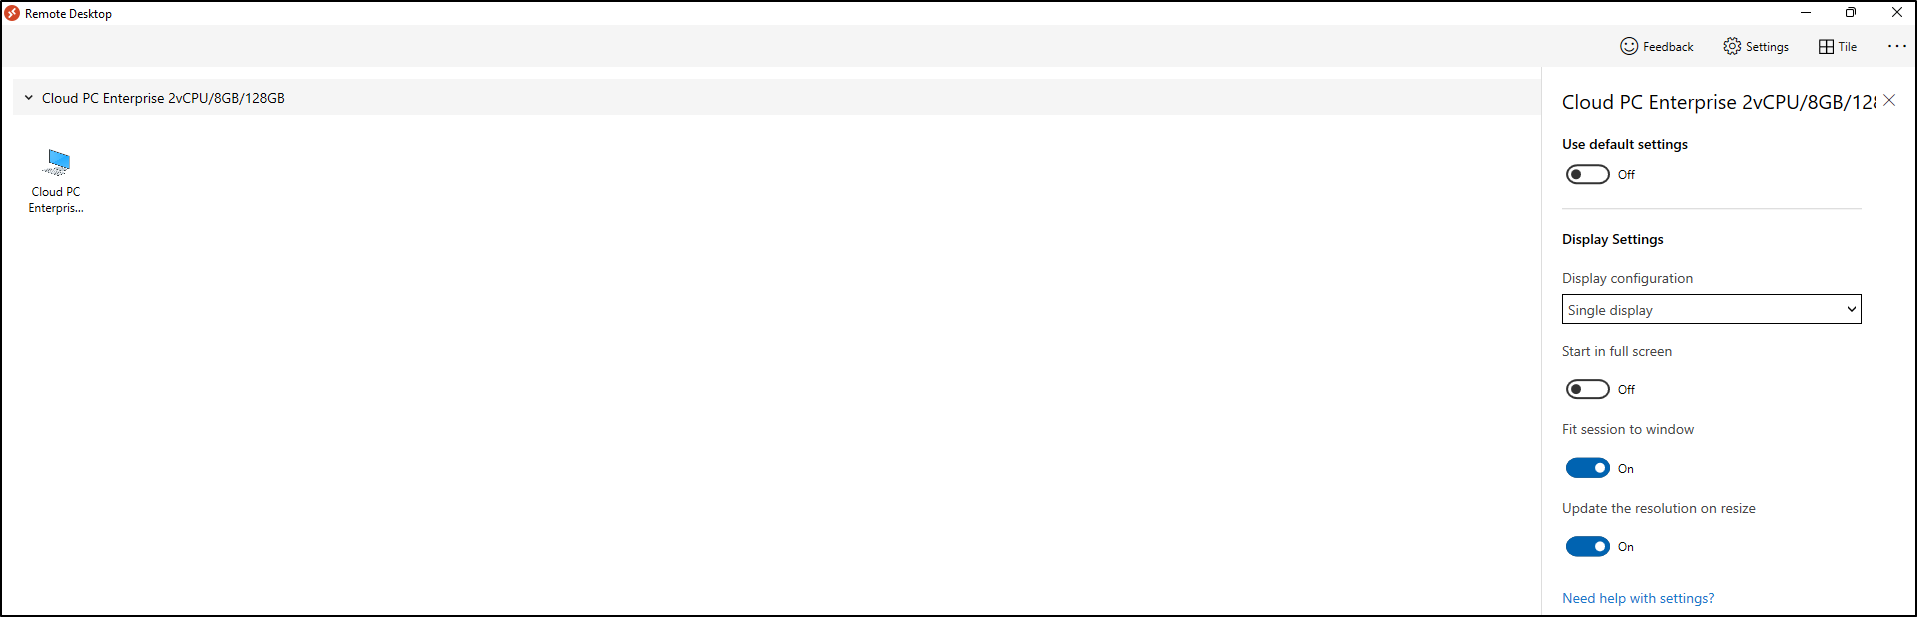
Bonus tip: Right-click the icon, Settings, to configure the RDP settings:
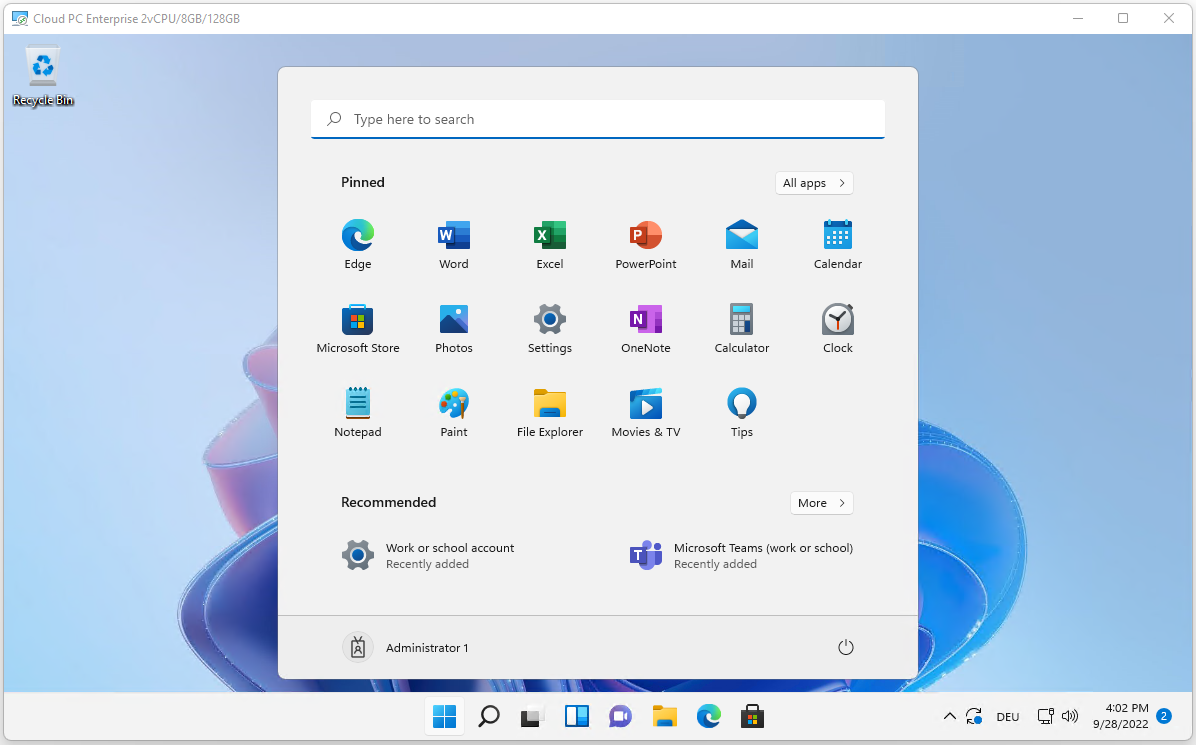
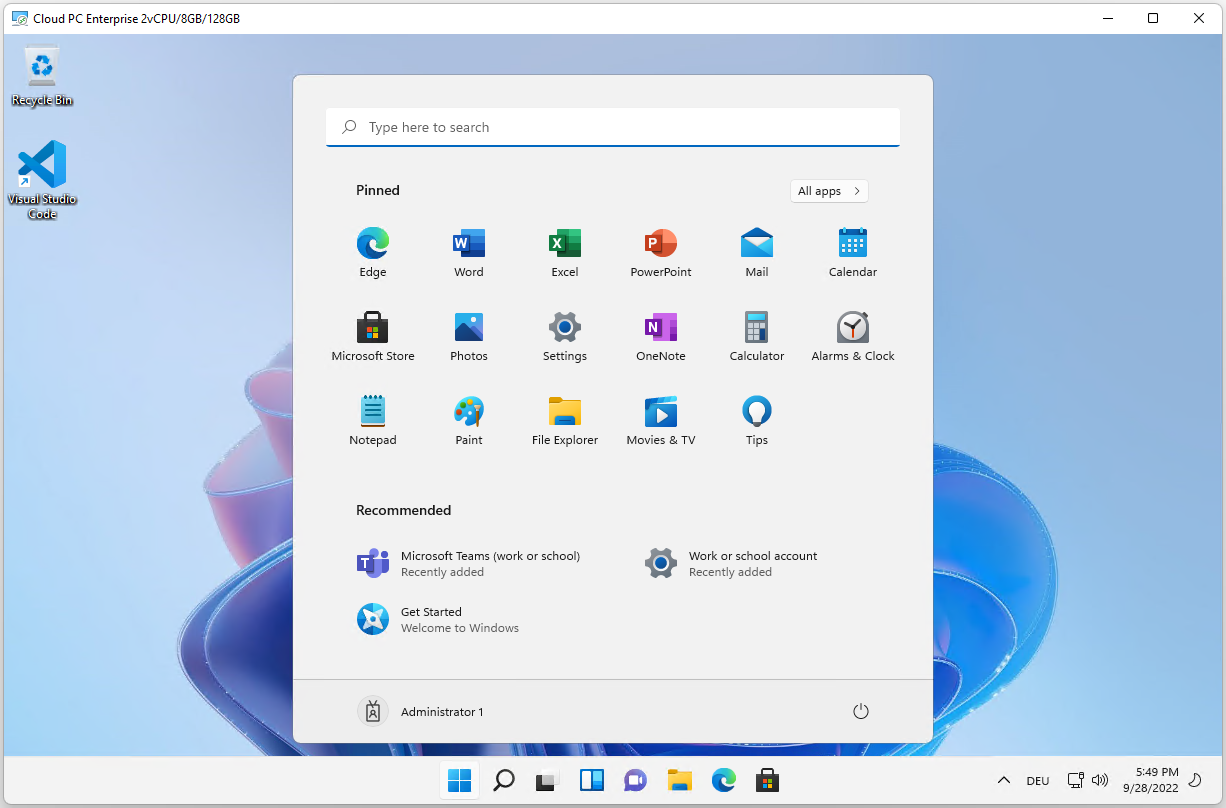
Double click the icon. After a super smooth login, you’re ready to use your Cloud PC (please note that Visual Studio Code is installed, because we’ve included it in the image before):
Step 9: Win365 Networking (Azure Firewall)
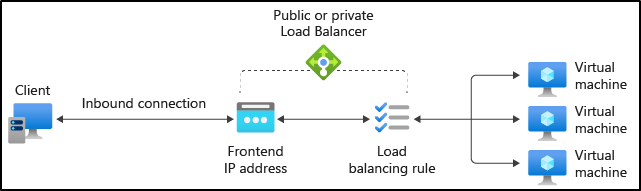
Now your Cloud PC is ready to use. It depends on the scenario, but in most cases, you’ll want to access some onprem Resources. I would definitly recommend to add some specific Firewallrules for Win365. In our demo here, we have the following situation:
- S2S VPN from onprem to Azure
- All traffic routed through an Azure Firewall (classic hub/spoke architecture)
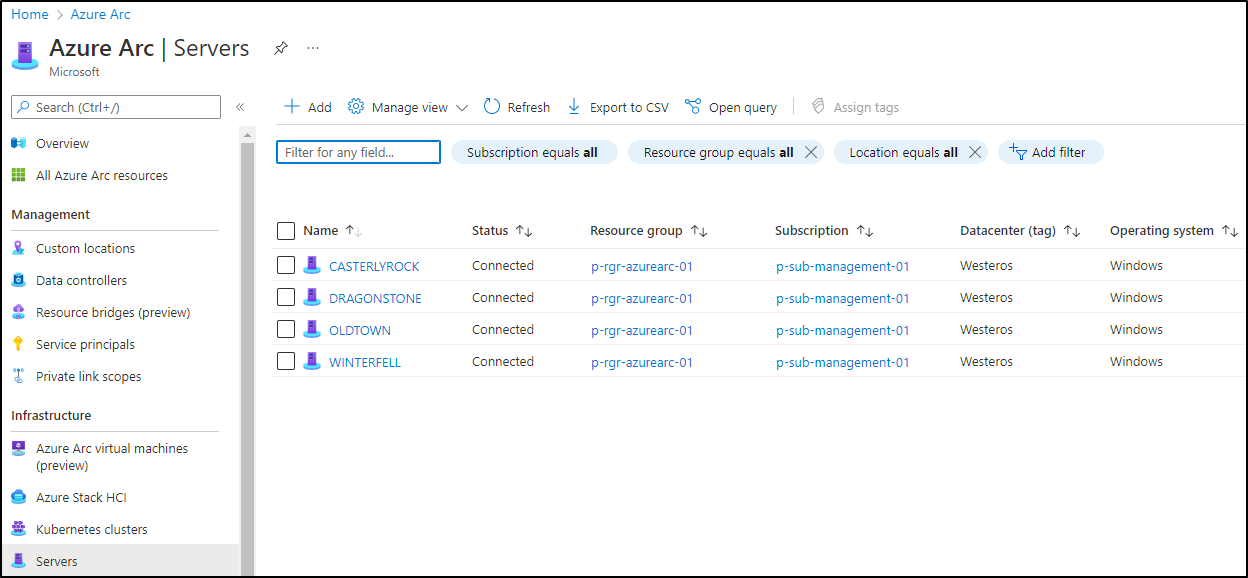
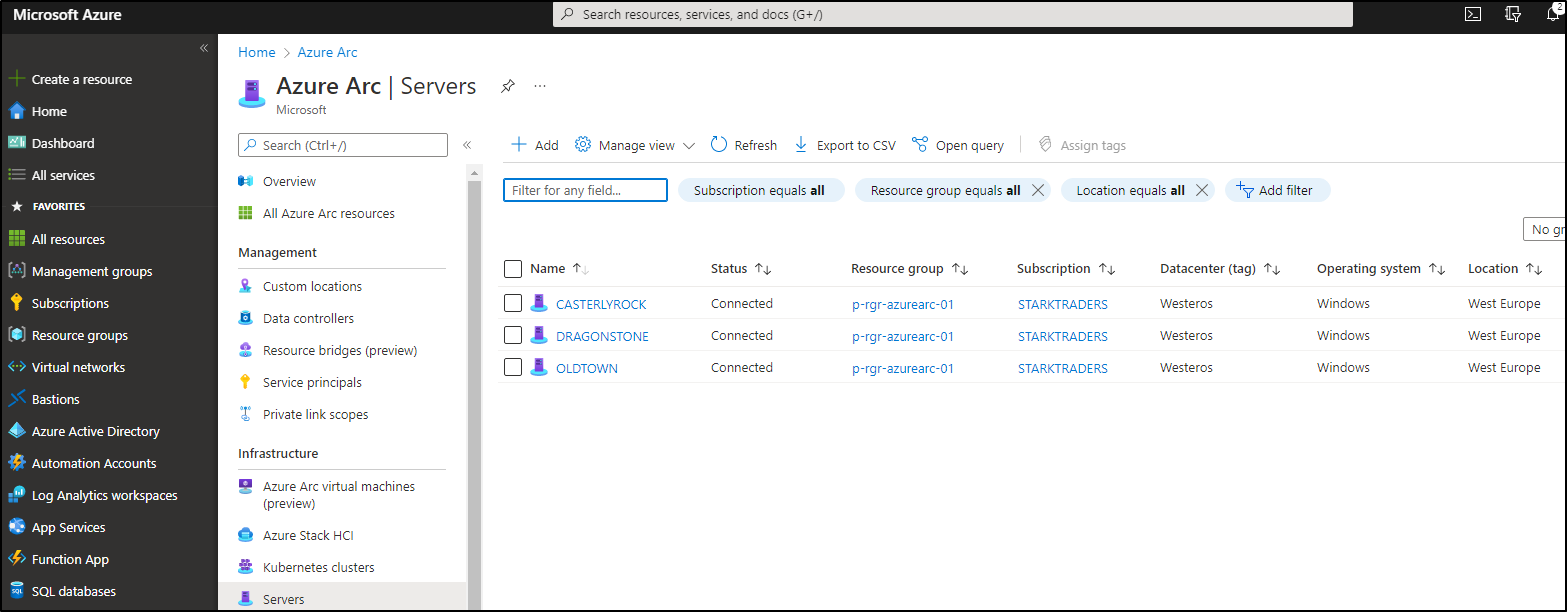
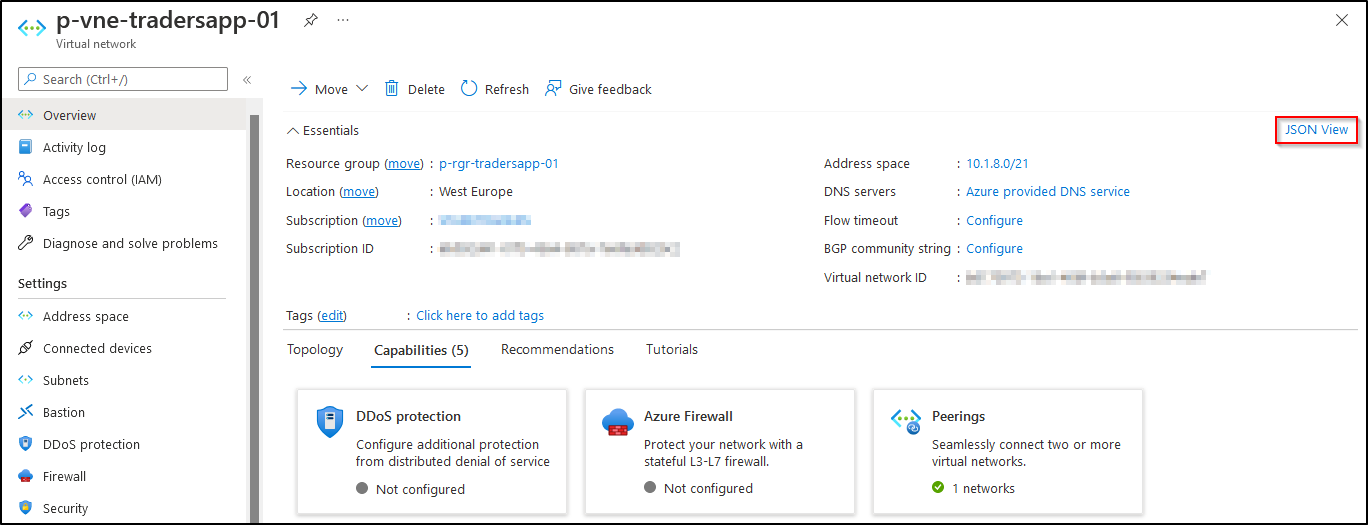
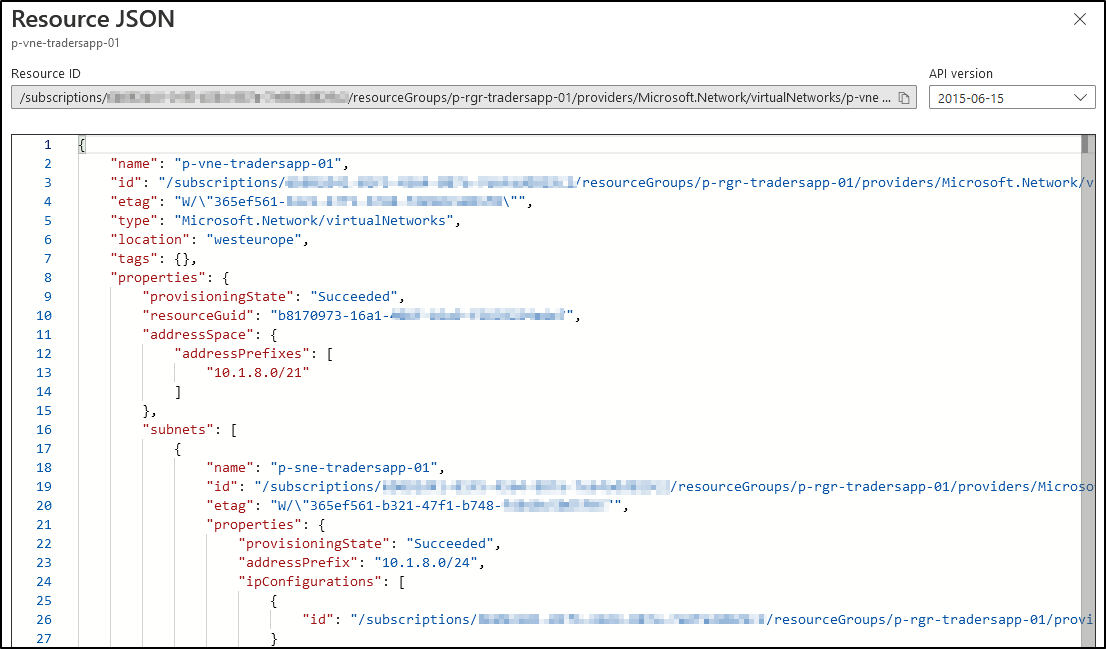
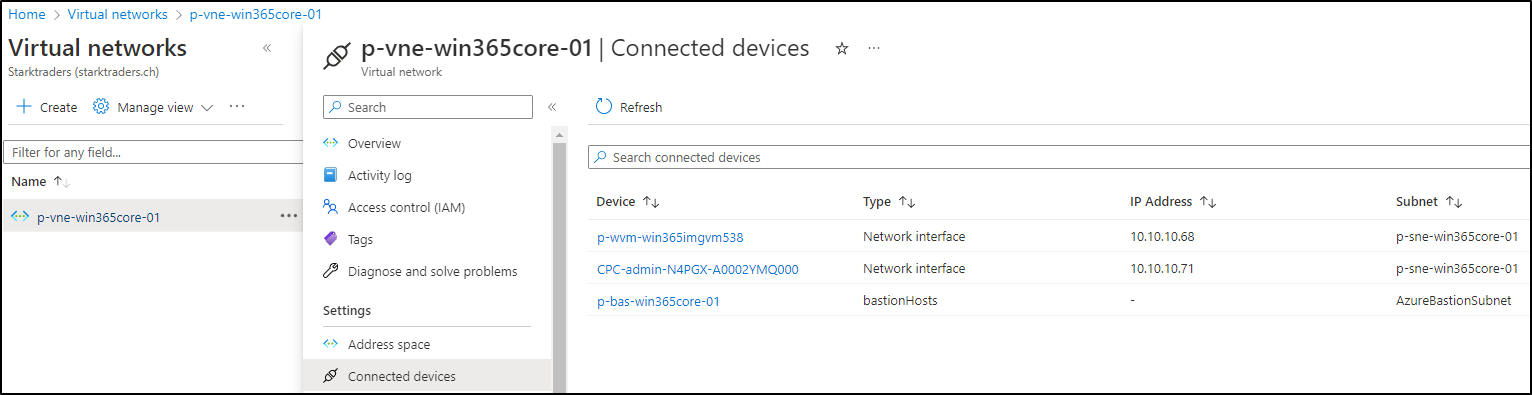
Let’s see if we can find our Cloud PC in the Azure VNET. Go to the Azure Portal and look for the VNET, that you’ve chosen for the Win365 Azure network connection. Under Connected devices, you should see your Cloud PC (besides the Image VM and the Bastion Host):
Conclusion (and notes from the field)
Maybe you’re thinking of the same as me in this moment: Does it make sense to activate it for all my VMs? Especially if I have a lot of them? Not really.
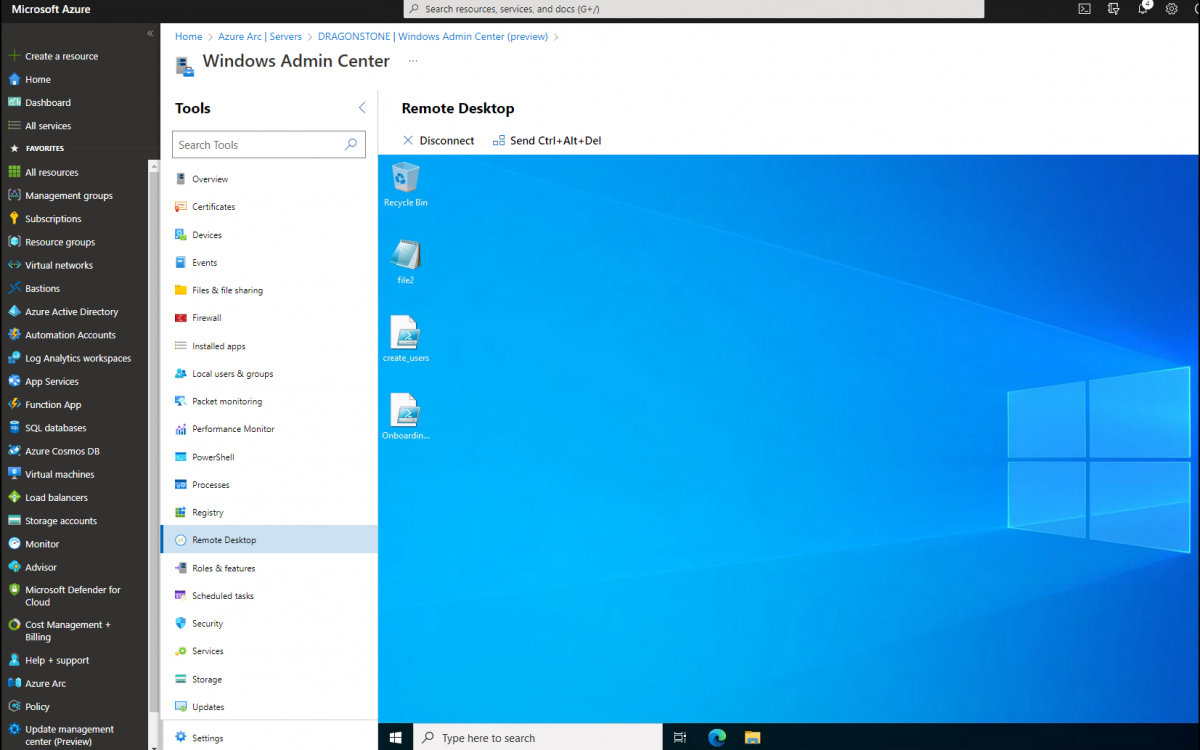
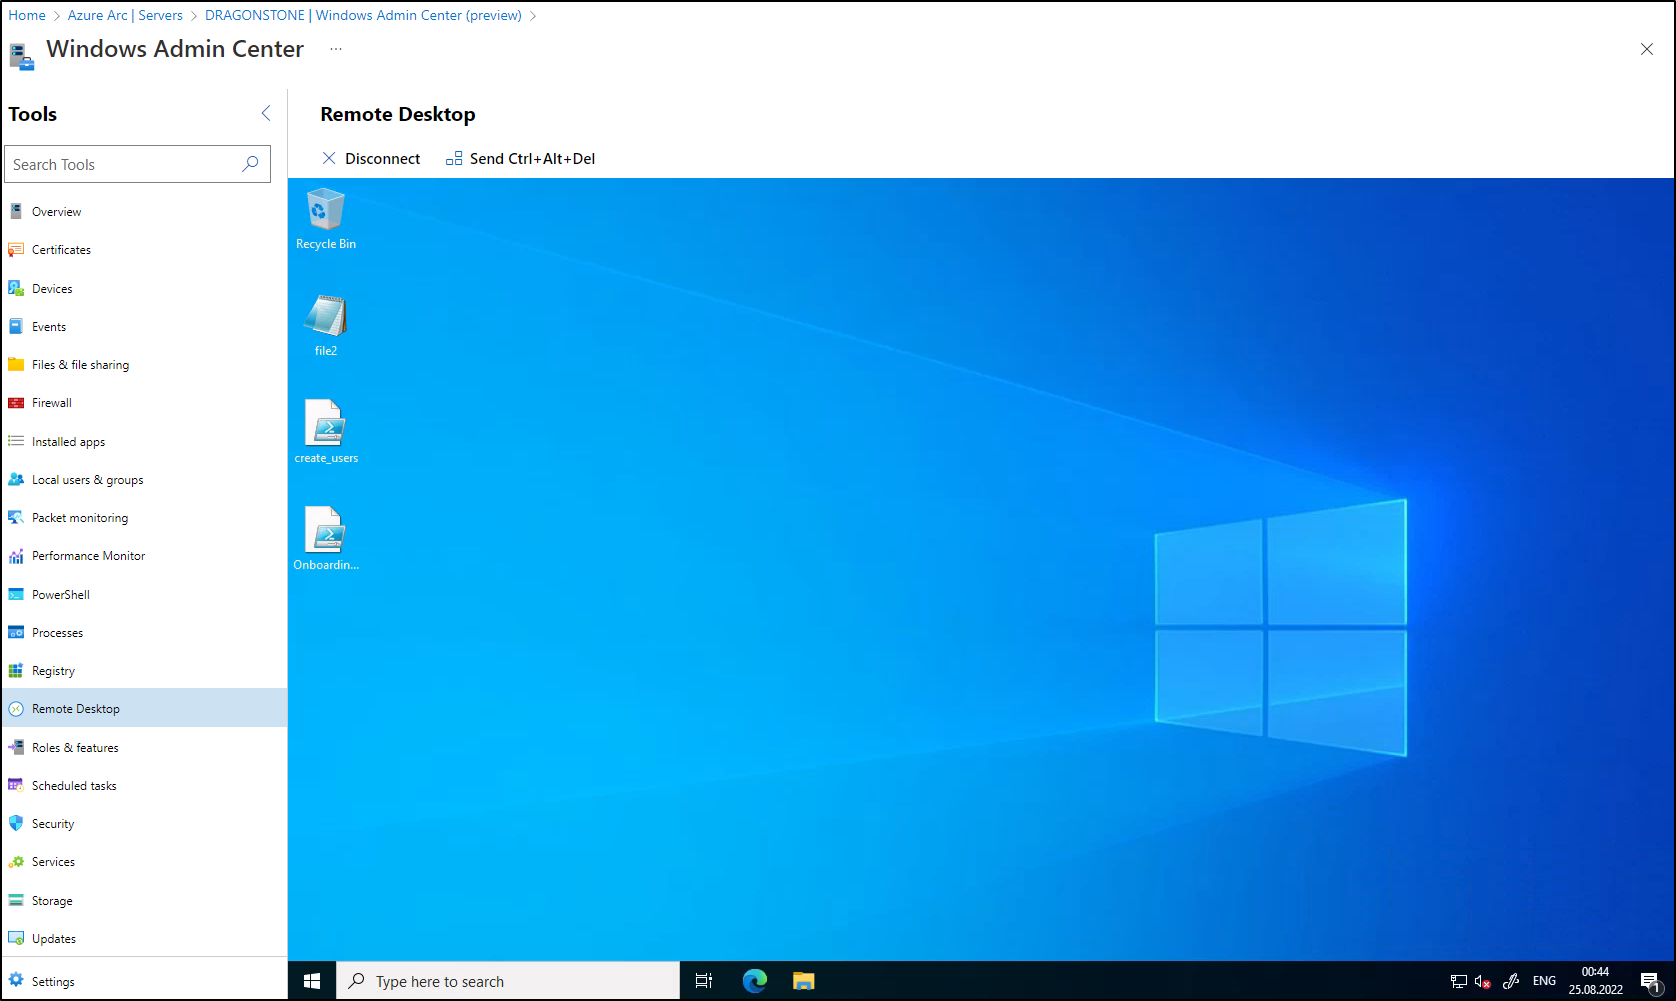
In my case, I decided to install the Azure Connected Machine Agent on my Hyper-V host machine. This allows me to RDP into my host and start the Hyper-V console. In Hyper-V, I can start RDP session into my VMs from there.
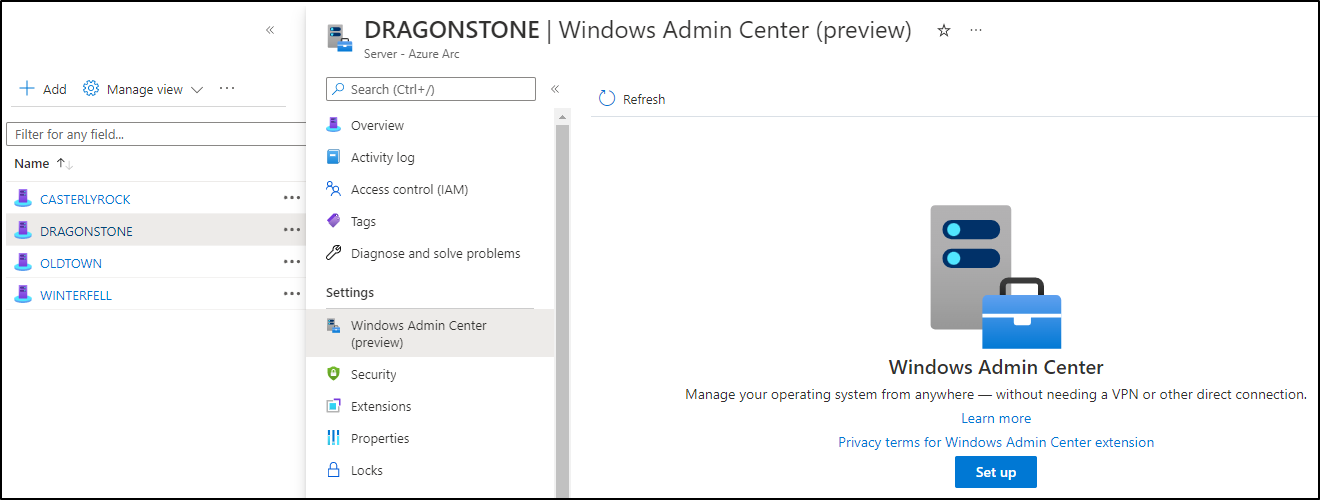
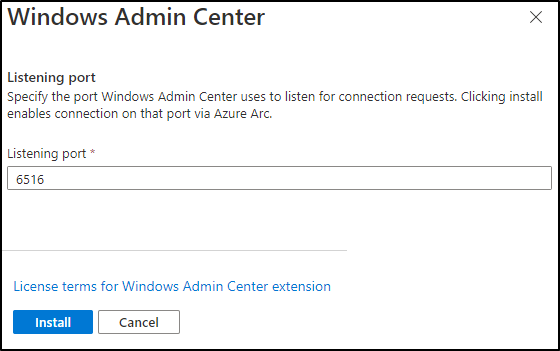
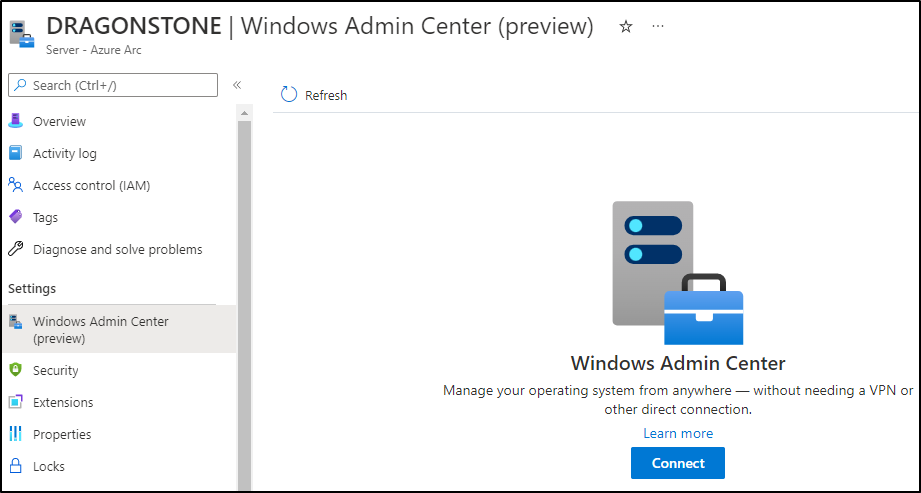
Either way, I would recommend that you install the Azure Connected Machine Agent on all your VMs to get a complete view of your environment. Then activate Windows Admin Center only on your host machine. That should do it.
Happy remote-administering from everywhere!