
Long awaited: On July 18th, Microsoft announced the Public Preview of Update Management Center in Azure:
Announcing Public Preview of Update management center – Microsoft Tech Community
Introduction
UMC is a native Azure service for patching your servers, wherever they are. As mentioned, the service is in public preview and it looks like, there’s a lot more to come. But, my first impression shows already some really nice benefits:
- No more Log Analytics Workspace and Azure Automation Account (native Update console in Azure)
- Azure Arc Connected Machine Agent only: No more messing around with different agents. Simply install the Azure Arc Agent (you’ll get the other Azure Arc benefits)
- Use of Azure Arc Private Link: Now you can patch your servers through the S2S VPN tunnel
- More Options for your update deployments
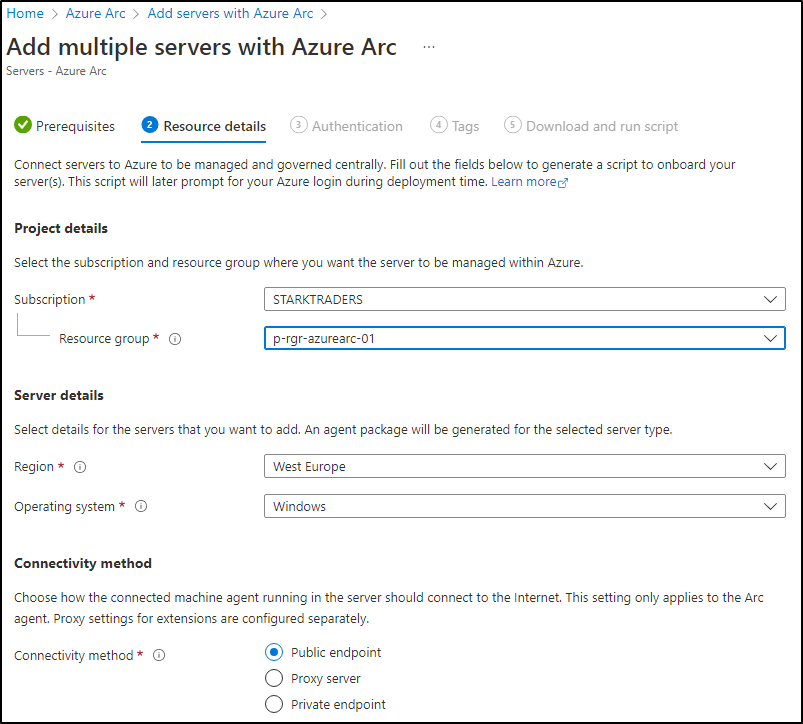
Step 1: Create an Azure Arc Resource Group
If you follow the Azure landing zone concept, I would suggest, you should create a new resource group for Azure Arc in the management subscription. Name like: p-rgr-azurearc-01
Step 2: Create a Service Principal in Azure Arc
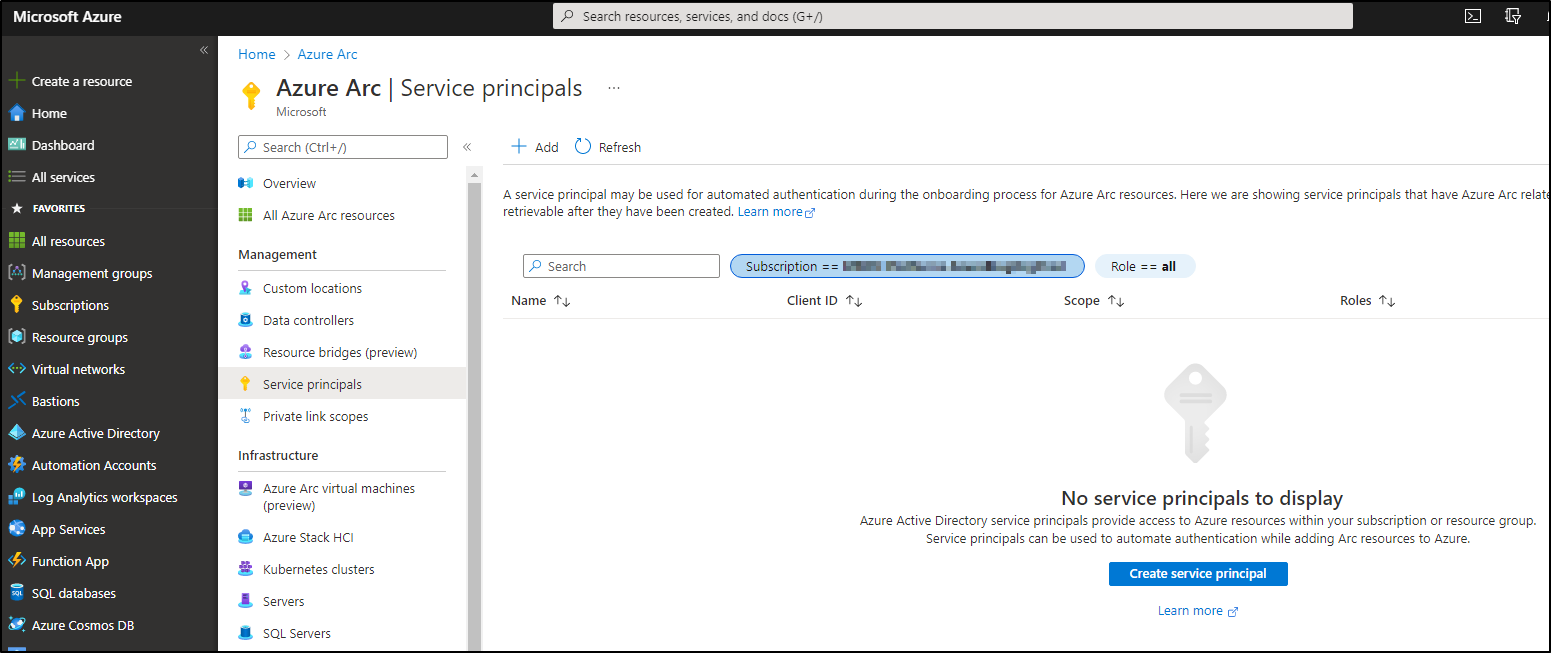
On the following page, you can choose the resource group you create in Step 1. Please copy/paste the ID and the secret to a safe please. You’ll need it later.
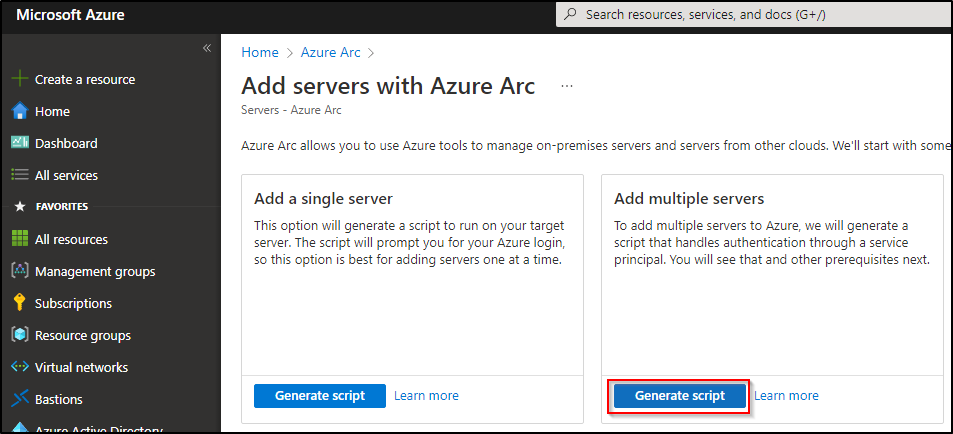
Step 2: Create Azure Arc Connected Machine Agent Powershell Script
Step 3: Run script on your VMs
There are multiple ways to run your script on your onprem VMs. A central scripting server, software deployment tools and so on. To get a complete view of all your VMs, I would install the agent on as many servers as possible (Windows and Linux).
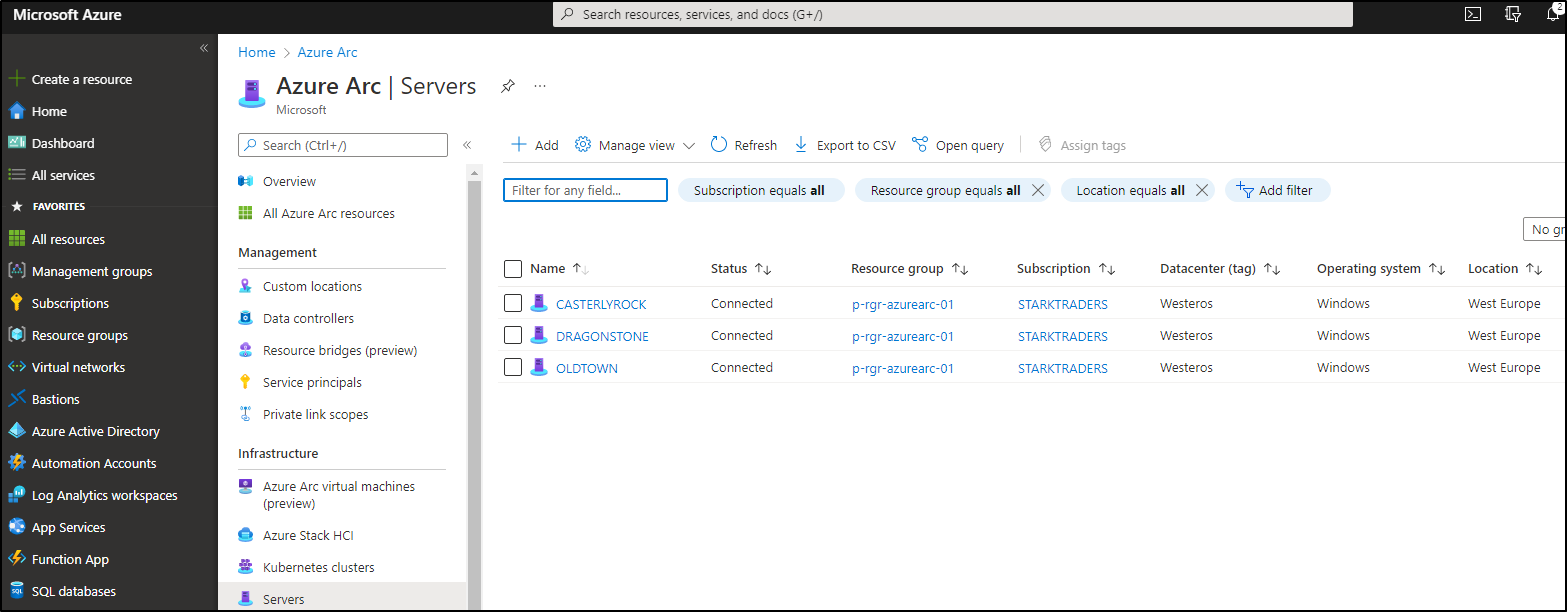
Step 4: Check your servers in Azure Arc
After you run the script on your VMs, it takes just a really short time, until they appear in the Azure Arc server console:
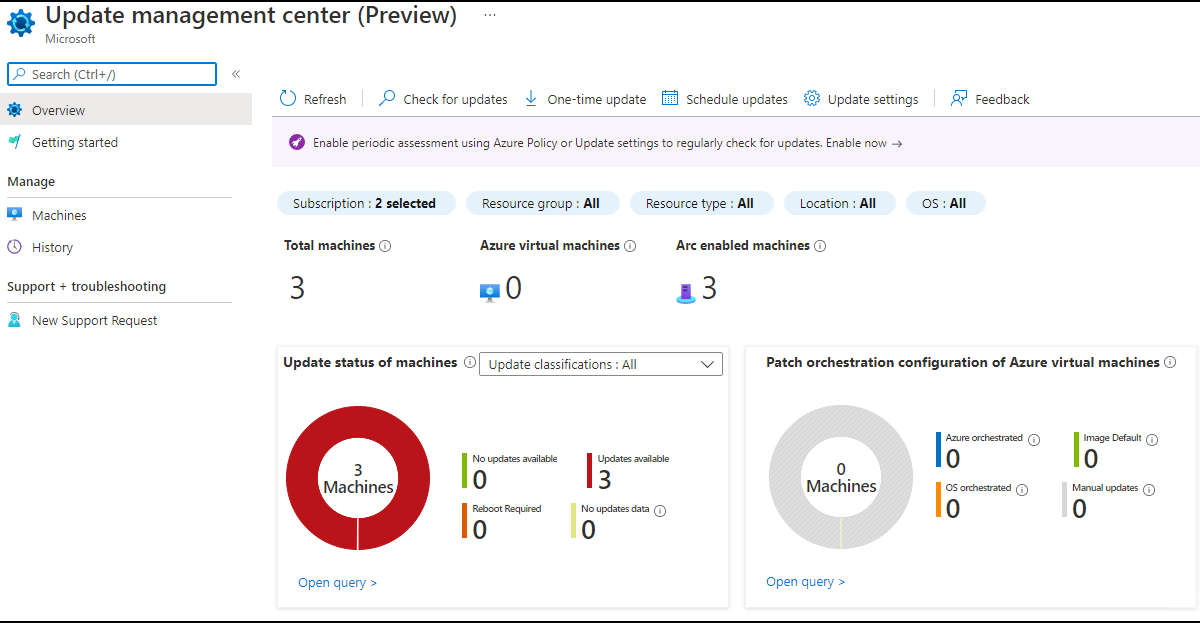
Step 5: Asses servers in UMC
Head over to the UMC console by typing Update Management Center in the Azure Portal searchbar. Click on machines, select your machines and click on Check for updates.
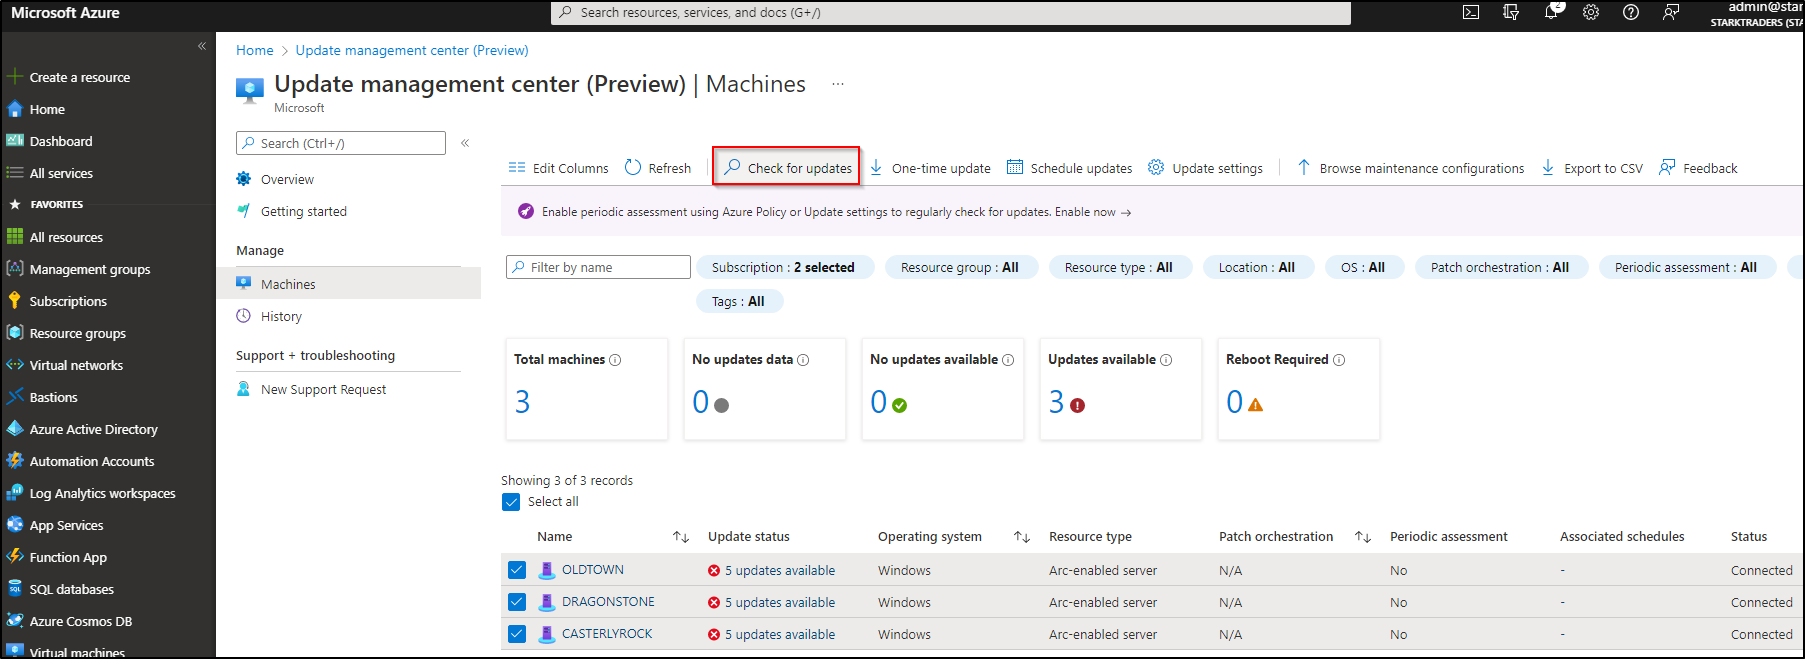
Coffee time! This will take some minutes to complete. If you just onboarded the servers, it could be that you see some error messages. Just wait a little bit longer and start the update assessment again.
If you see error messages during the assessment: I noticed, if you just installed the agent it could take some hours until the assessment goes through. In my case, on the next morning everything was fine.
Step 6: Schedule your first maintenance configuration or do a One-time update
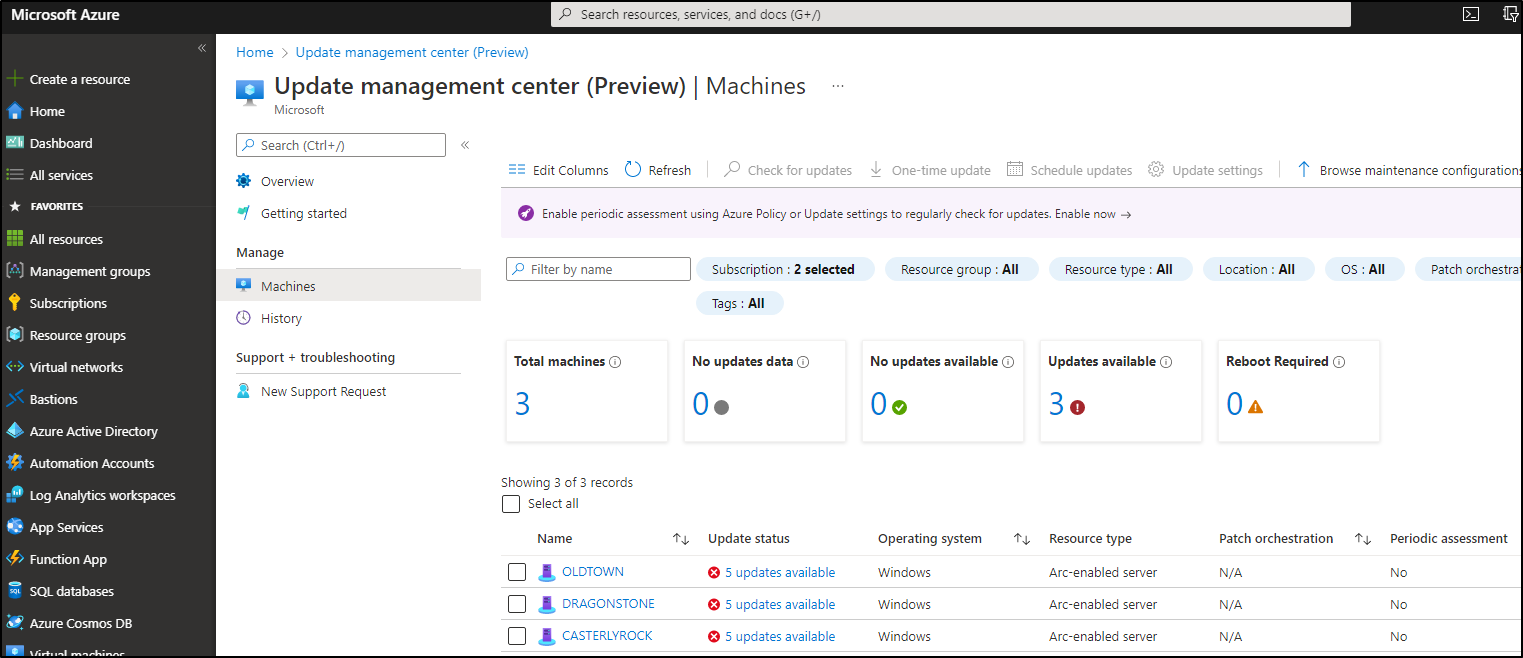
Now you’re ready to start patching! After the assessment went through, you should see your missing updates:
Patch deployments are now called “maintenance configuration”. Click on Deploy Updates in the UMC console. You’ll see tons of options for your deployment, that you can explore/configure on your own. In my case, I decided to patch my 3 servers every Wednesday on 8 pm:
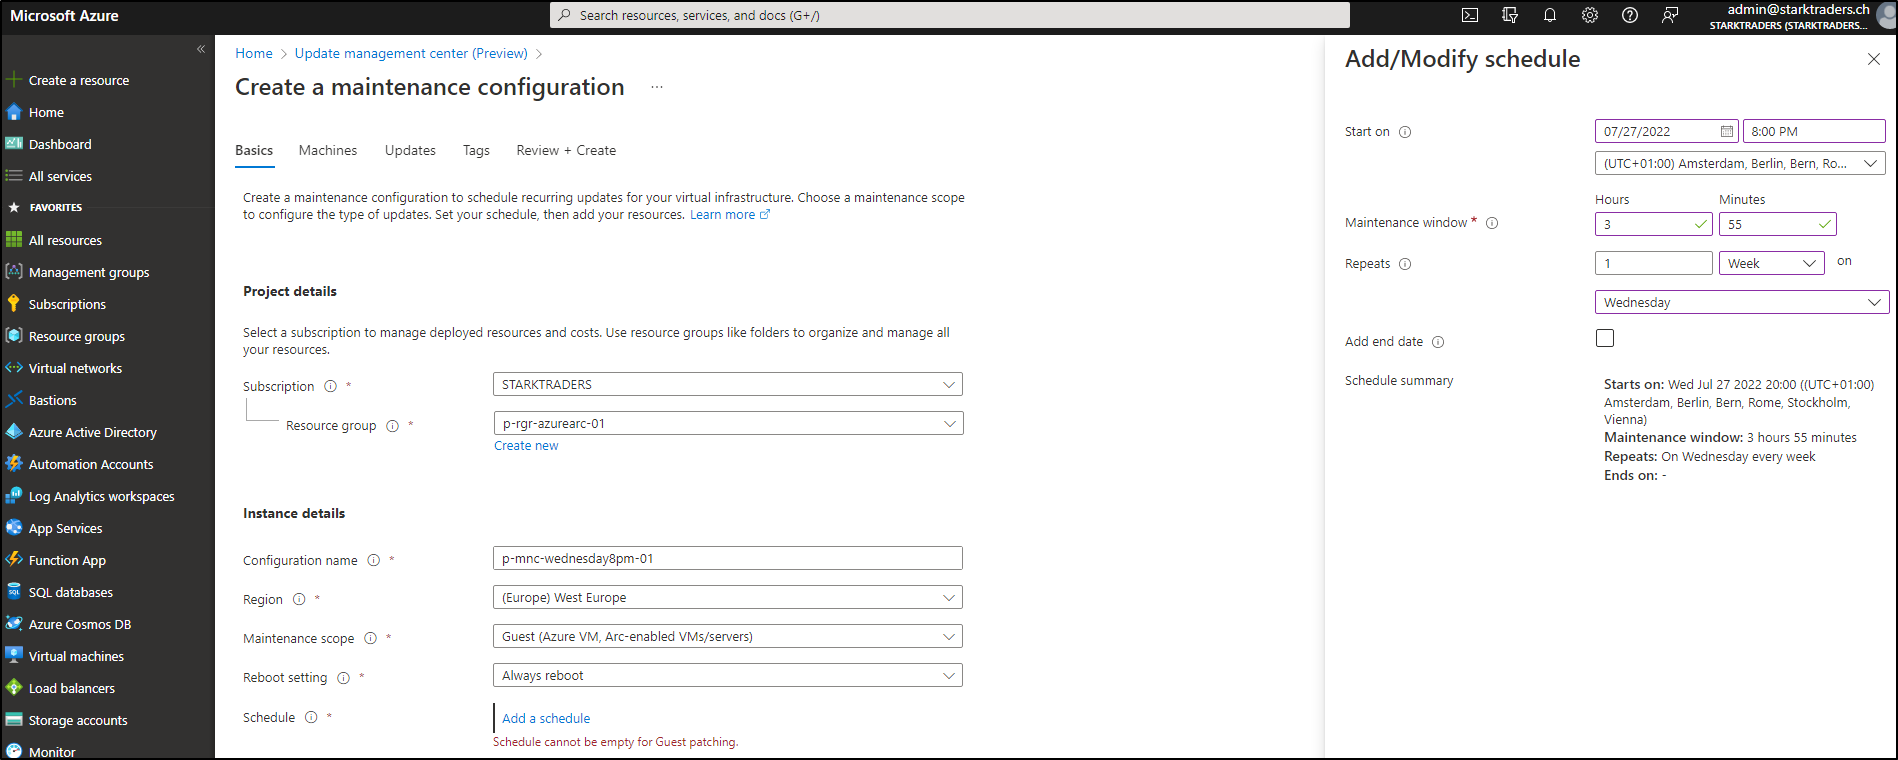
It seems that the maximum patch window duration is (for now) 3h55min. Hit next and choose the VMs you want to patch:
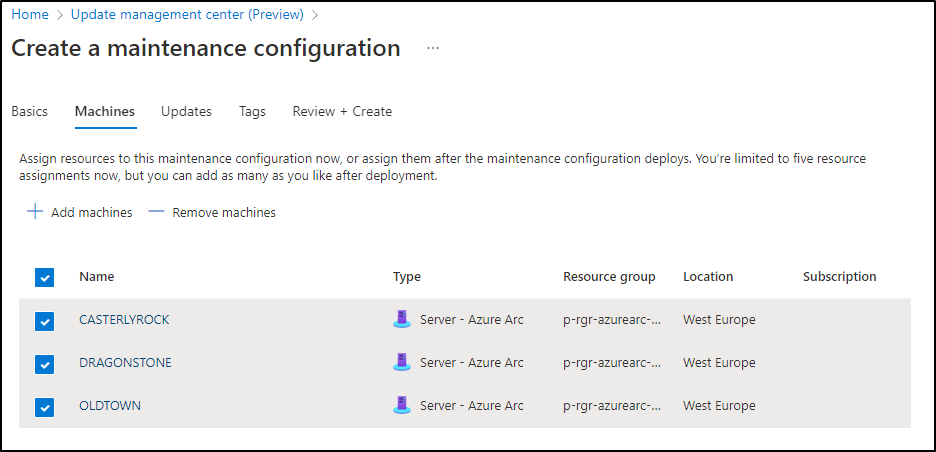
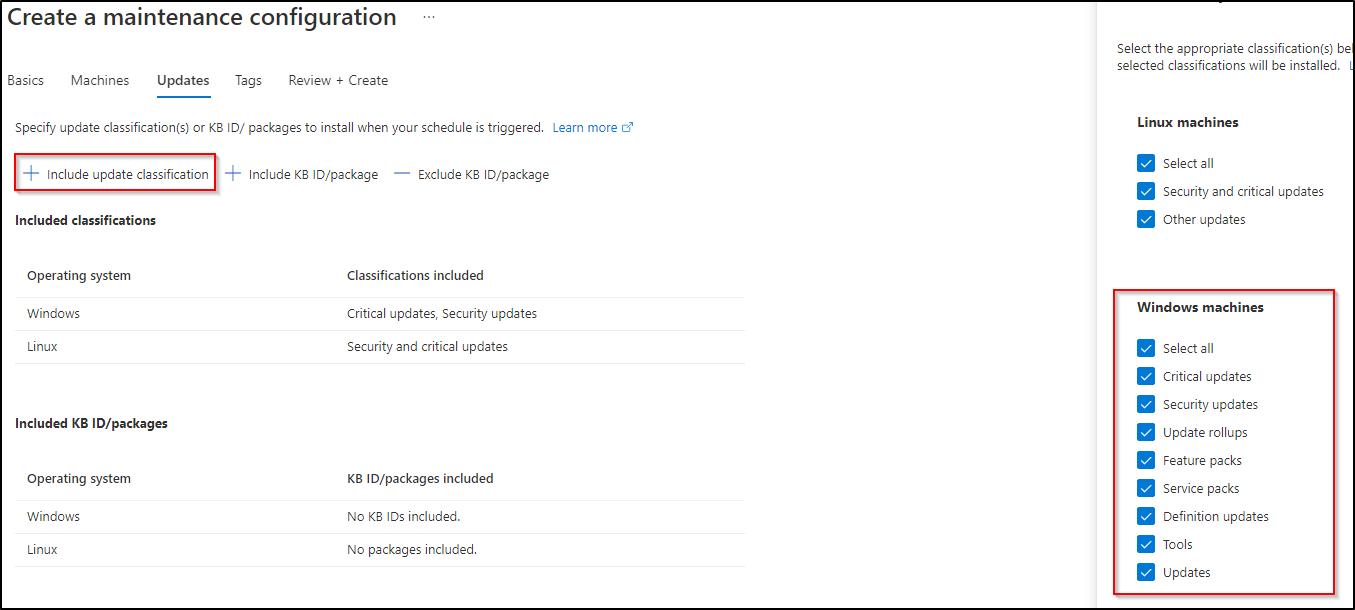
At this moment, unfortunately, there seems to be no option for groups. Let’s hope that will be coming soon. On the next screen you can decide which patches you want to include or exclude. Don’t forget to include all update categories (if you want to do a complete update deployment).
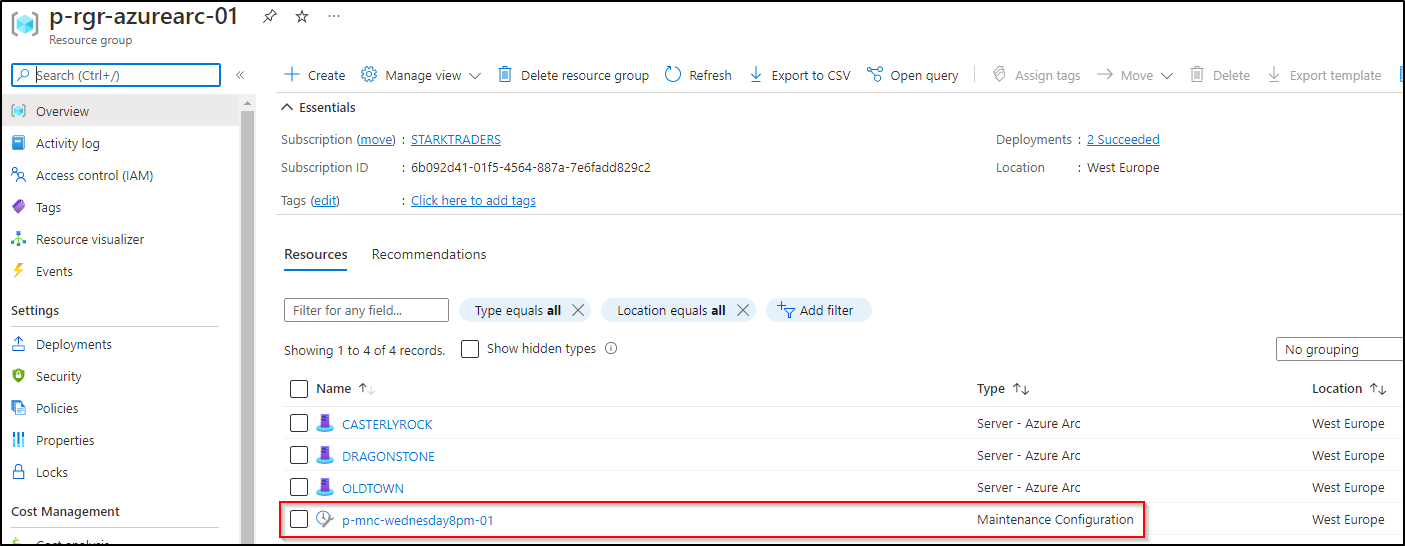
Now go ahead, set your tags and create the maintenance configuration. After creation is done, you’ll see a new resource showing up in your Azure Arc resource group!
Step 7: Patching time
Like a perfect swiss clock, at 8pm my patch deployment starts.
Step 8: Additional features
Periodic assessment by Azure Policy
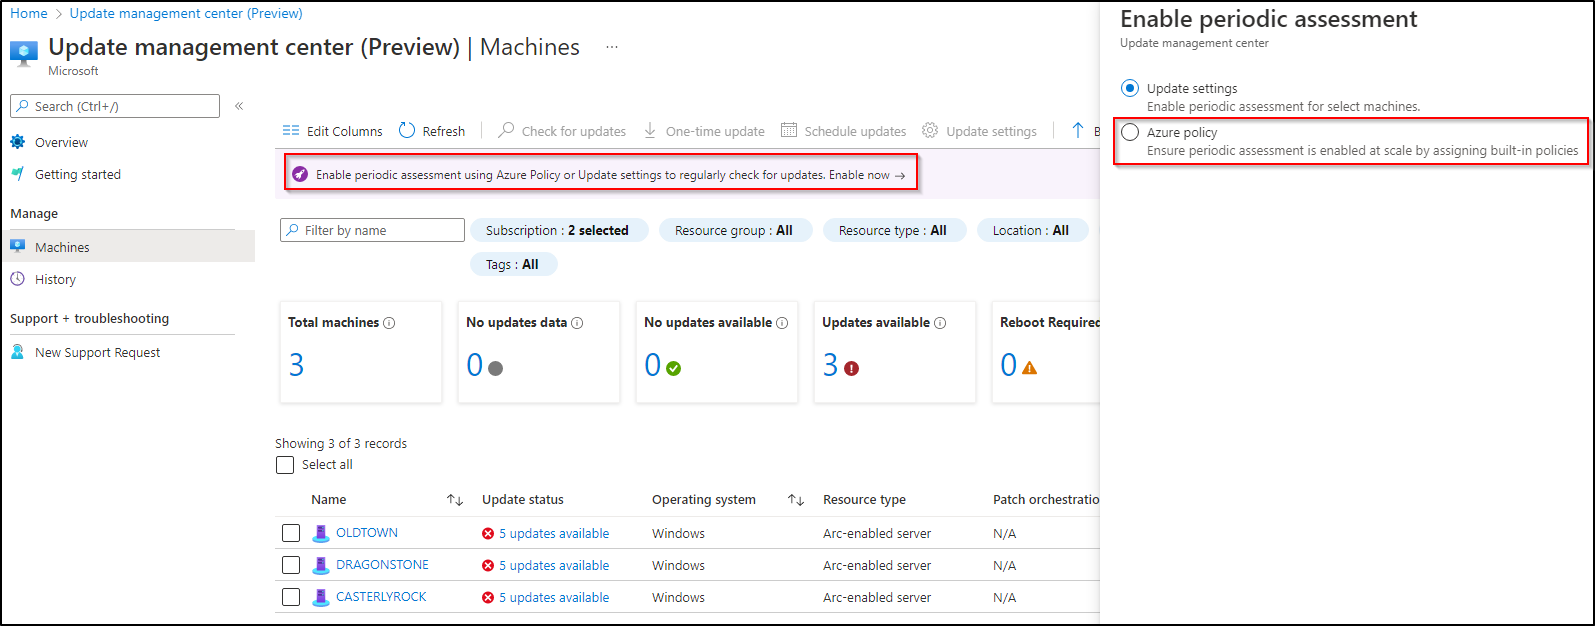
In Azure Policy, you’ll see some specific UMC policies. With remediation, you could automize your patching (maybe not your prod, but for dev environments this could be very nice).
Defender for cloud
You’ll see your Azure Arc enabled server and your missing patches in DFC too.
Conclusion (and notes from the field)
UMC seems to work pretty fine and I’m sure, there will be a lot of new features soon. The steps above showed a demo environment. As I started working with UMC in costumer environments, I noticed, that some configs have to be in place:
- Firewall/Proxy settings need to allow the communication to Azure:
Issues related to HTTP/Proxy - “Most” GPO settings are more powerful than the agent:
Configure wu agent
I’ll continue to work on this and provide more details about that as soon as possible.
Happy Patching folks!