Now you can establish an RDP connection to your onprem-Server directly in the Azure Portal with Azure Arc and Windows Admin Center. Connect from everywhere and say goodbye to VPN.
Introduction
Maybe you’ve already heard these news: If you are using Azure Arc for your servers (wherever they are), there’s an option to activate Windows Admin Center.
So far so good, but that is opening up a whole new world of capabilities. In the following article I’ll show you how it works.
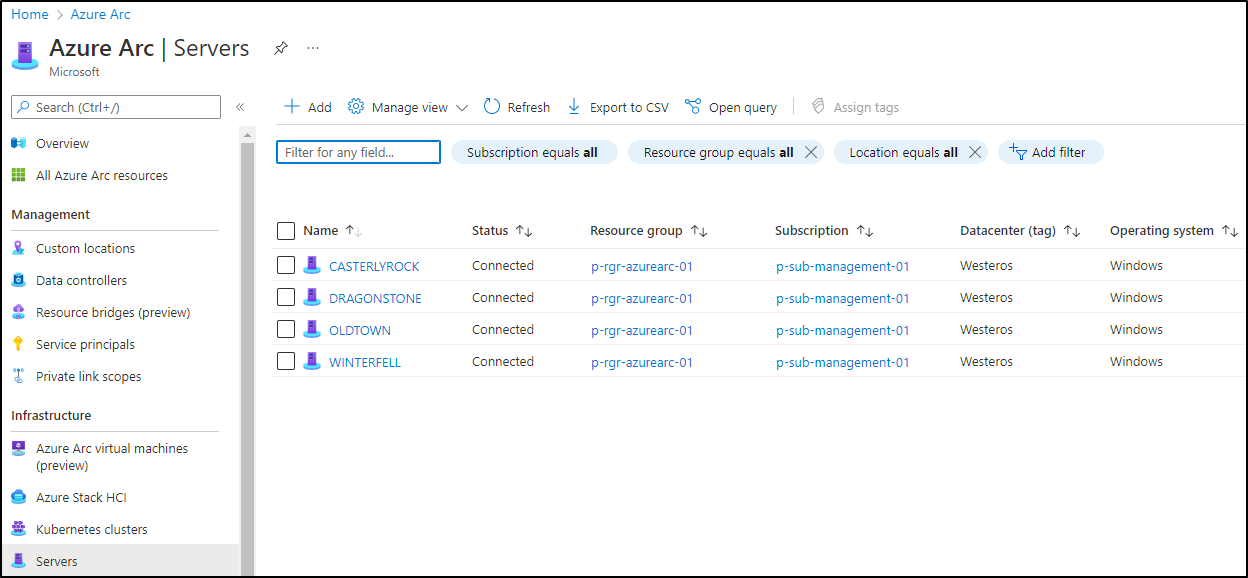
Step 1: Arc-enable your servers
To start, you’ll need to install the Azure Connected Machine Agent on your VMs. Follow the guidance in my last blogpost, Step 1-4:
https://azureblog.org/update-management-center/
Step 2: Activate Windows Admin Center
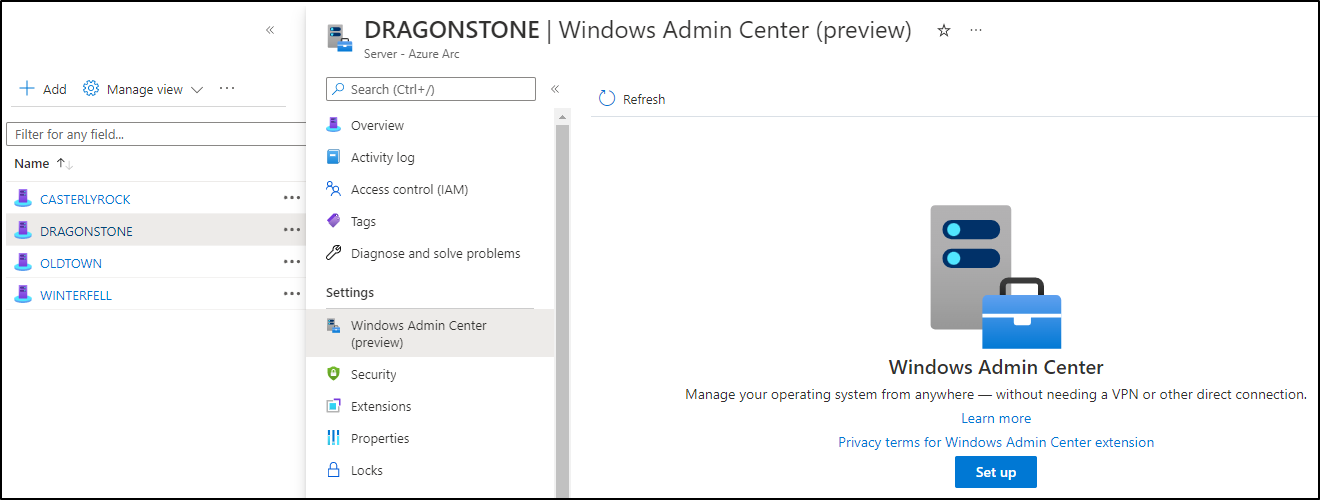
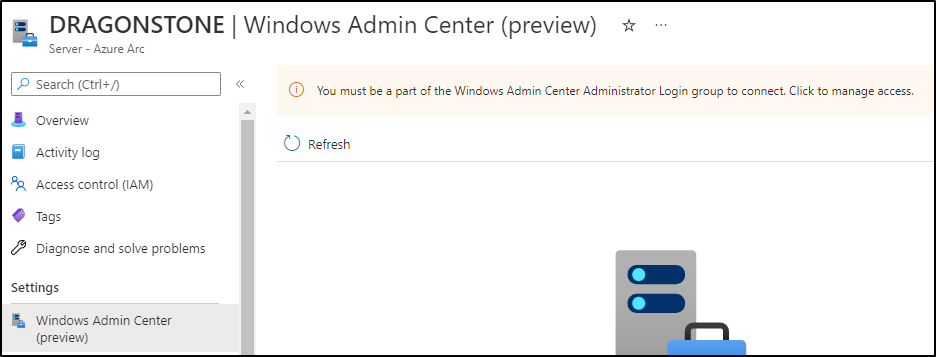
Now click on a server of your choice and look for the Windows Admin Center option:
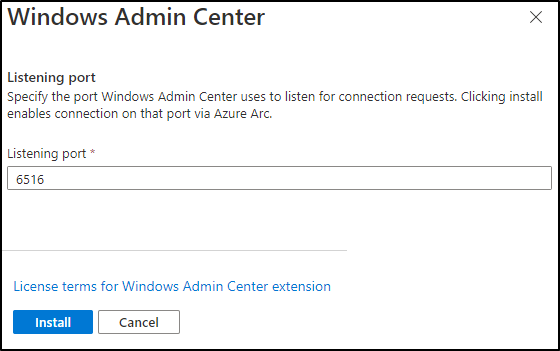
Click on Set Up to activate Windows Admin Center. The standard port is 6516, click on install. This will install the Windows Admin Center extension.
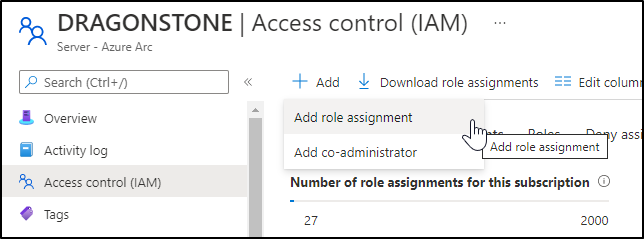
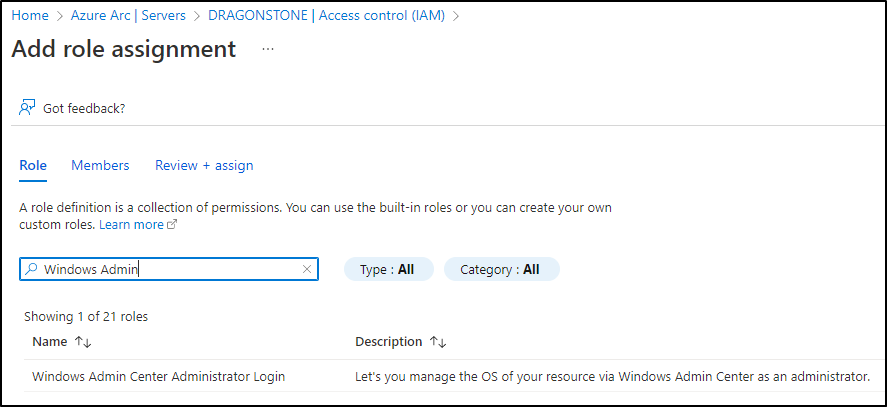
Step 3: Set RBAC permission for WAC
Step 4: Connect to Windows Admin Center
Click on the Windows Admin Center button again. Now you should see a connect button coming up: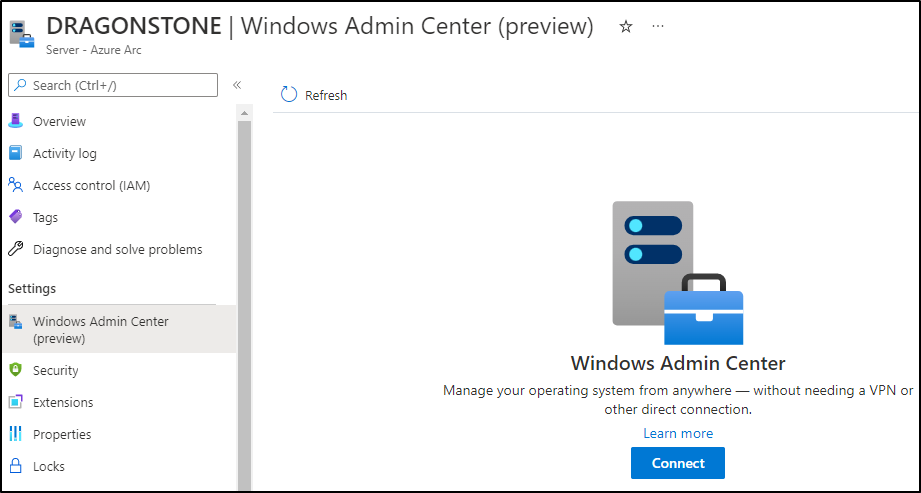
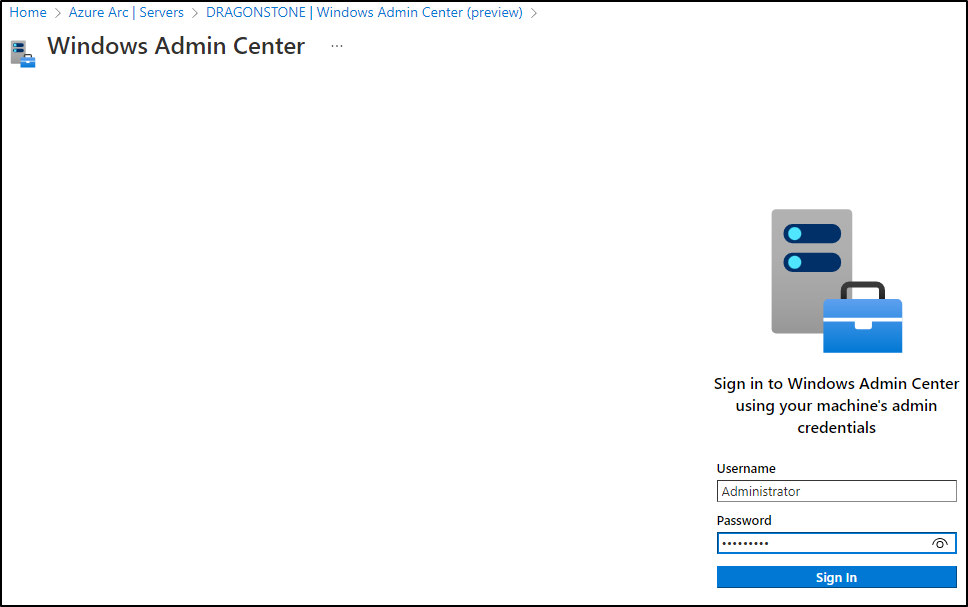
Click on Connect. The WAC console will start and now you’ll need to enter the local admin credentials of that VM:
Click on Sign in. Now you’ll see the Windows Admin Center console appearing right in your browser!
Step 5: Establish an RDP session
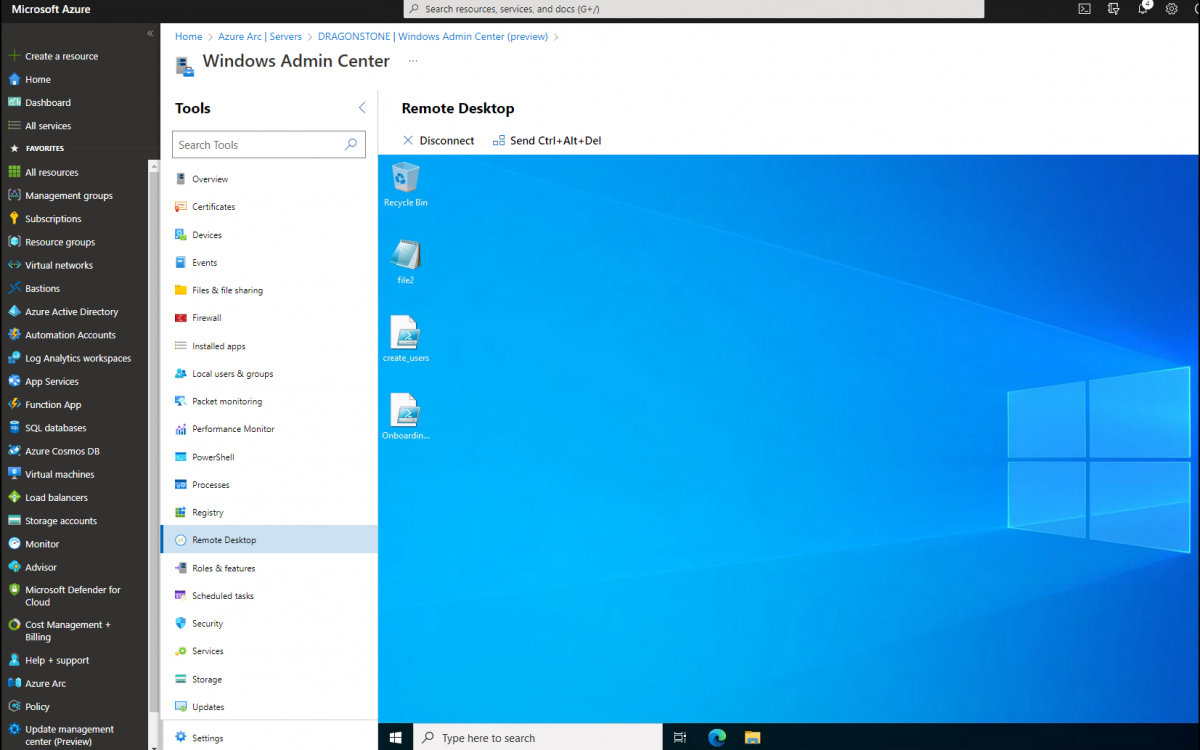
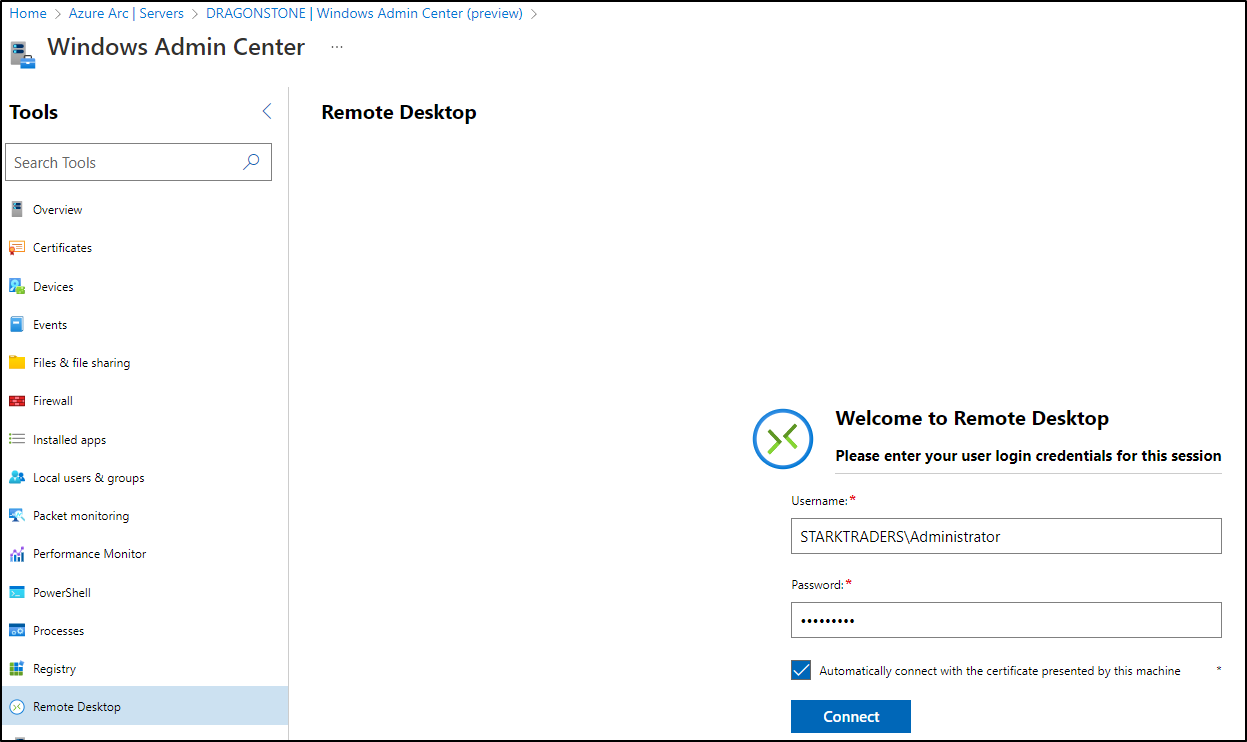
Now you’ll see all your favourite management tools for your servers. In my case, I’m trying out RDP. Click on Remote Desktop. Enter the localadmin credentials again:
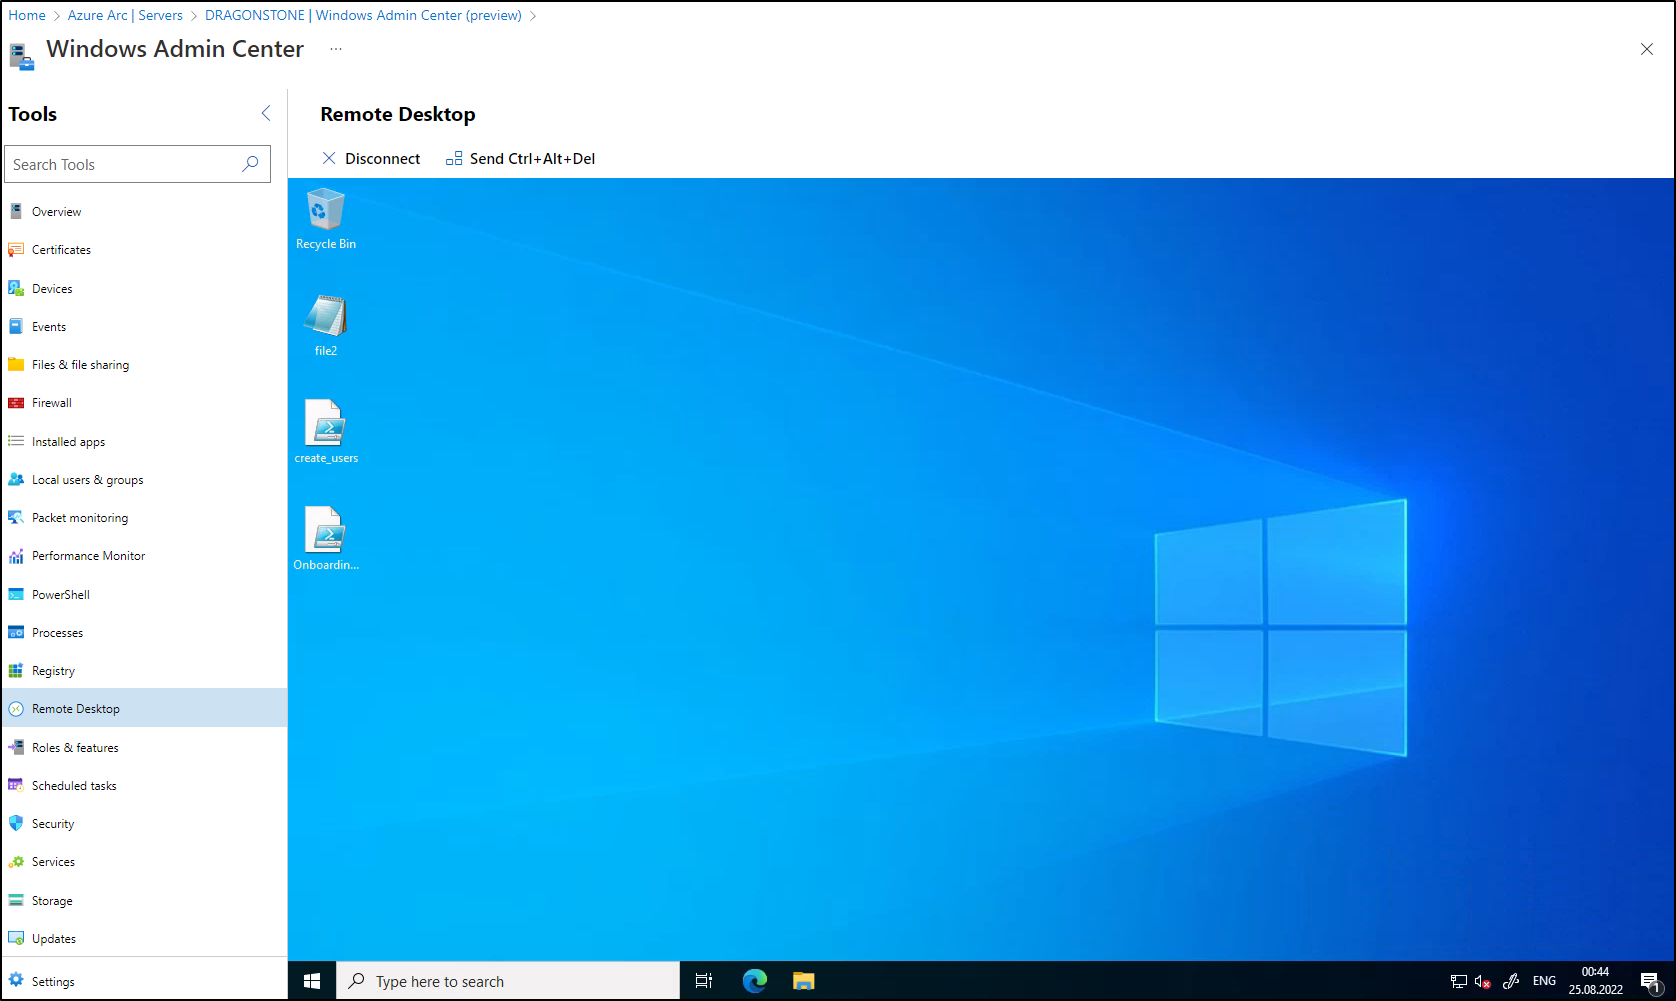
Click on connect. Now you’ll see the RDP session in your browser! How awesome is this:
Now you’re ready to work on your server. Don’t forget: You can use all the other Windows Admin Center Management tools, like:
- PowerShell (shoot a script from the Azure Portal right into your server)
- Check performance and monitoring
- Manage your certificates
- and so on…
Conclusion (and notes from the field)
Maybe you’re thinking of the same as me in this moment: Does it make sense to activate it for all my VMs? Especially if I have a lot of them? Not really.
In my case, I decided to install the Azure Connected Machine Agent on my Hyper-V host machine. This allows me to RDP into my host and start the Hyper-V console. In Hyper-V, I can start RDP session into my VMs from there.
Either way, I would recommend that you install the Azure Connected Machine Agent on all your VMs to get a complete view of your environment. Then activate Windows Admin Center only on your host machine. That should do it.
Happy remote-administering from everywhere!

